
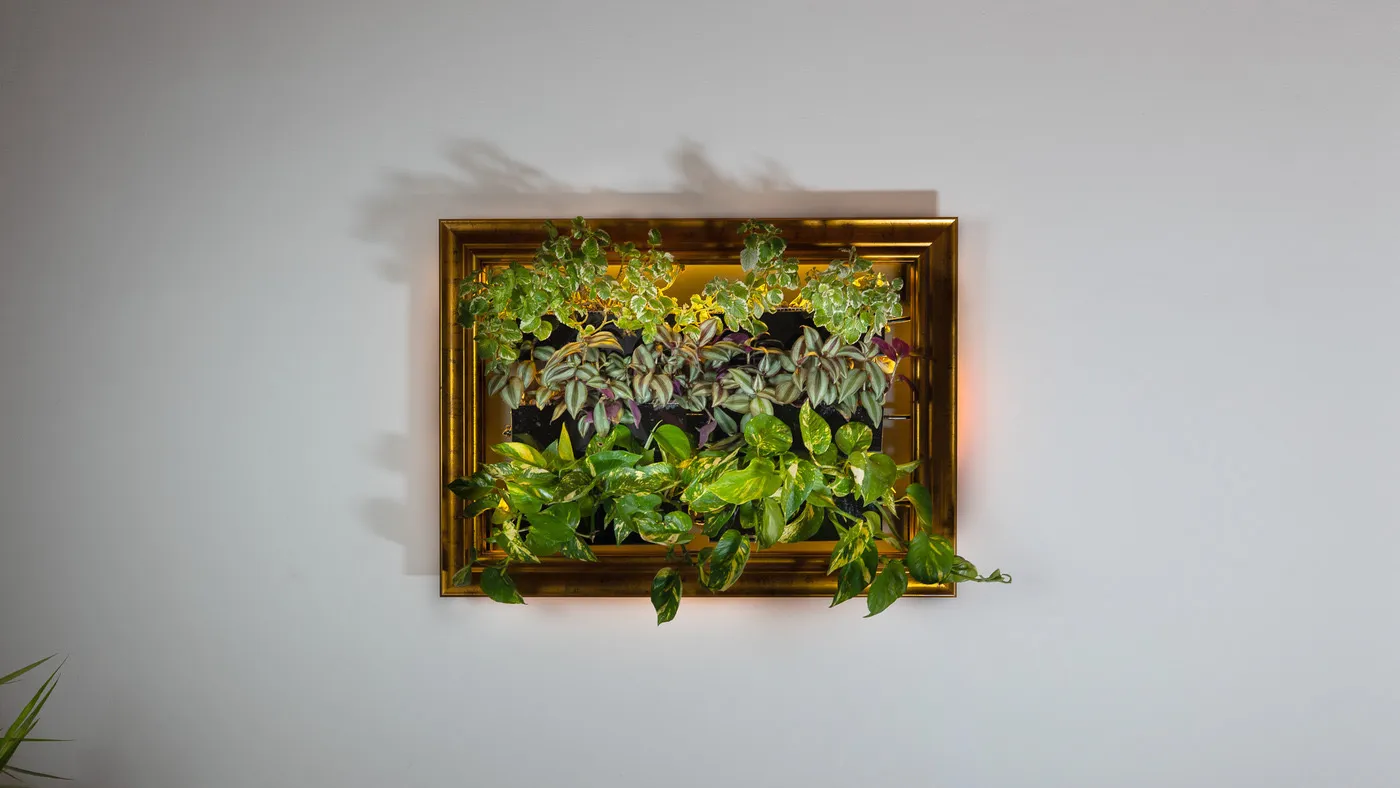
Why we call it Sam
Frankie was named for Frankenstein’s creature: stitched together from whatever was at hand, then brought to life. Sam is its younger sibling, and the S stands for second.
Frankie is the one we keep in the workshop. Sam is the one we would introduce to guests.
What Sam was built to answer
Frankie answered the plant question. Three plants lived for almost two months on about 15 mm of standing water in an 8 cm bed of LECA, the round clay pebbles used in semi-hydro growing. What Frankie couldn’t tell us was whether any of this could look like something you’d hang in your living room.
- Does it look like living art? Sam had to be comparable to the renderings on our home page. It is the example we show people, now while we spread the word and later for crowdfunding.
- Does the full grid work? Frankie was one column of three planters. Sam is the full 2 × 3 grid, at the real product’s spacing.
- Can the frame be a choice? In Meadori, the frame is chosen, not fixed. We wanted a real picture frame, mounted so it can come off again.
- Did Frankie’s lessons hold? Feed from the start, use two smaller plants instead of one large one, and get the water out of sight.
Success would mean something people stop to look at, before they ask how it works.
How we built it
Eight days of work, from aluminum bars to a wall of plants.
2 days · The planters
Acrylic again, on purpose
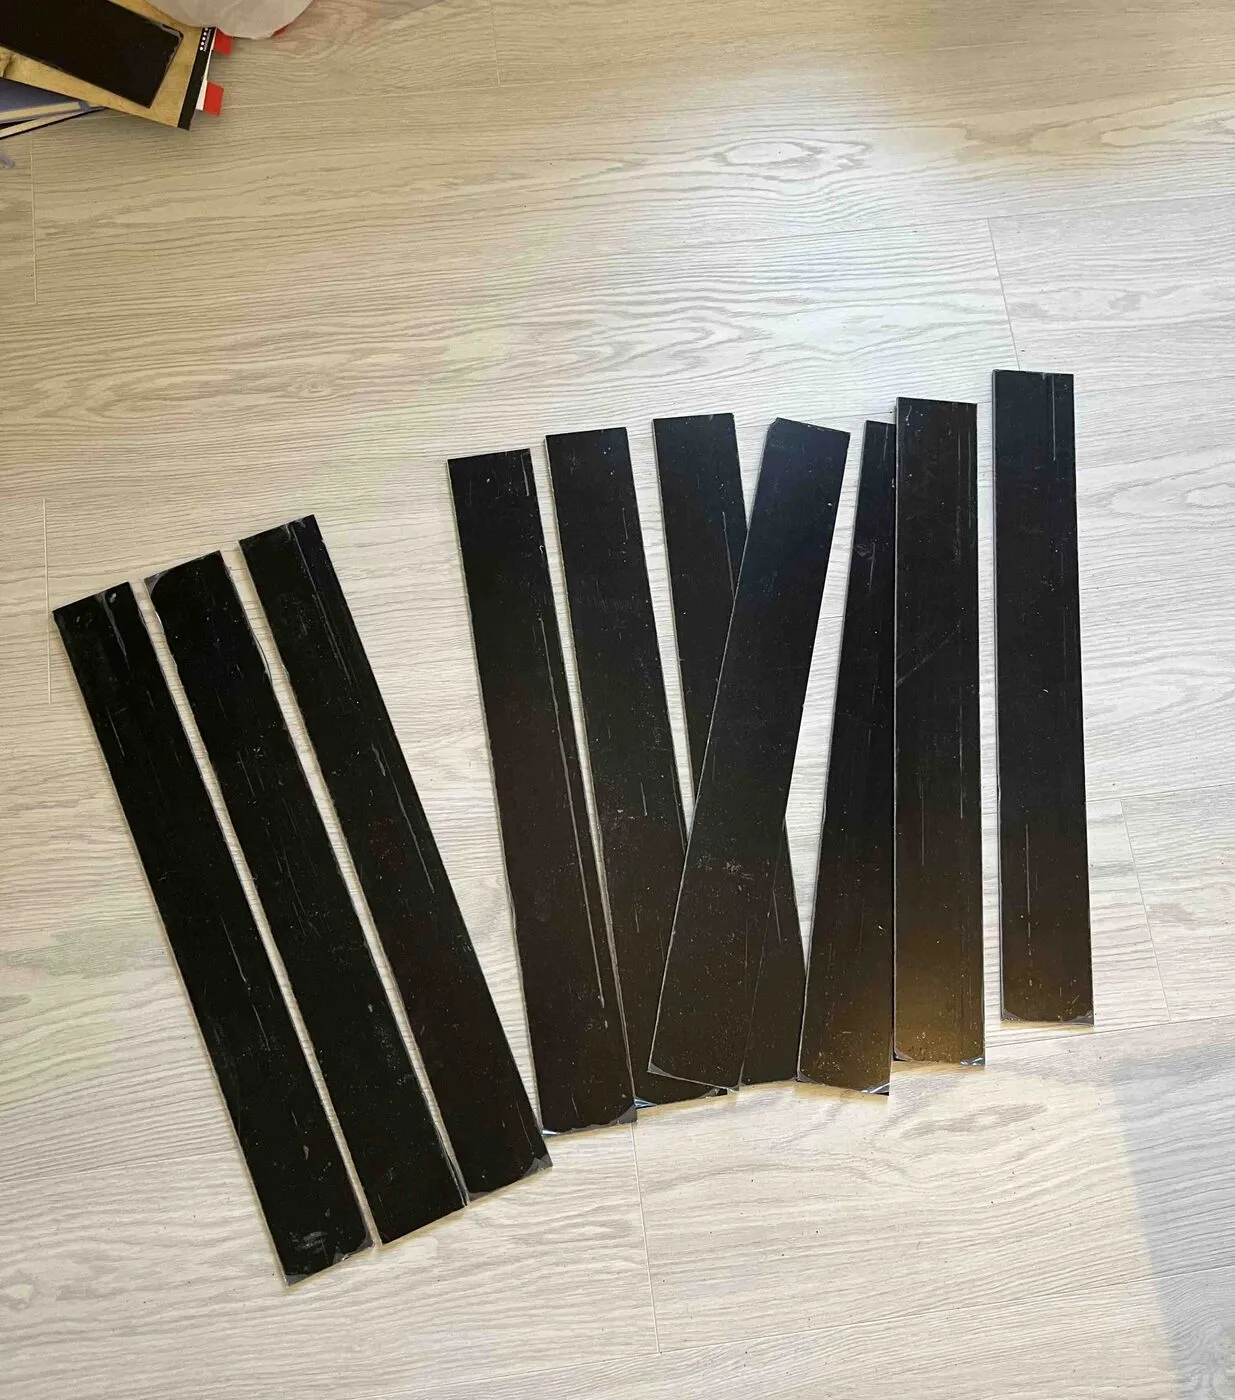
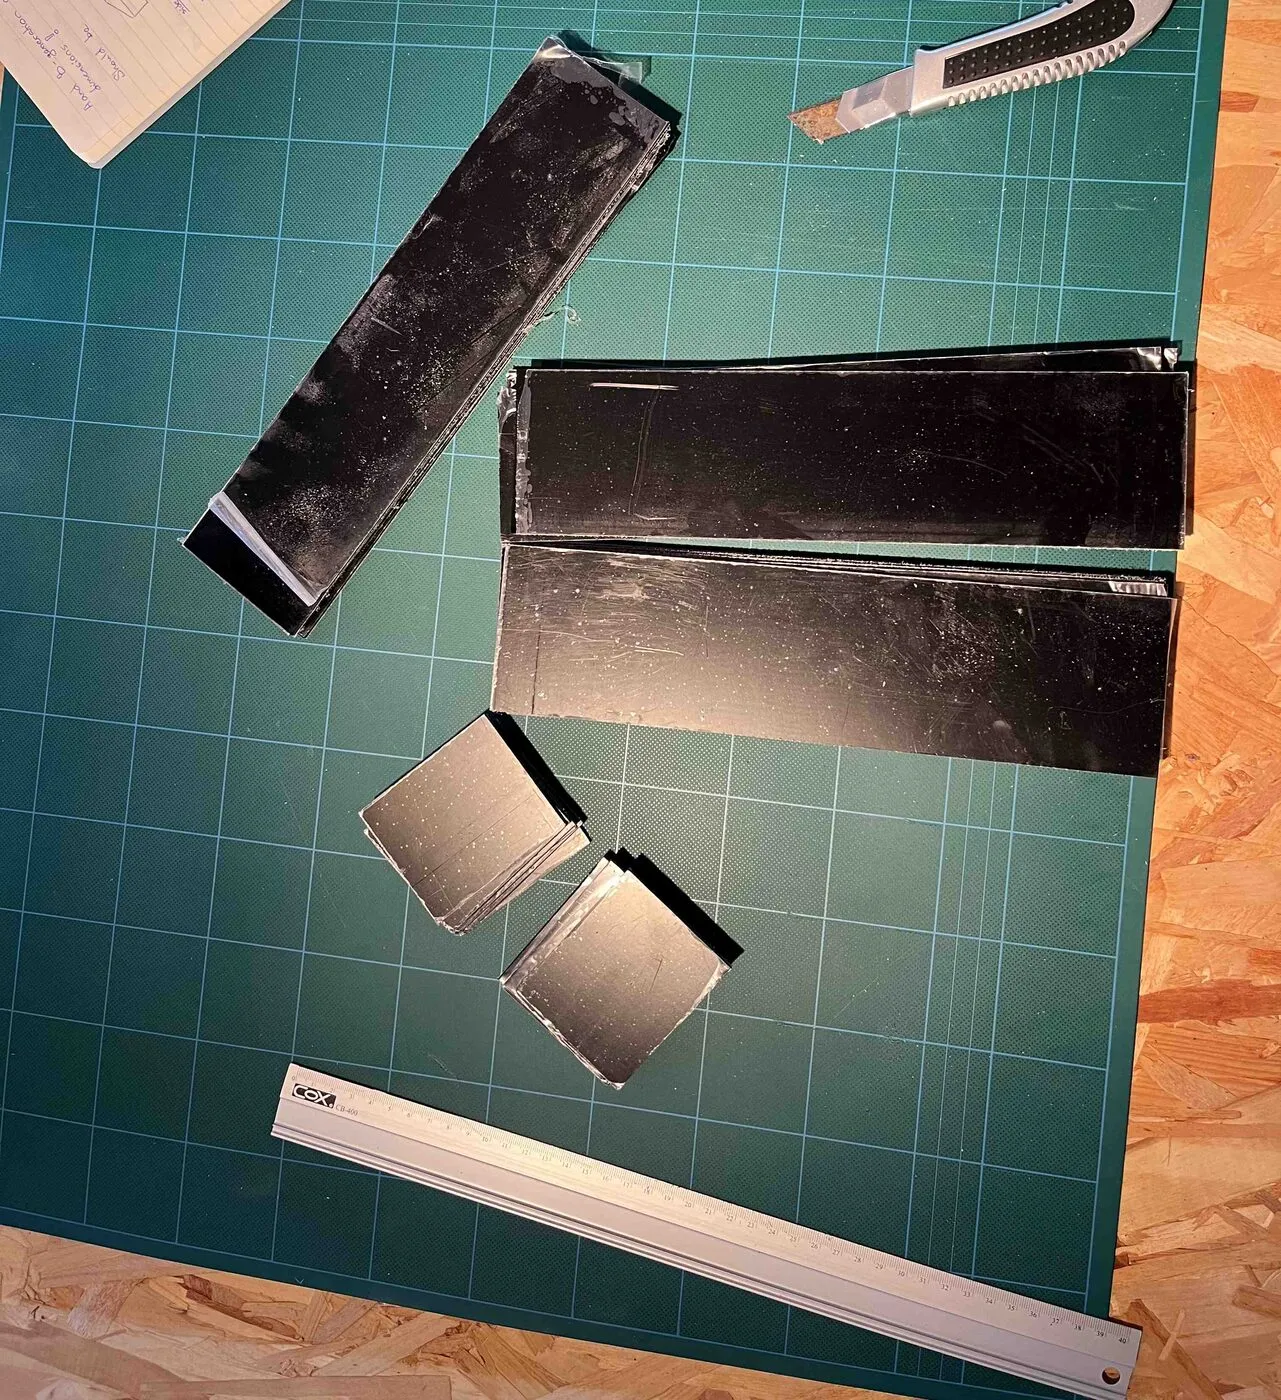
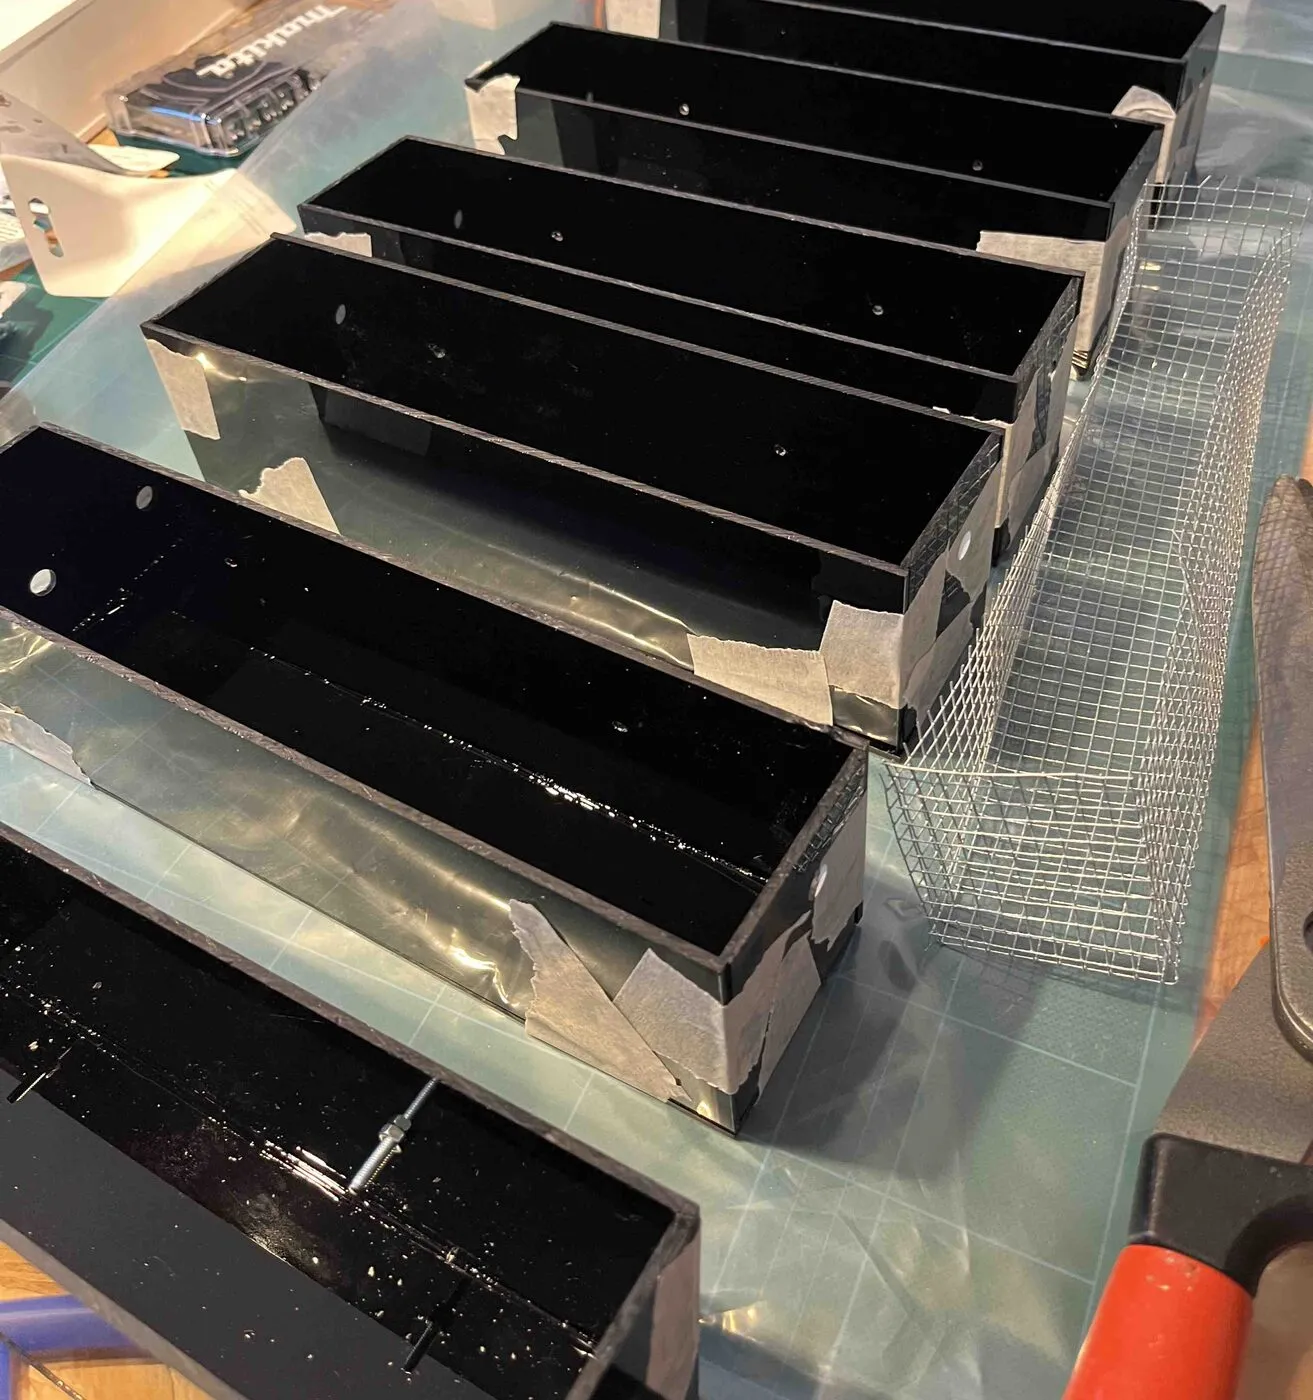
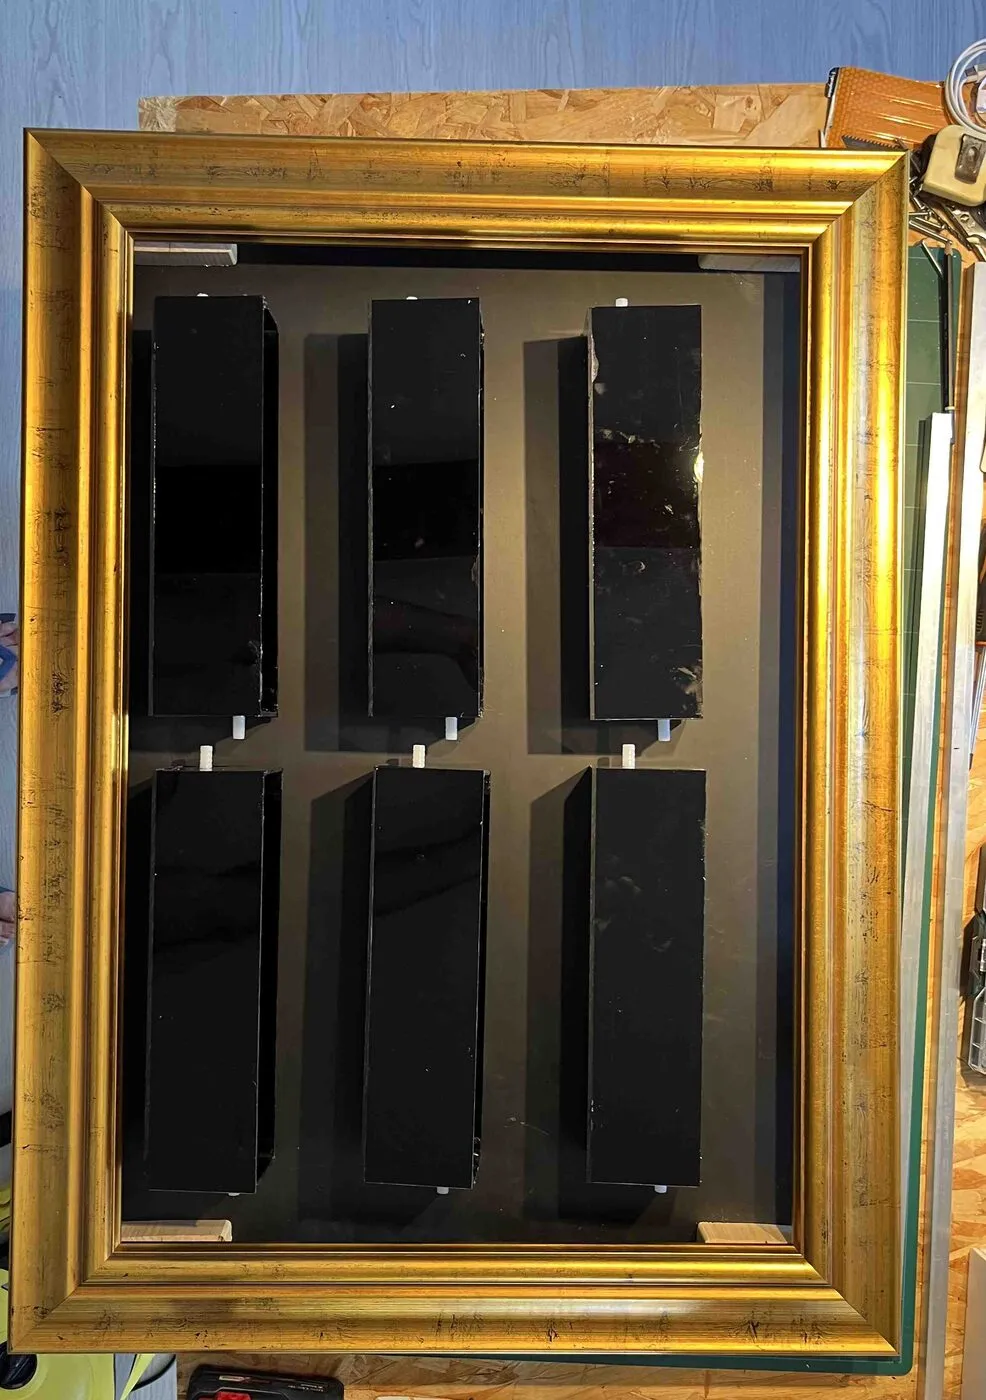
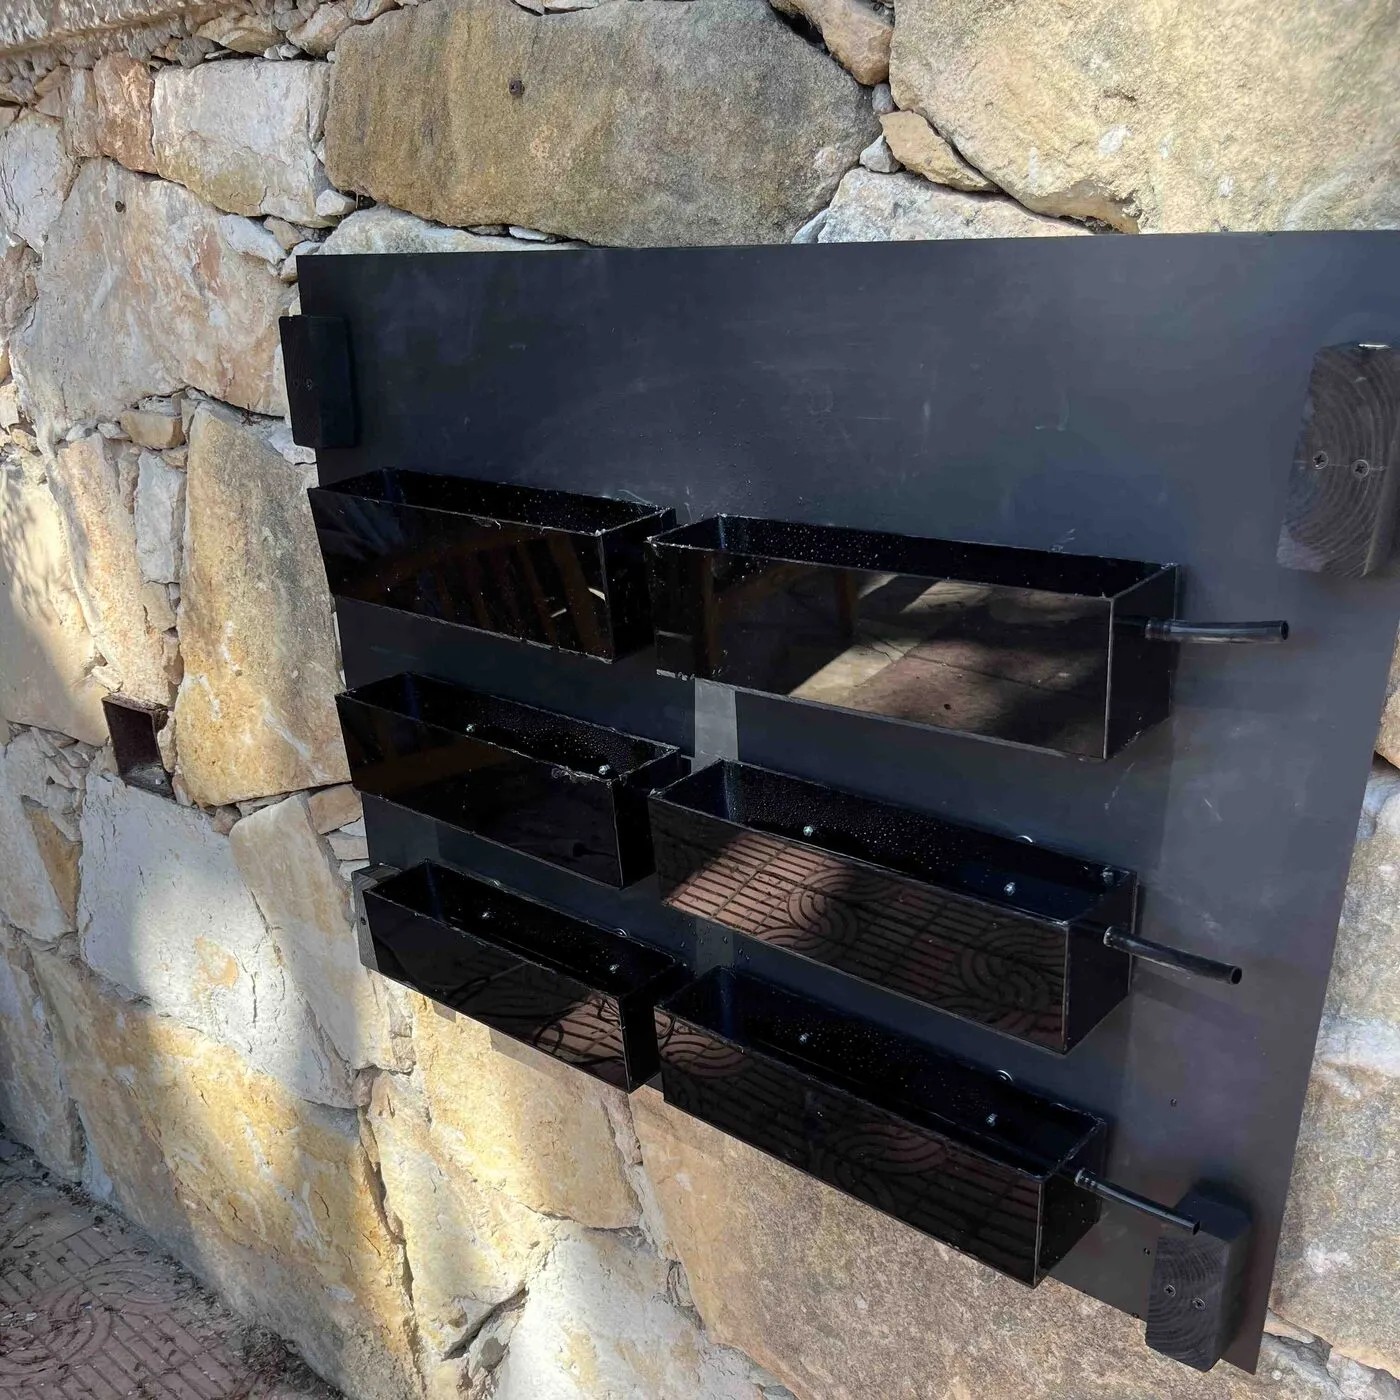
After Frankie we said the next planters would be 3D printed. That work is underway, but it wasn’t ready, and we didn’t want Sam to wait for it. So we went back to what we know: opaque black acrylic, cut into strips, bent into shape and joined into six planters. The planters stay opaque for the same reason as on Frankie: light on wet LECA grows algae.
2 days · The structure and mounts
A light aluminum frame and a black back panel
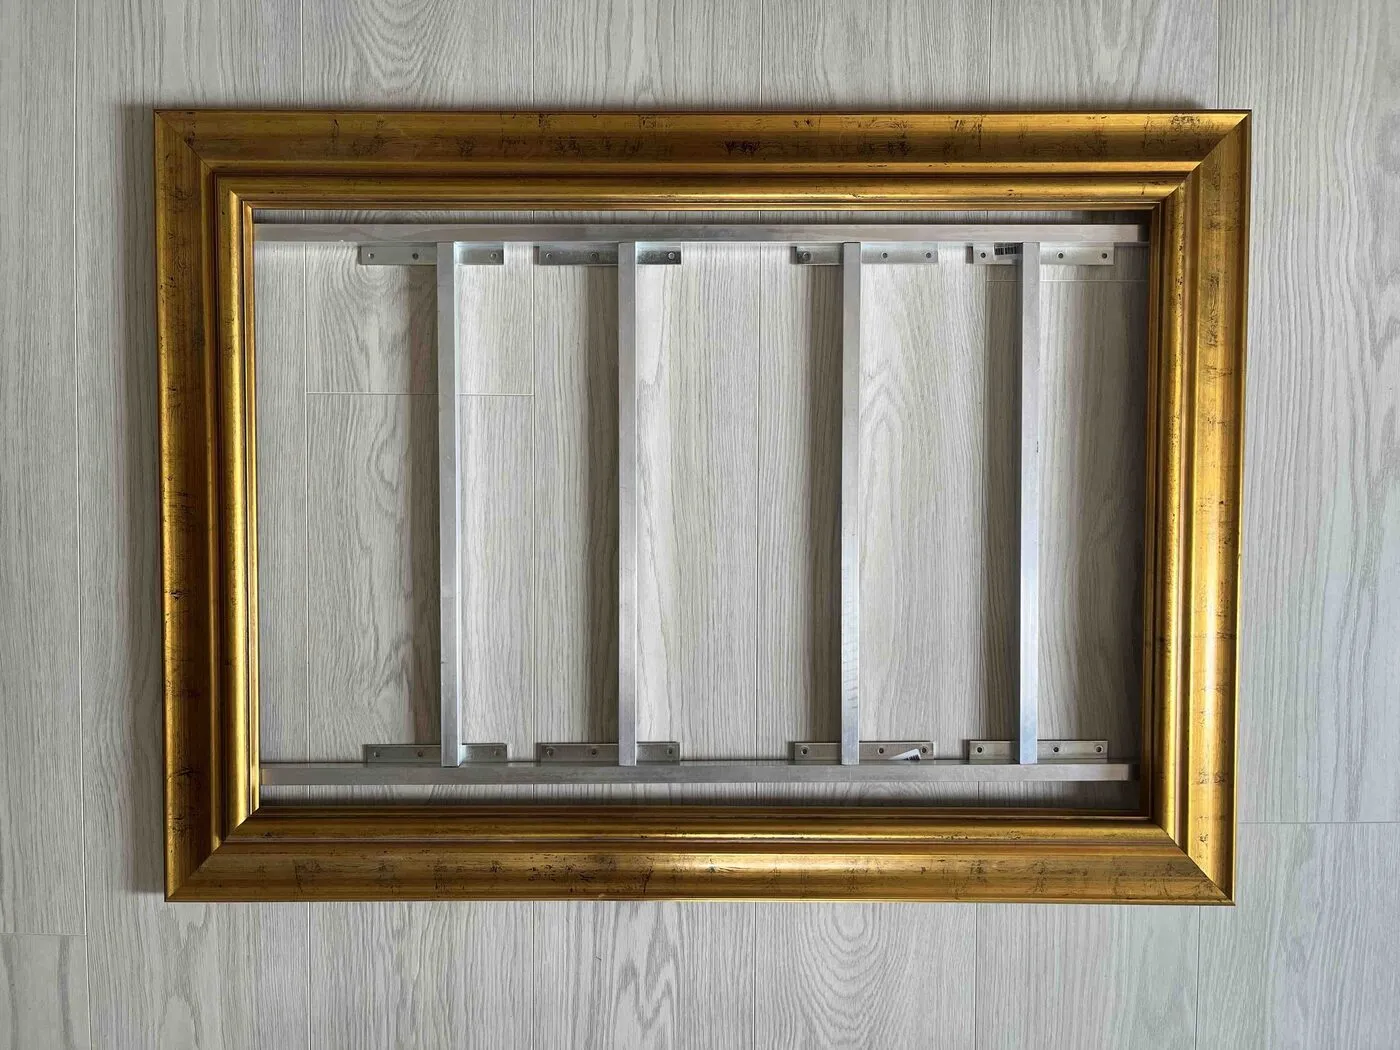
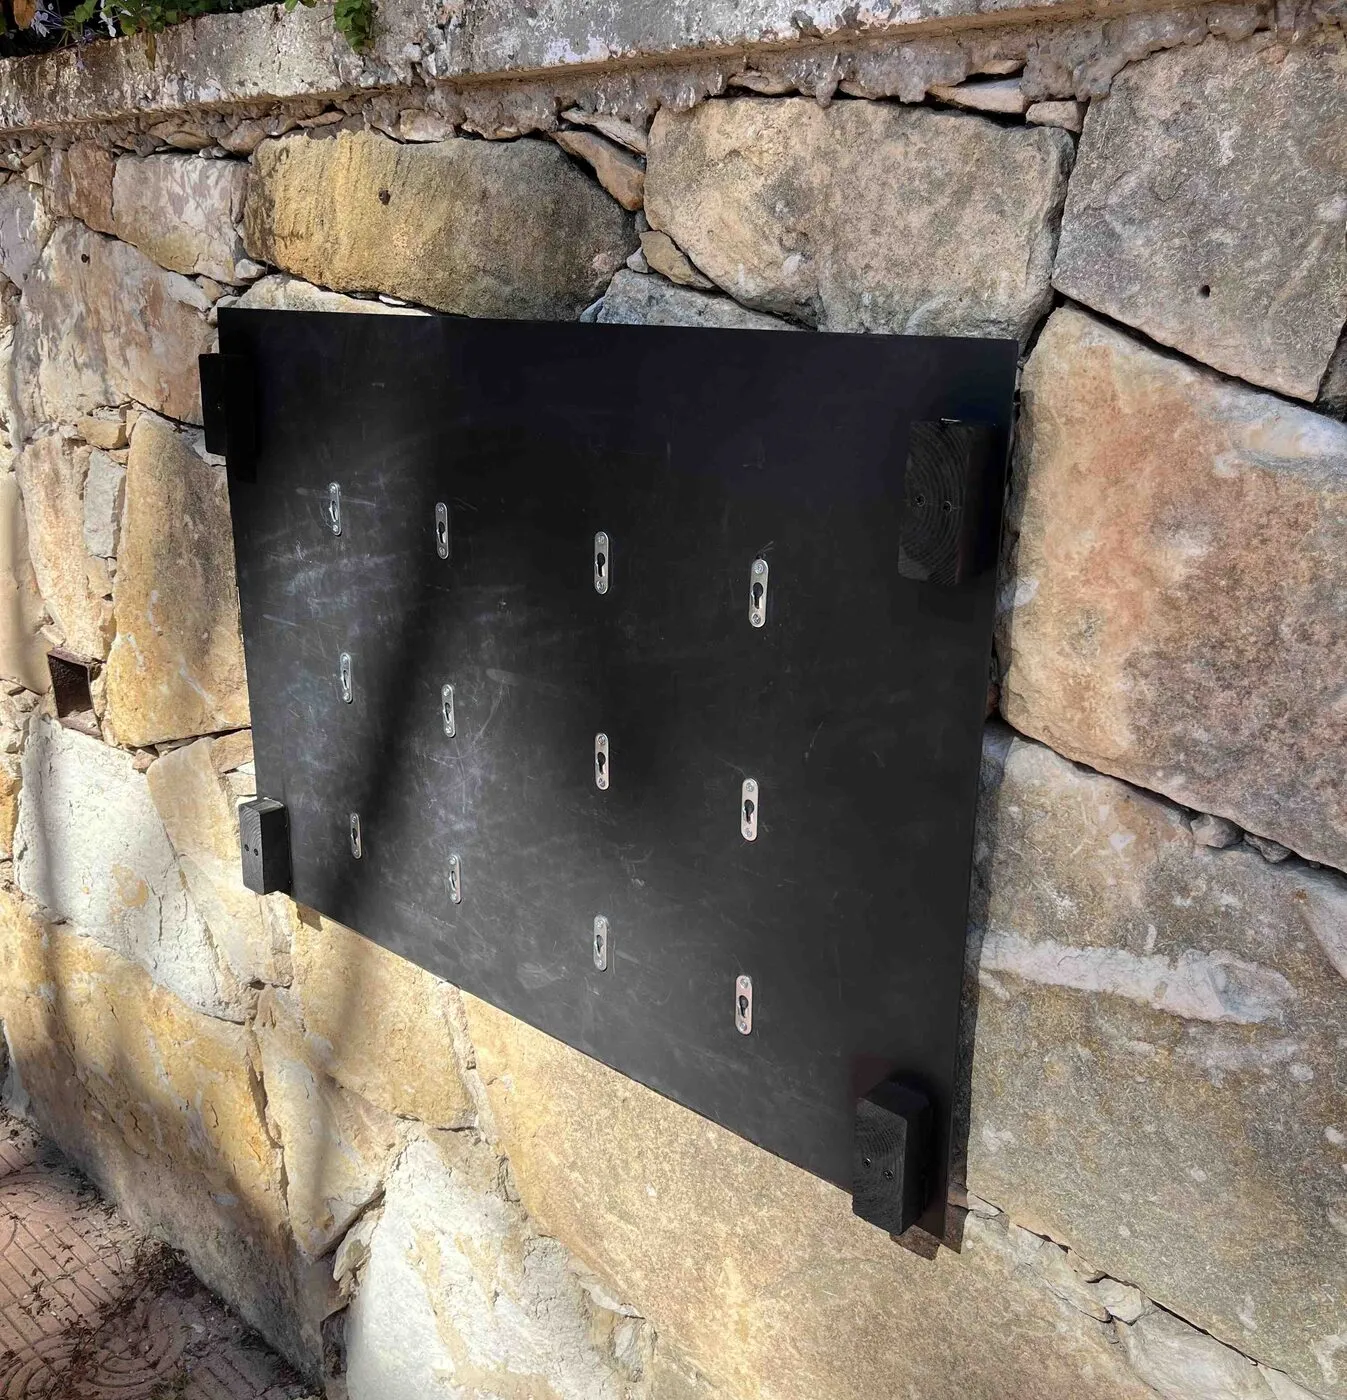
Frankie stood on a stand of pine 2×4s, solid and far too heavy for a wall. Sam hangs. Behind the planters is a light aluminum structure, cut and assembled on the bench, with a black PVC back panel on top of it. Each planter hangs on the panel from simple keyhole mounts, so it can be lifted off for planting.
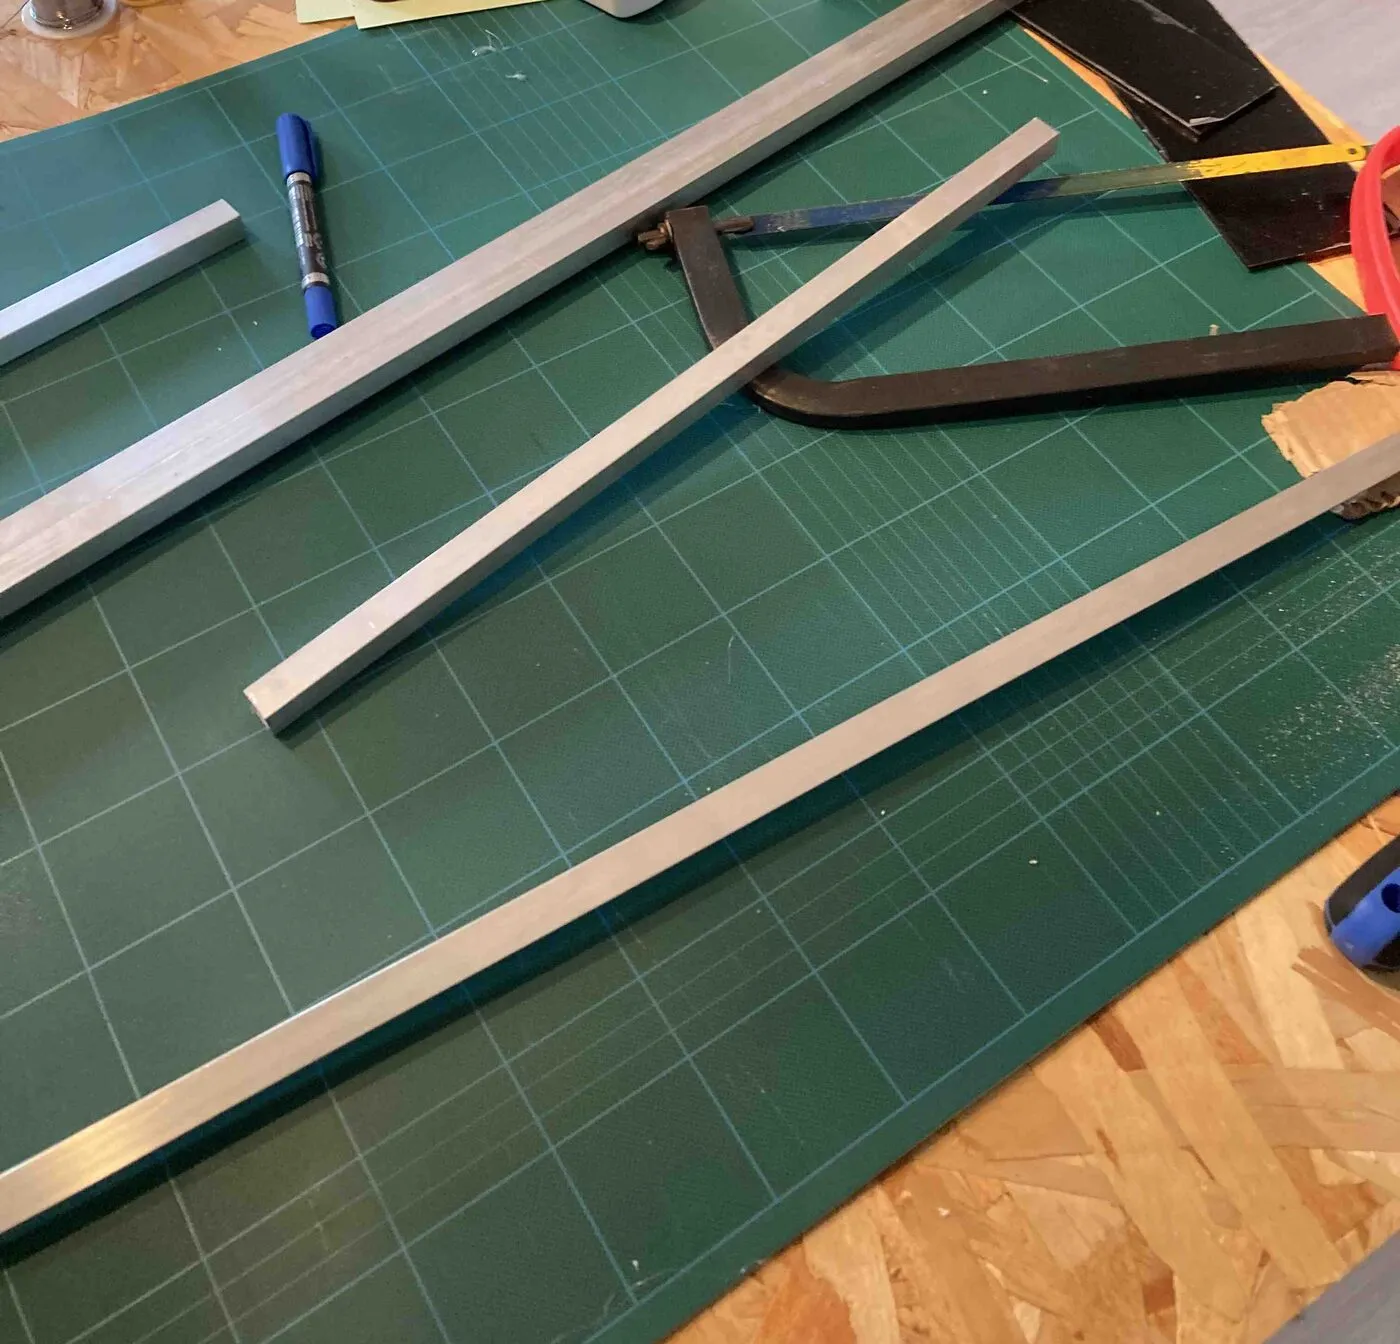
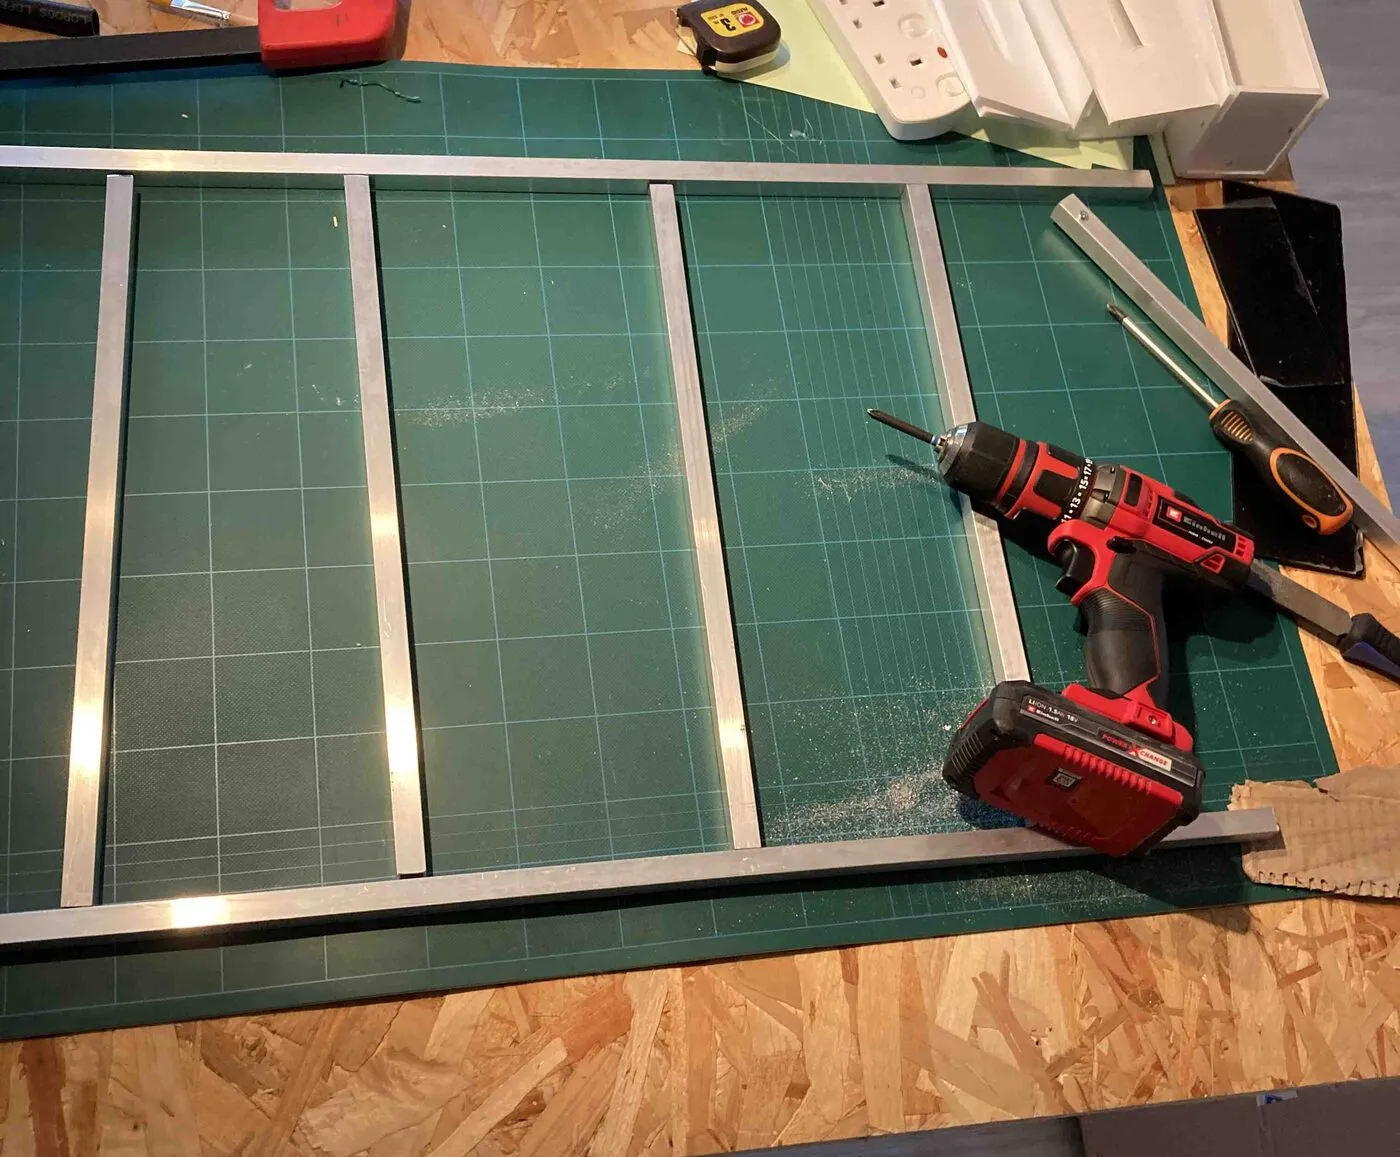
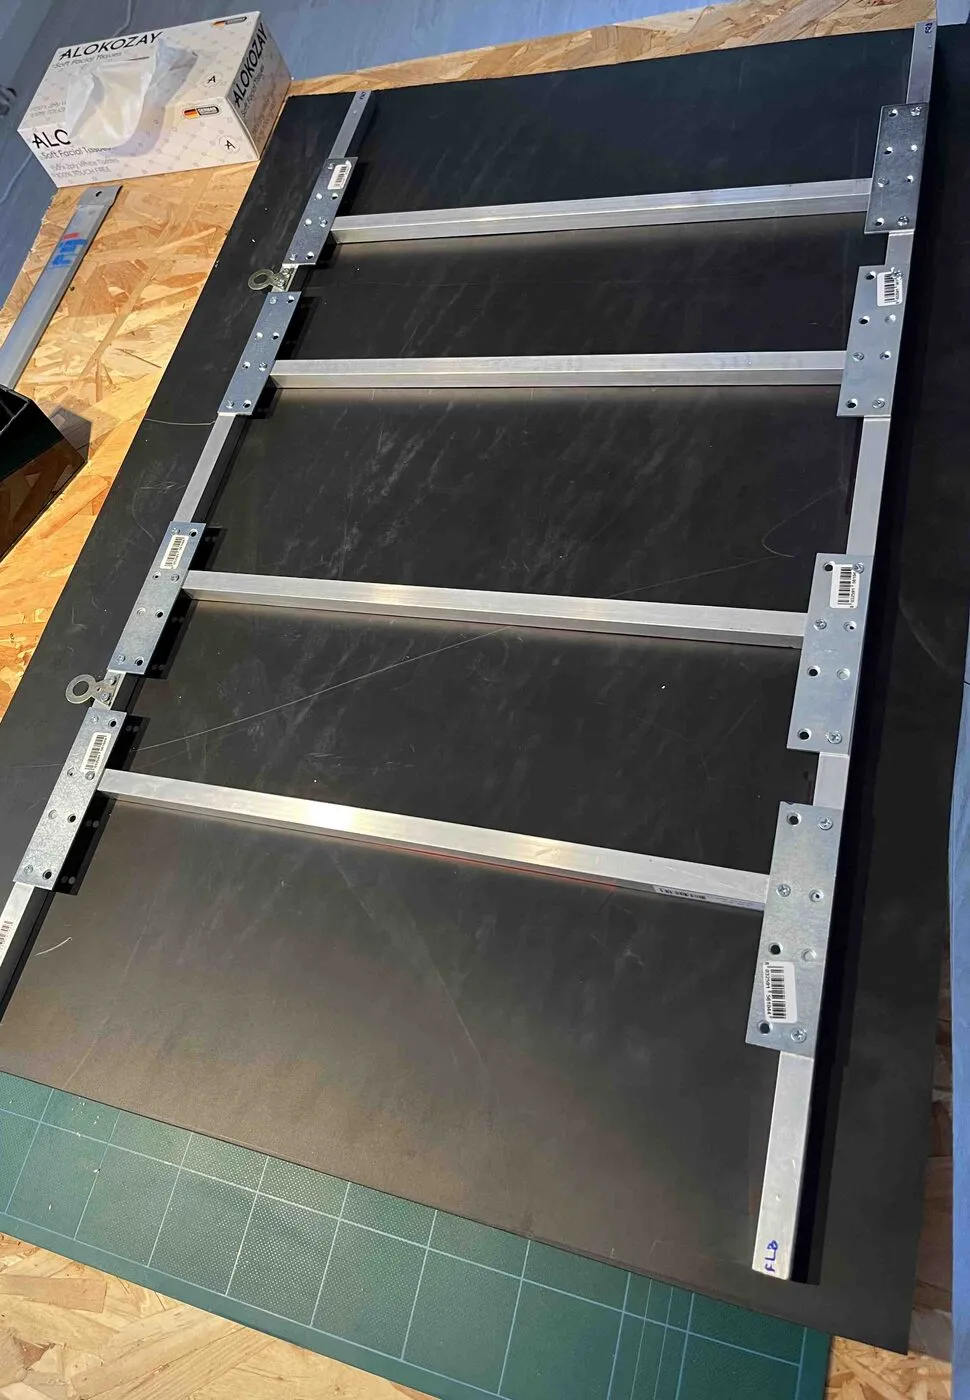
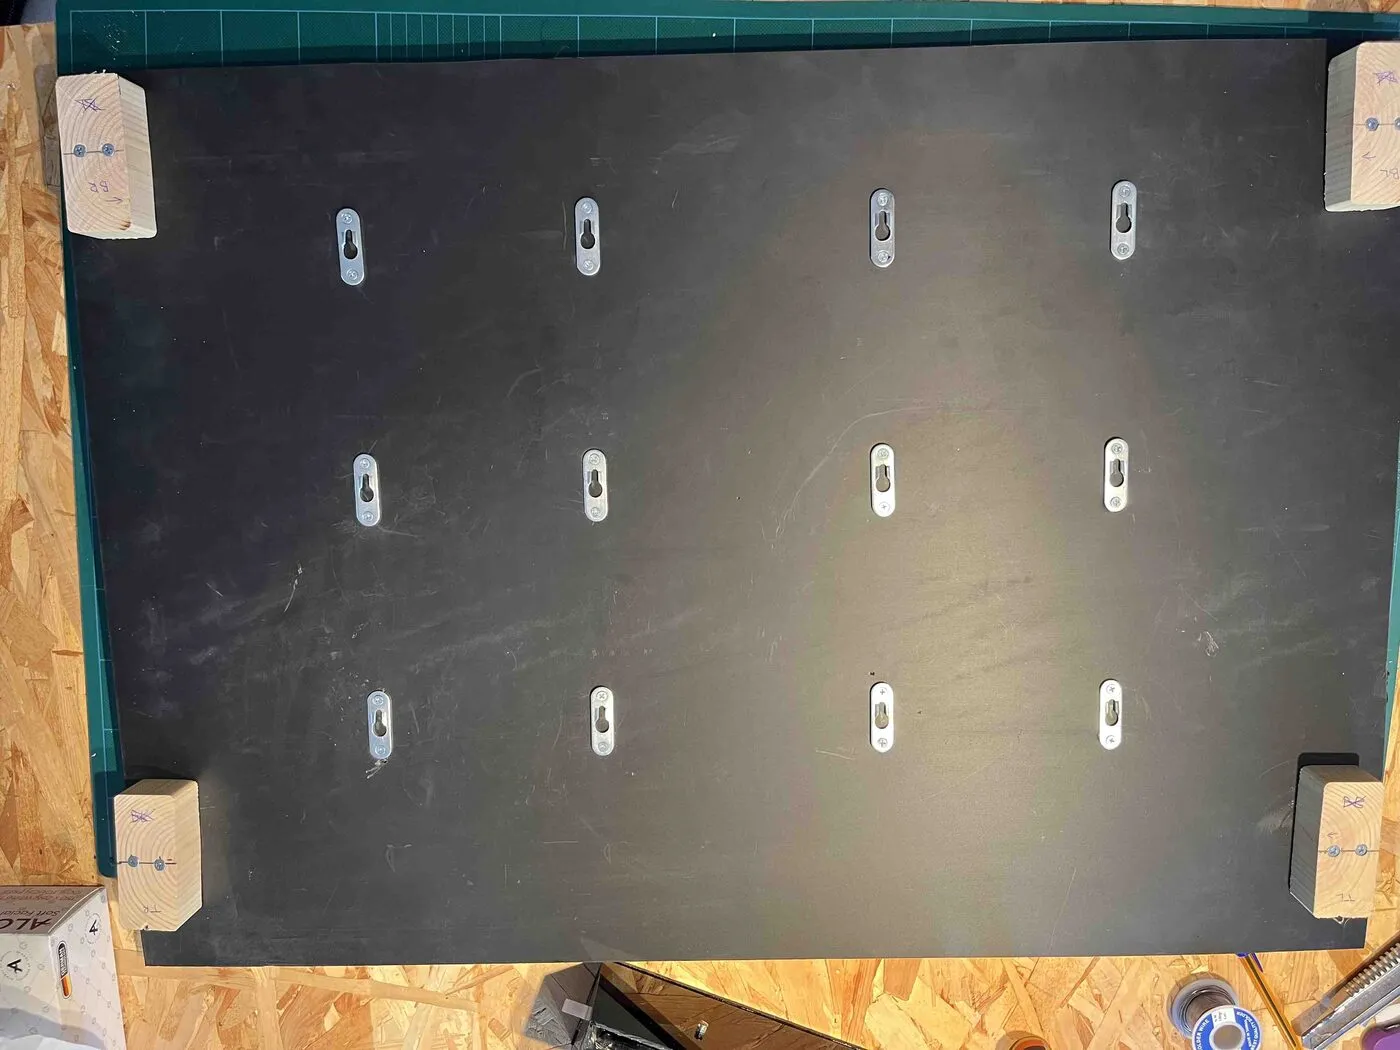
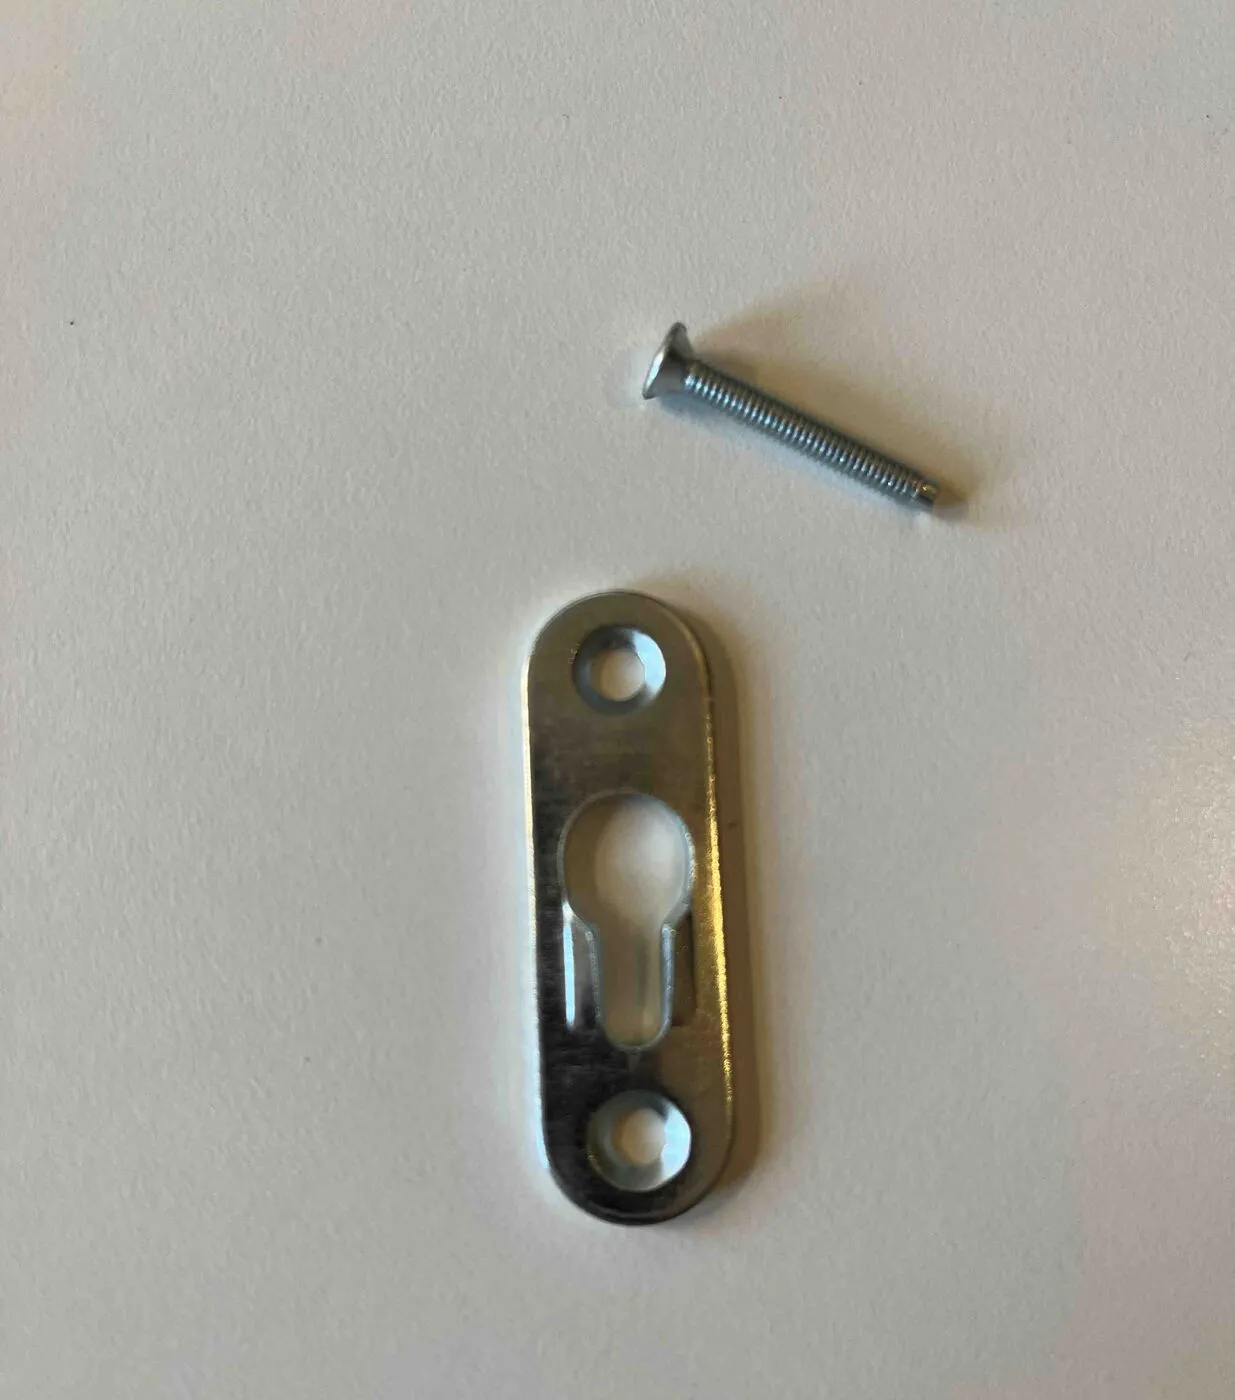
Both the PVC panel and the keyhole mounts are temporary. In the product, the connectors will be molded straight into the planter and the back panel, and the panel itself will be molded too. Its final design isn’t settled yet.
2 days · Finding and fitting the frame
Choosing the frame
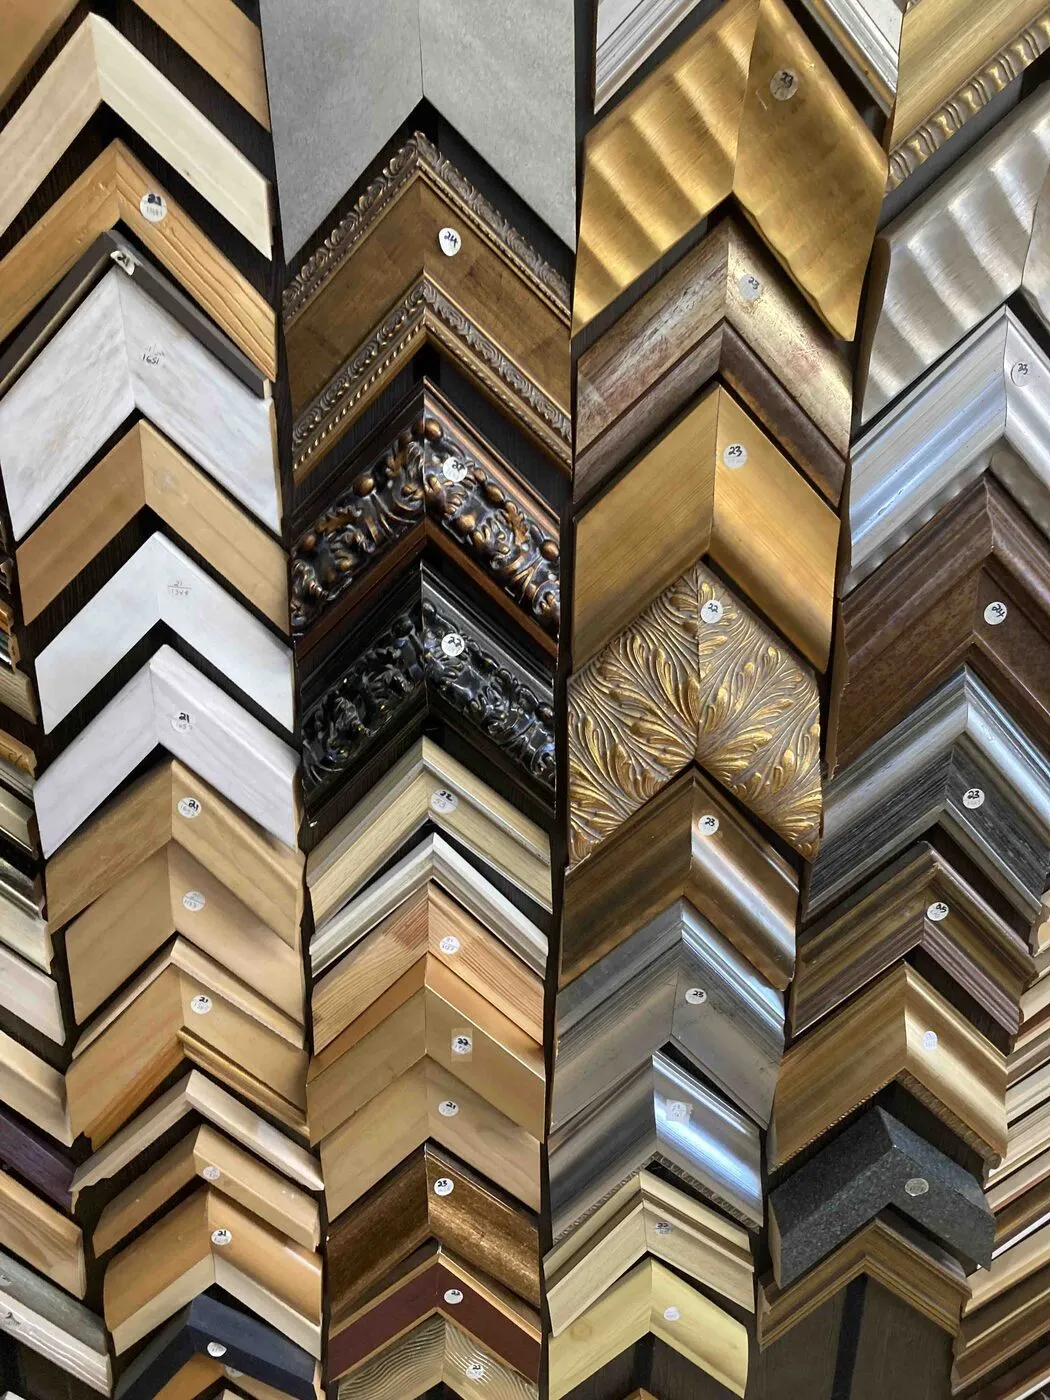
This was the fun part. We held picture-frame corner samples against each other, picturing plants inside them. We wanted something that would look at home in a living room and make the green inside it look deliberate.
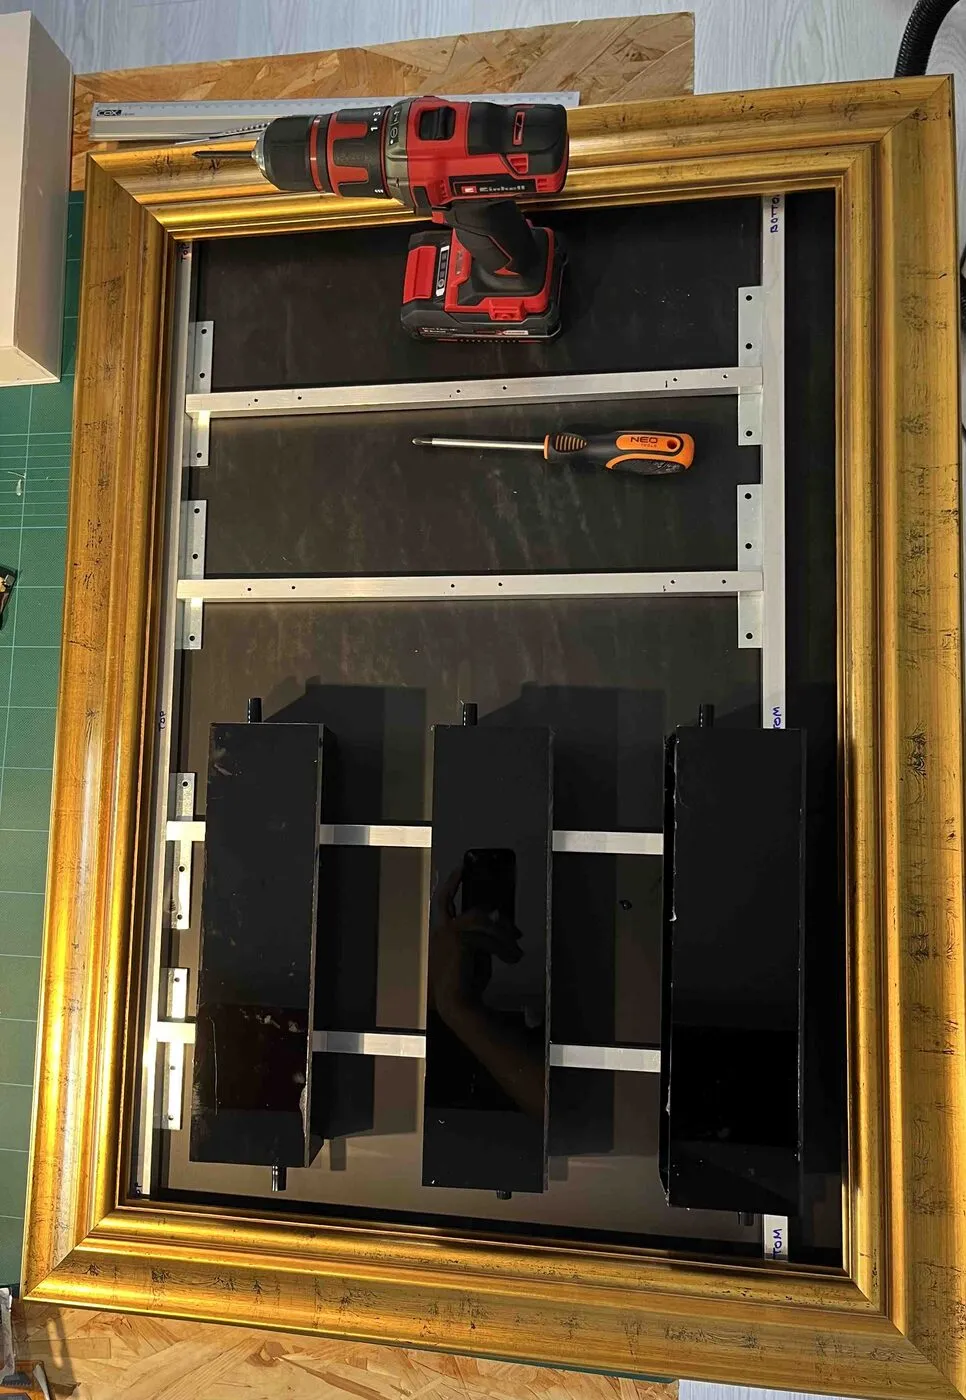
Before there were enough acrylic planters, we used foam mockups to check the spacing inside the frame. Then the real planters went in.
1 day · The net cups
Wire-mesh cups, so we can see the roots
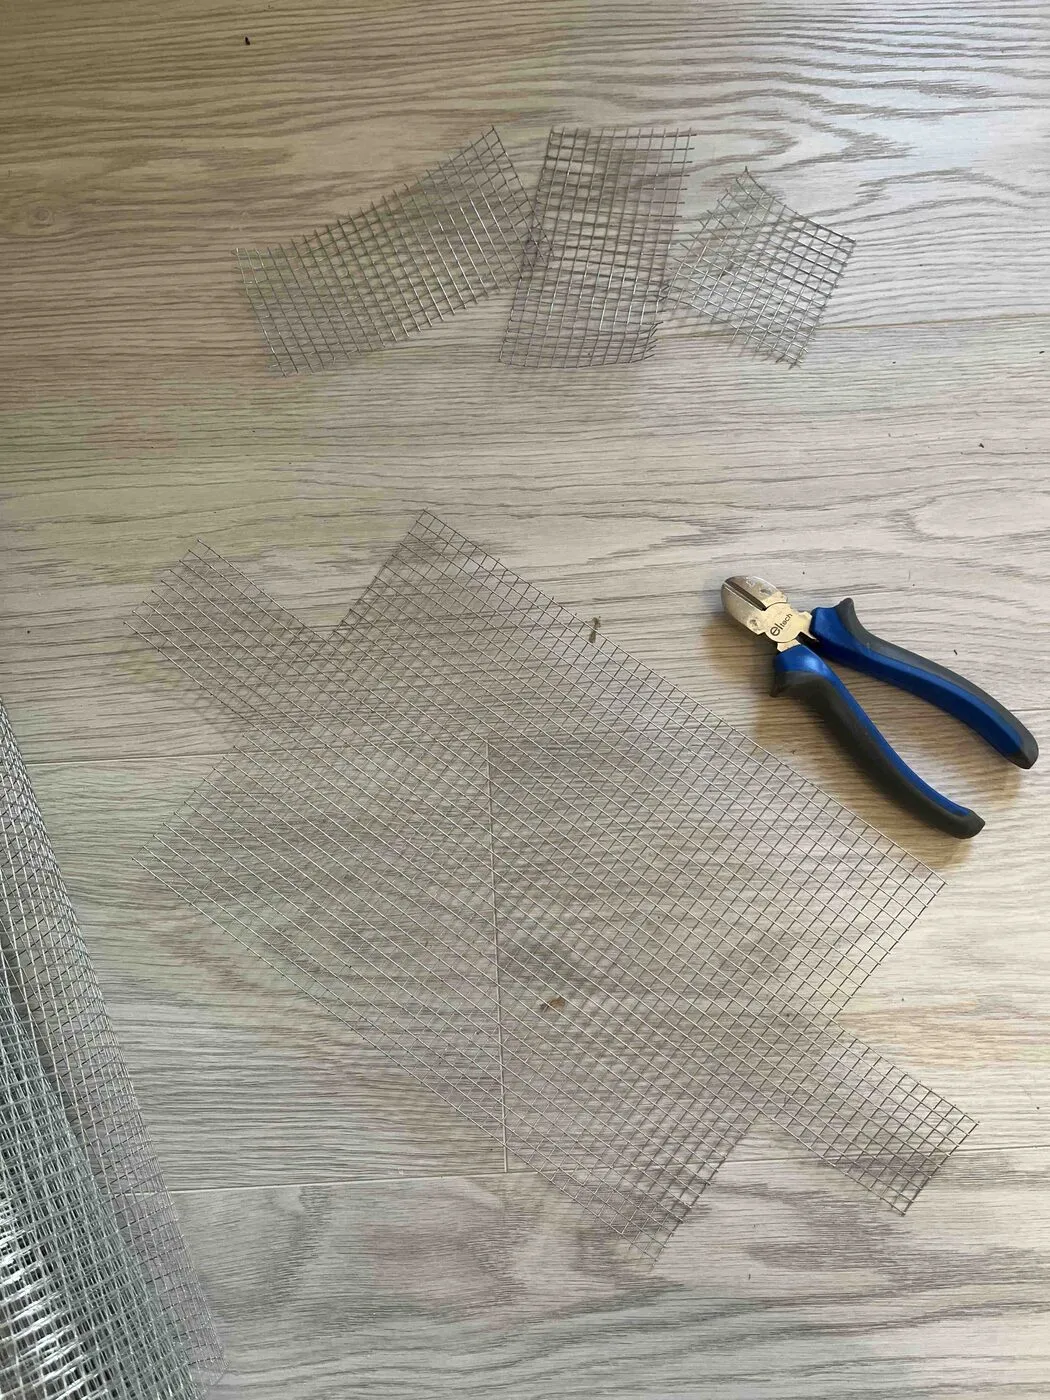
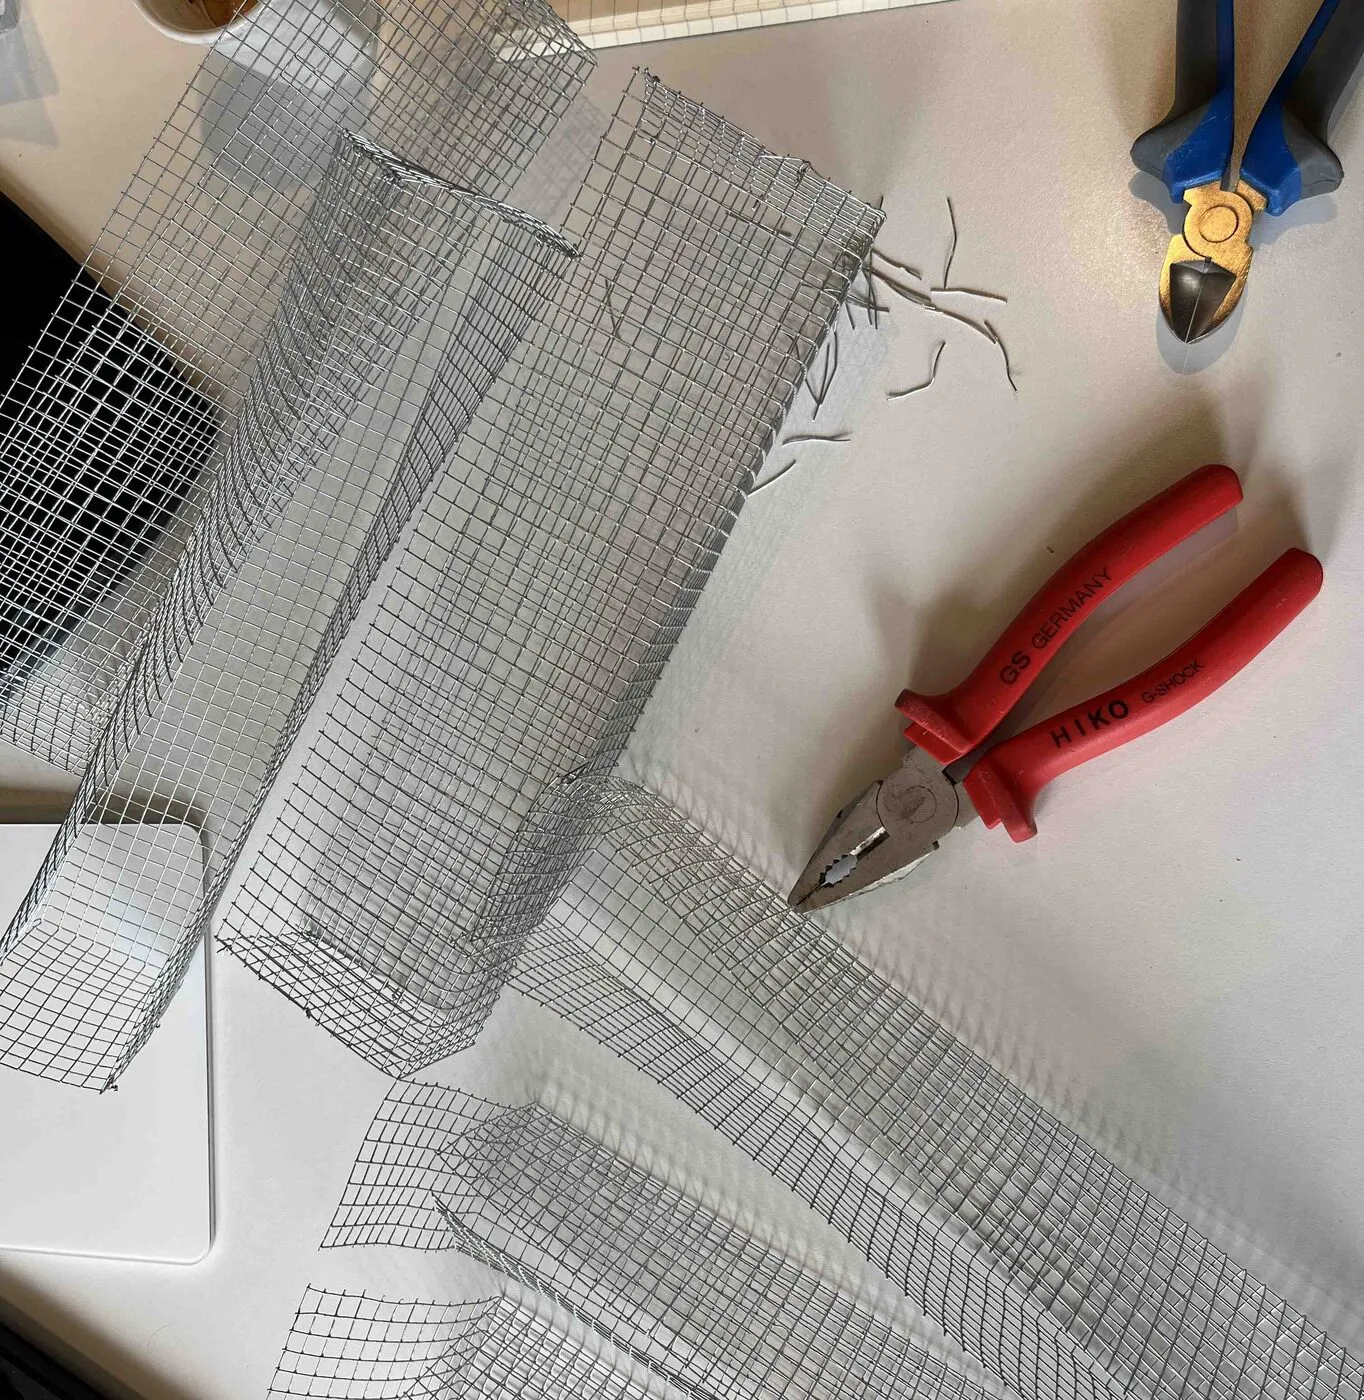
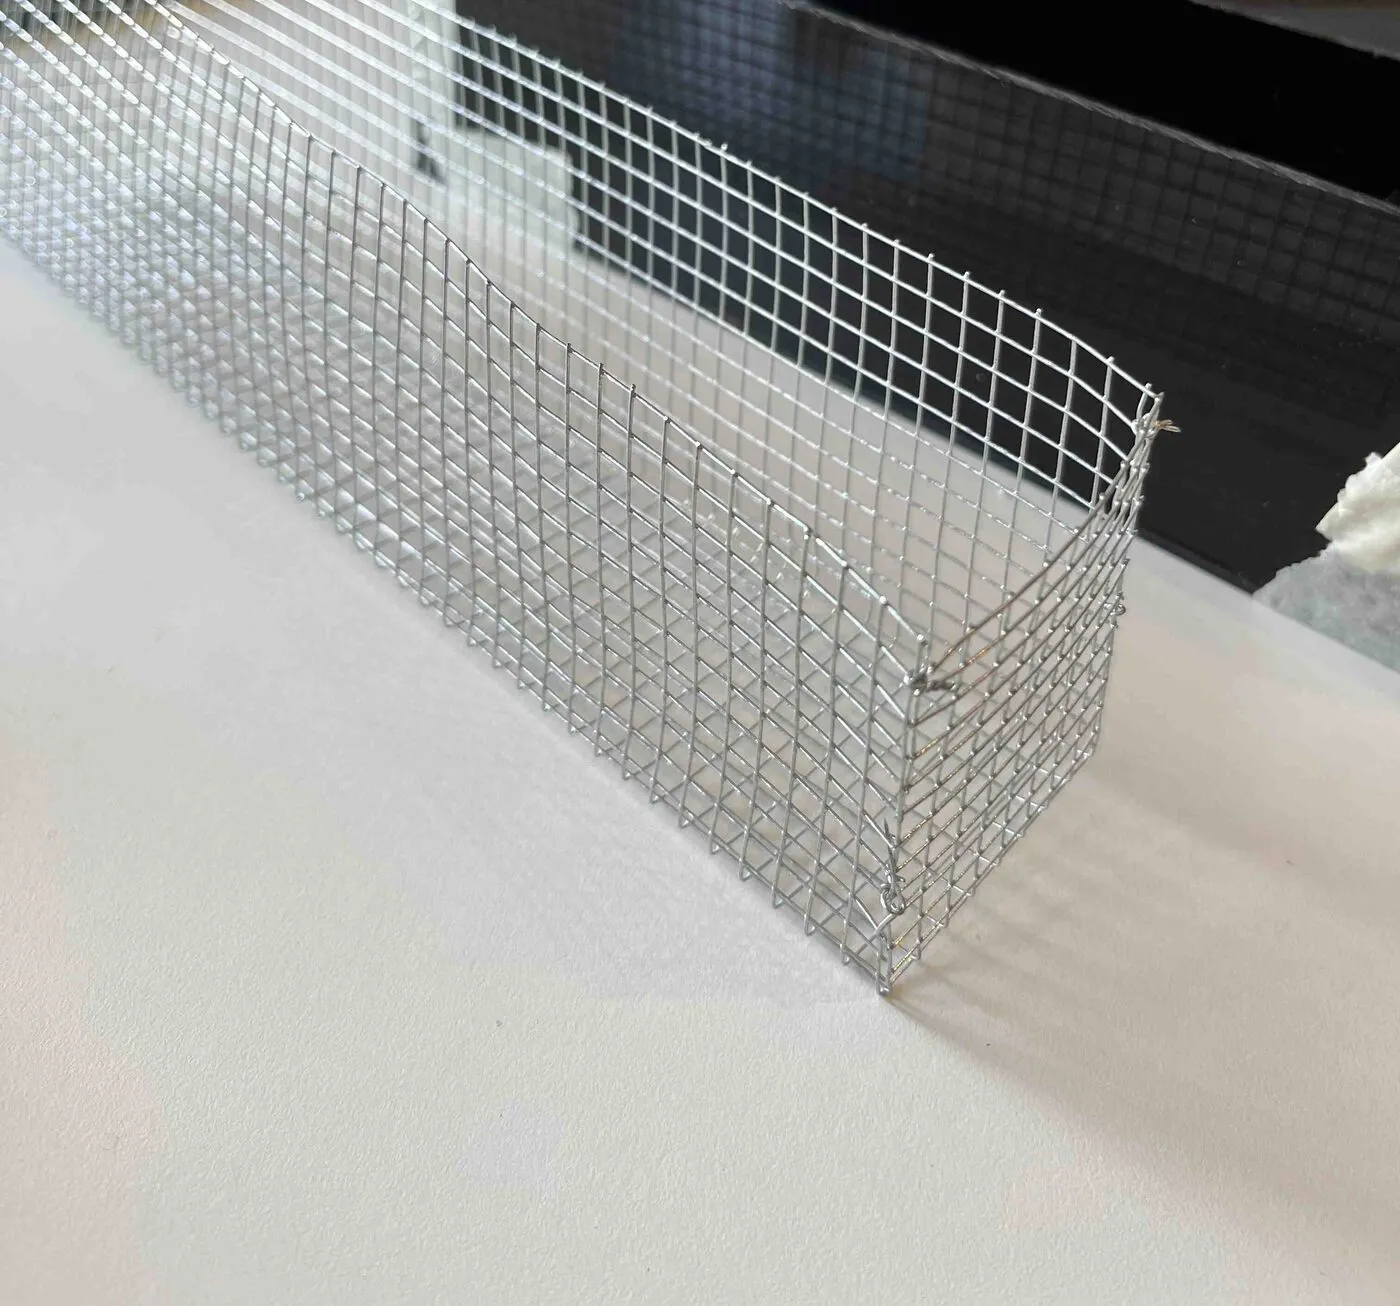
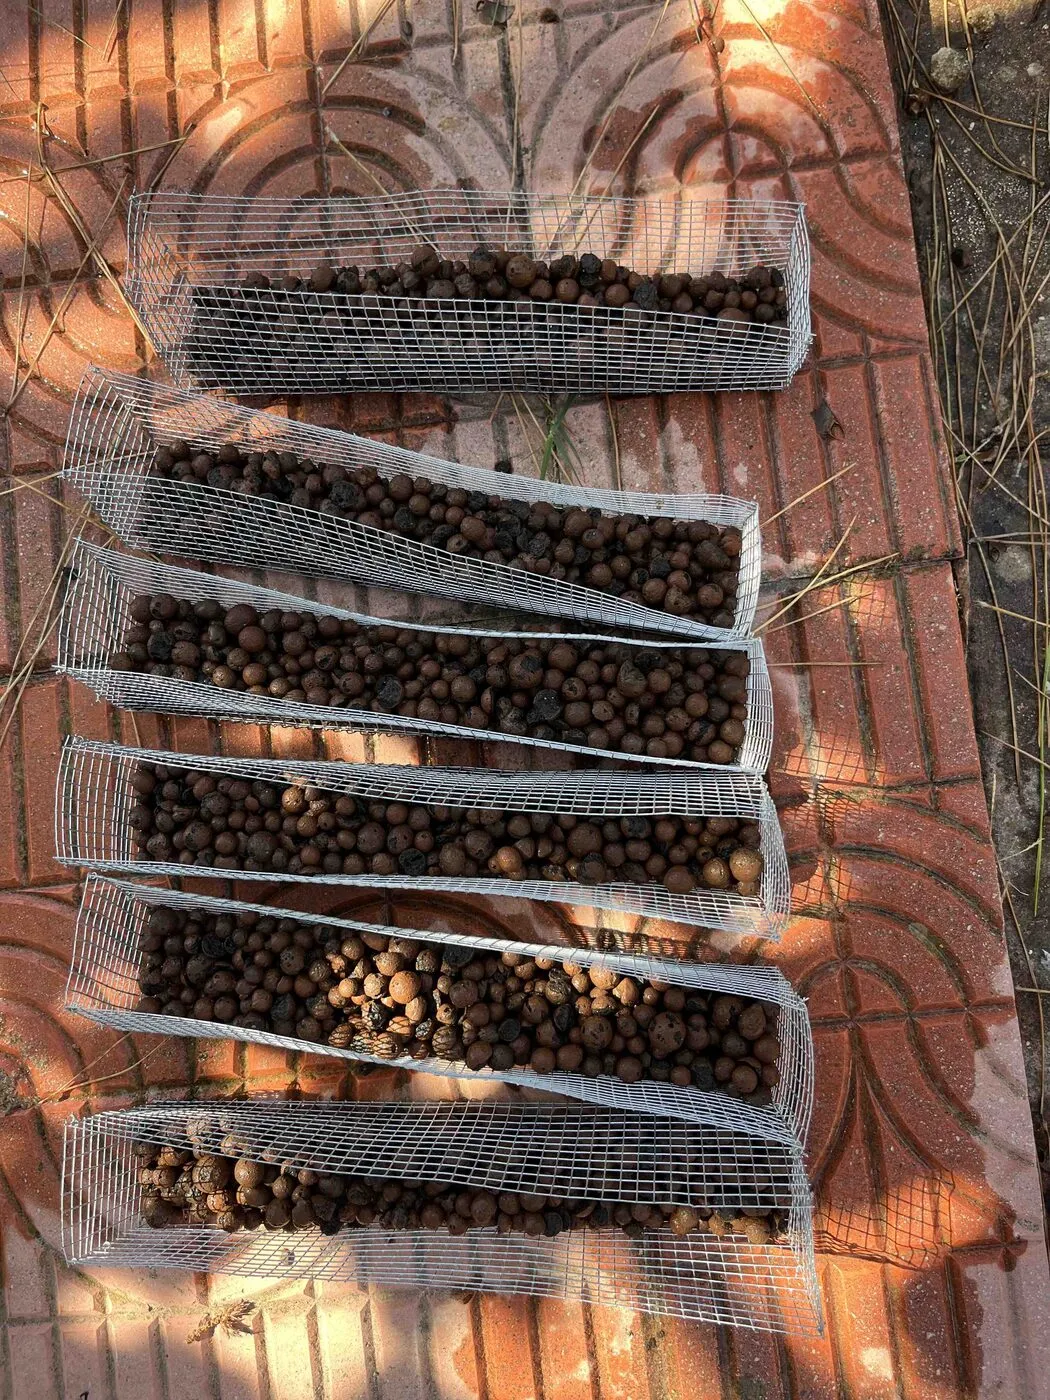
Each planter has a cup inside it that holds the LECA and the plants. We made Sam’s from wire mesh: cut, folded and closed by hand. The point is to look later. At the end of the experiment we can lift a cup out and see exactly where the roots went.
1 day · Planting
Onto the wall, then into the LECA
We planted Sam outdoors, against a stone wall, because it’s much easier to wash roots and spill pebbles outside. The wall was a temporary home: it was where planting and the first tests were easiest, not where Sam belongs. The panel went up first, then the empty planters, then the cups filled with rinsed LECA and the plants.
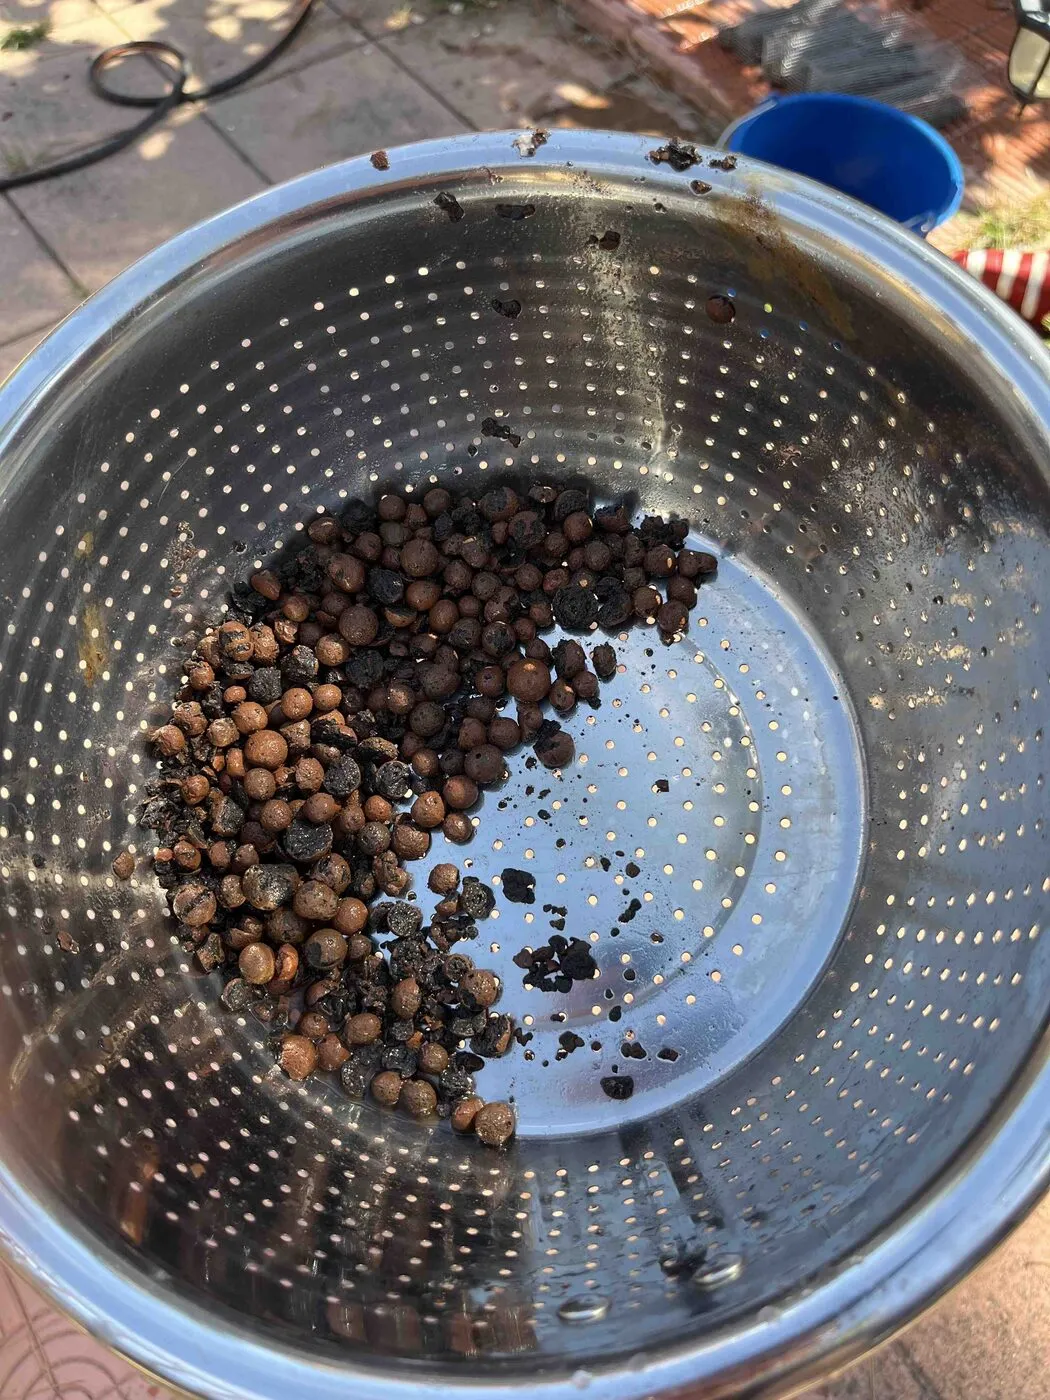
The LECA was washed and then pre-soaked for 48 hours before any of this, so the pebbles arrive at the planter already saturated rather than drinking the reservoir dry in their first week. What the photograph shows is the second washing, to take off the dust the soak loosens.
Nine days later, Sam came inside. One plant had to be replaced first: see One ivy didn’t take.
How each plant went in is further down, in The plants on Sam.
The frame comes off
In Meadori, the living part and the frame are separate. The planters hang on a light structure, and the frame mounts on top of it. You choose the frame from a range of styles, and it comes off again. Sam is our first test of that idea.
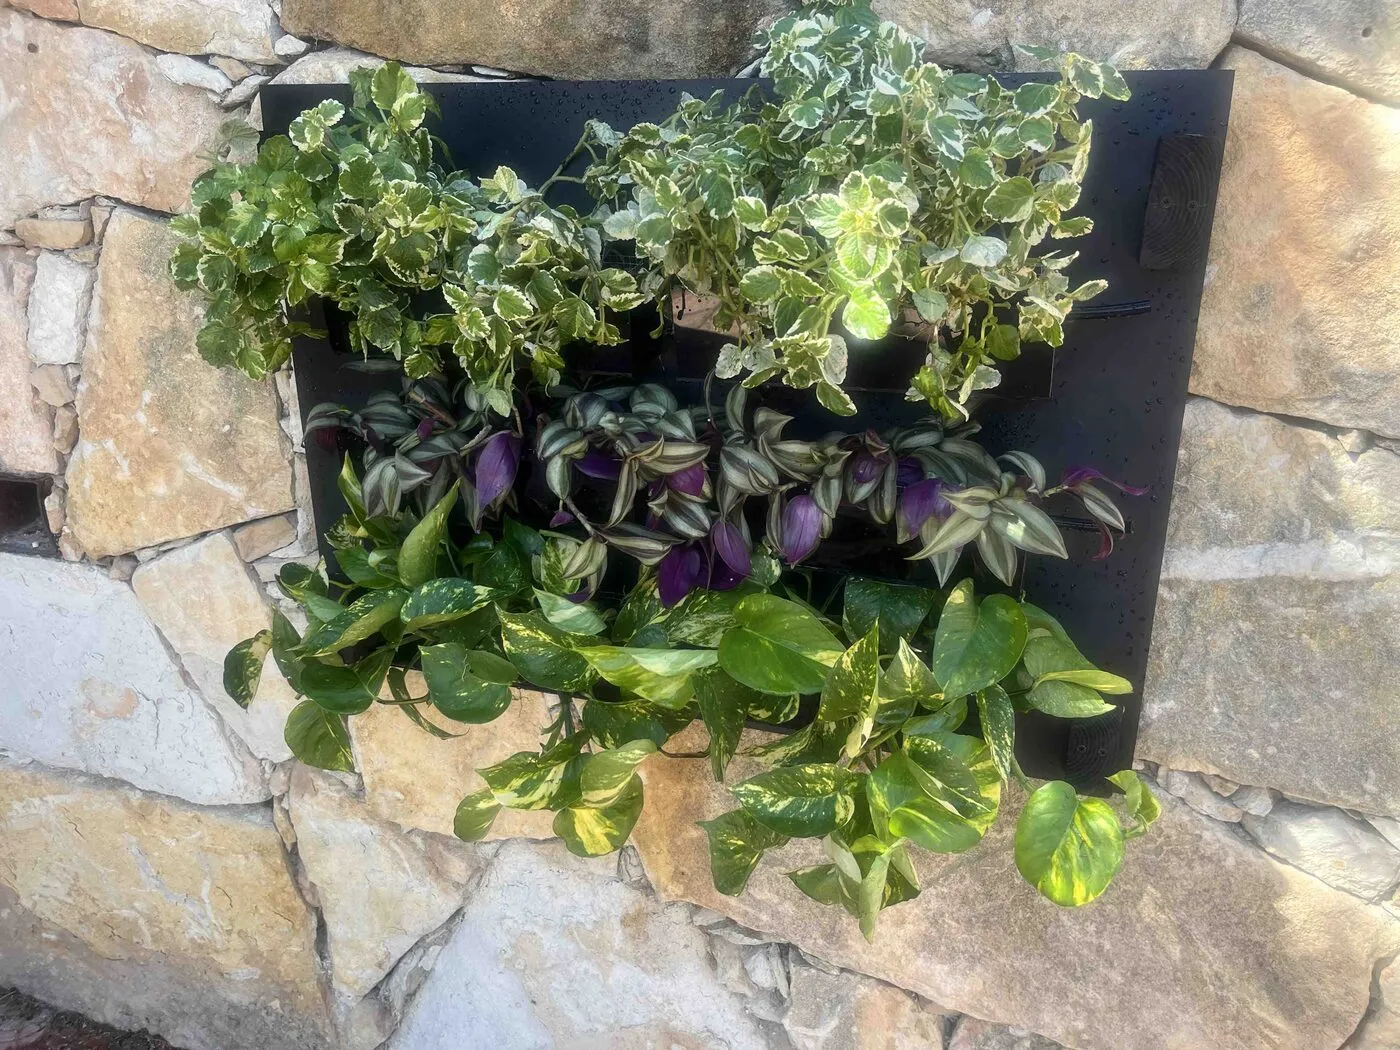
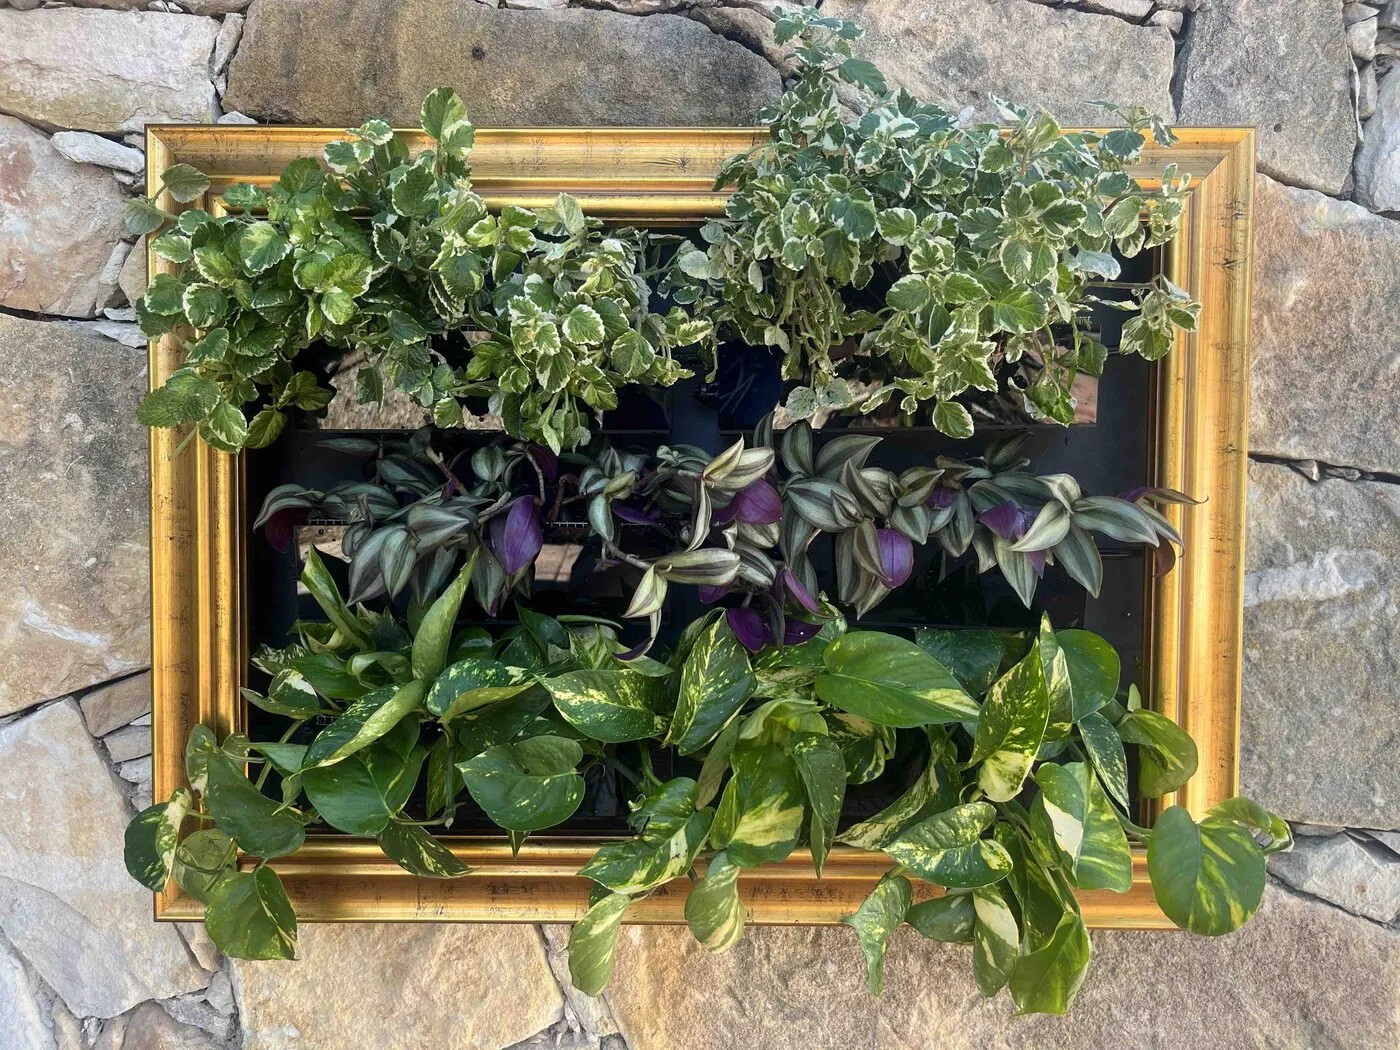
The mount itself is still early. It works on Sam, but it isn’t yet ready for every frame style. That comes later.
Home
After nine days outside, Sam moved to where it was always meant to hang: a living room wall, above a sofa. Before it came in, it got a light cleanup, with yellowed leaves and broken stems trimmed off.
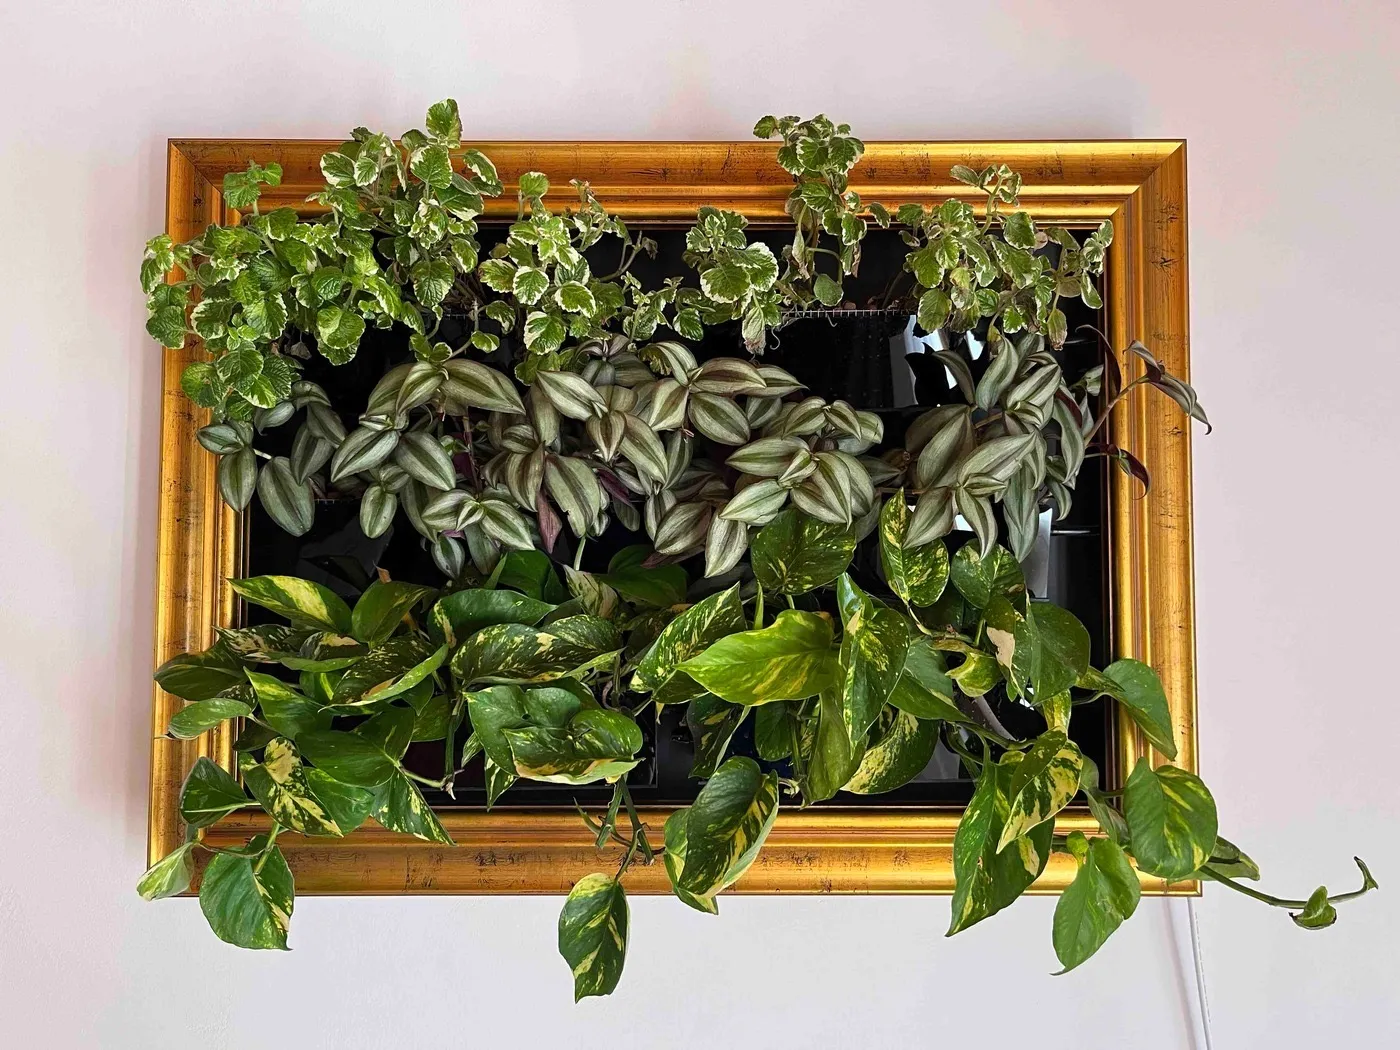
By day it’s a framed picture of plants. In the evening a warm backlight comes on behind the frame. It lights the wall around the picture, and the leaves glow from behind.
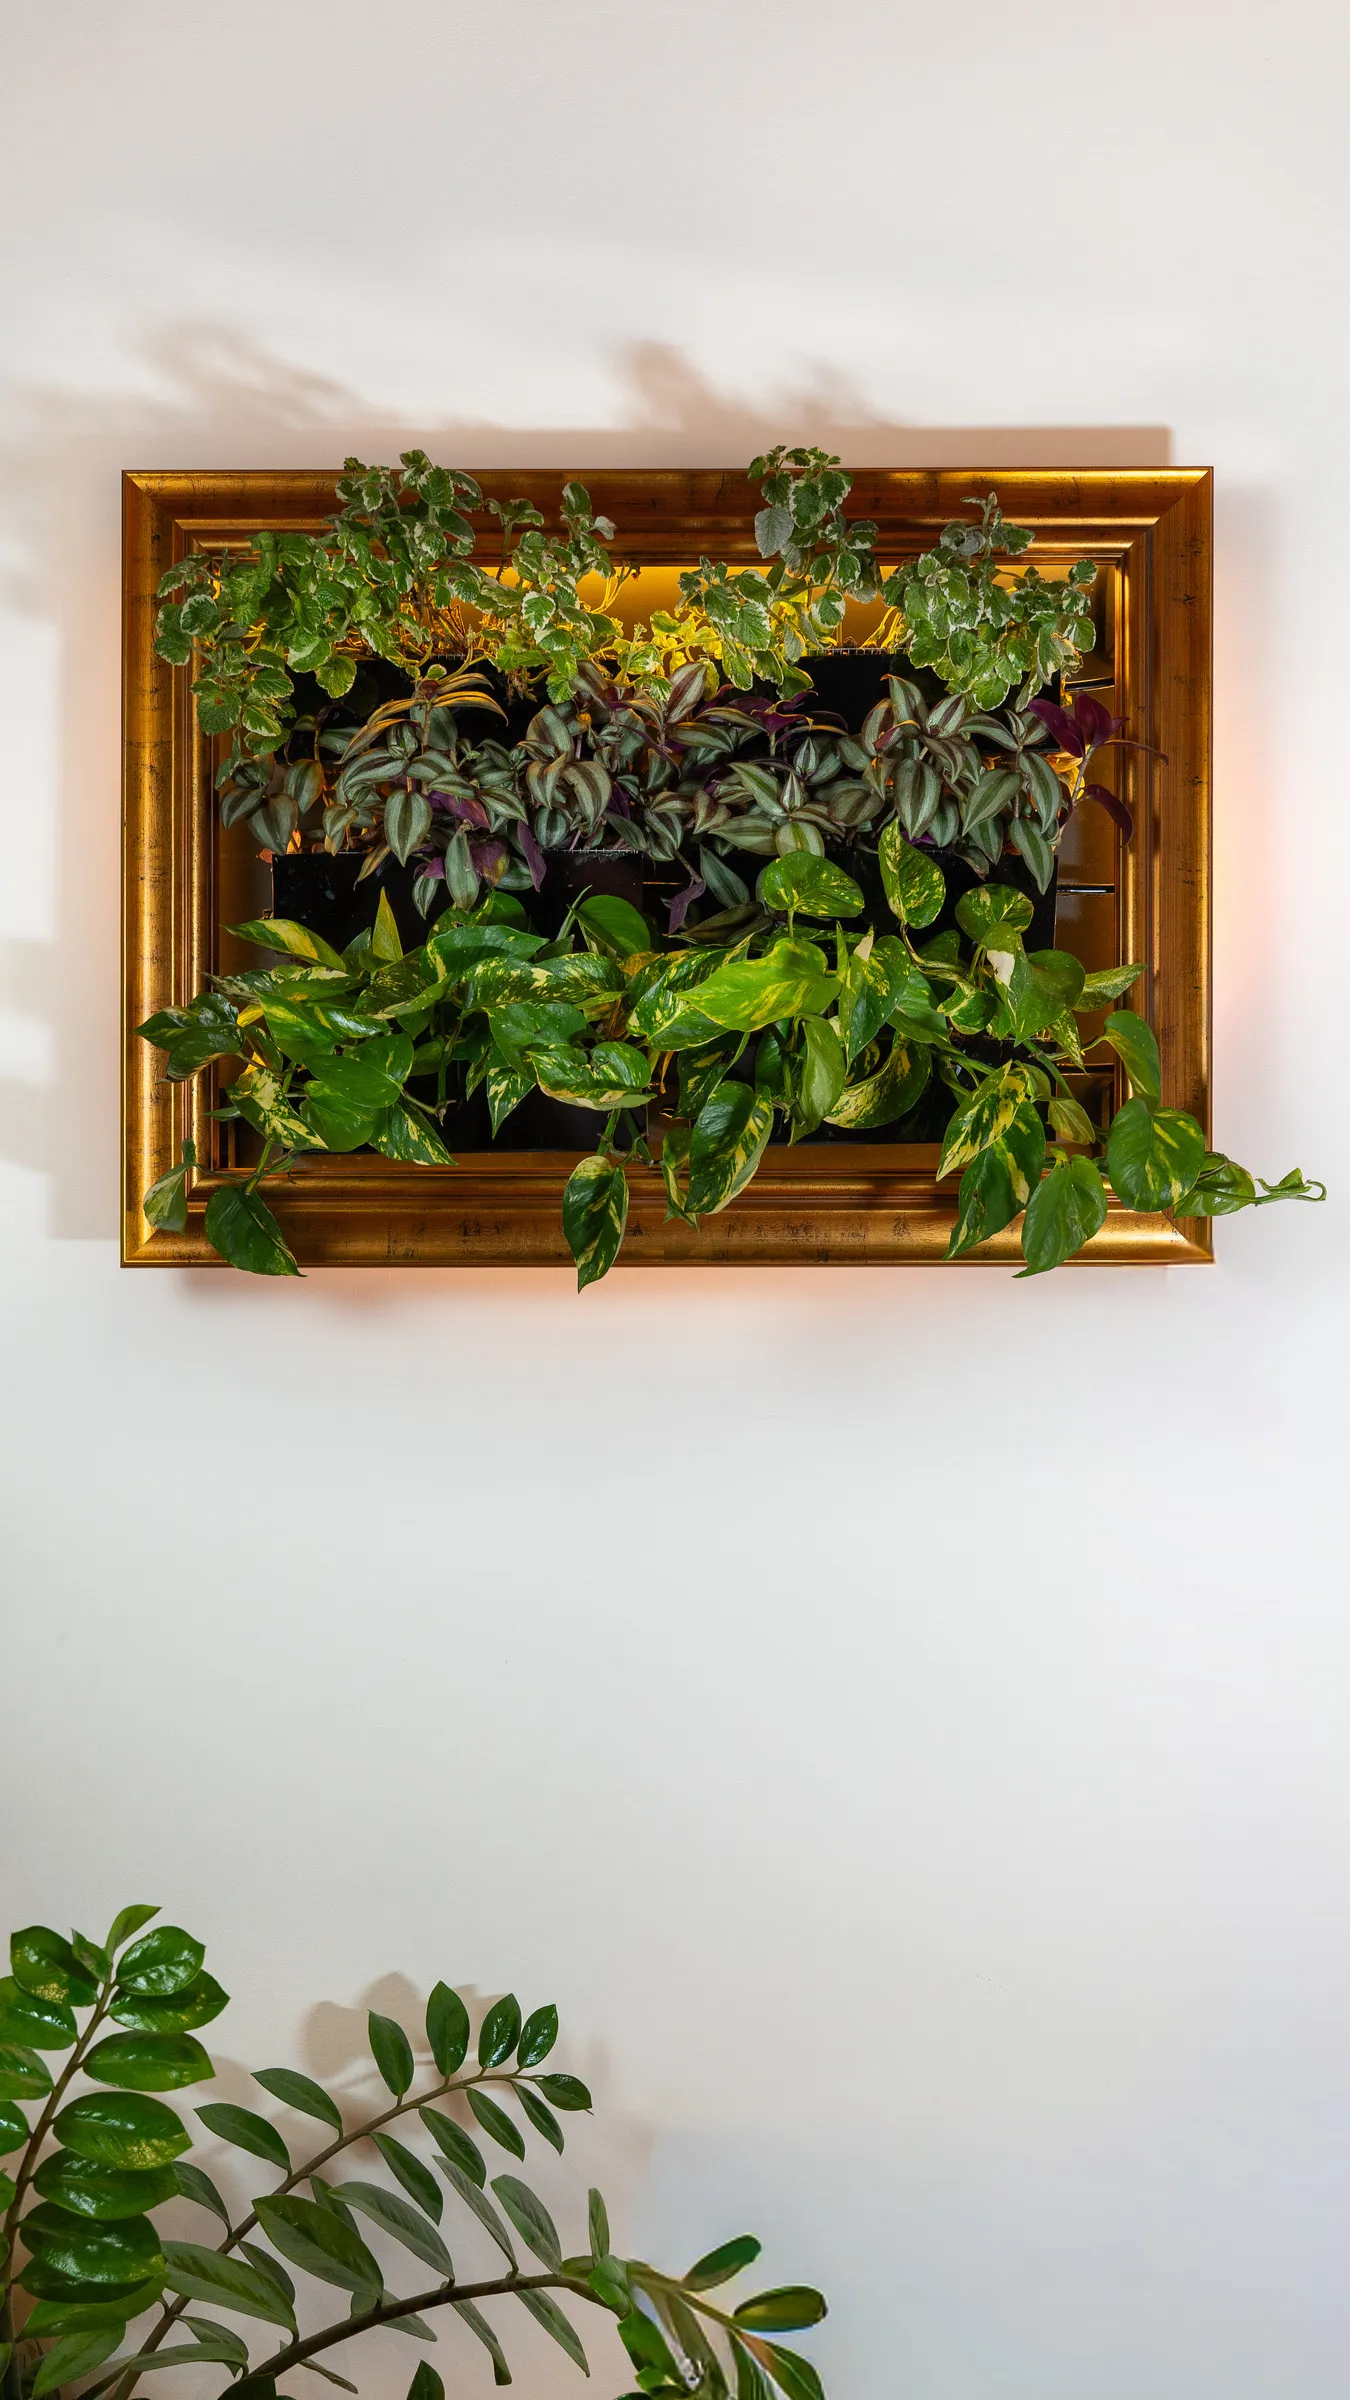
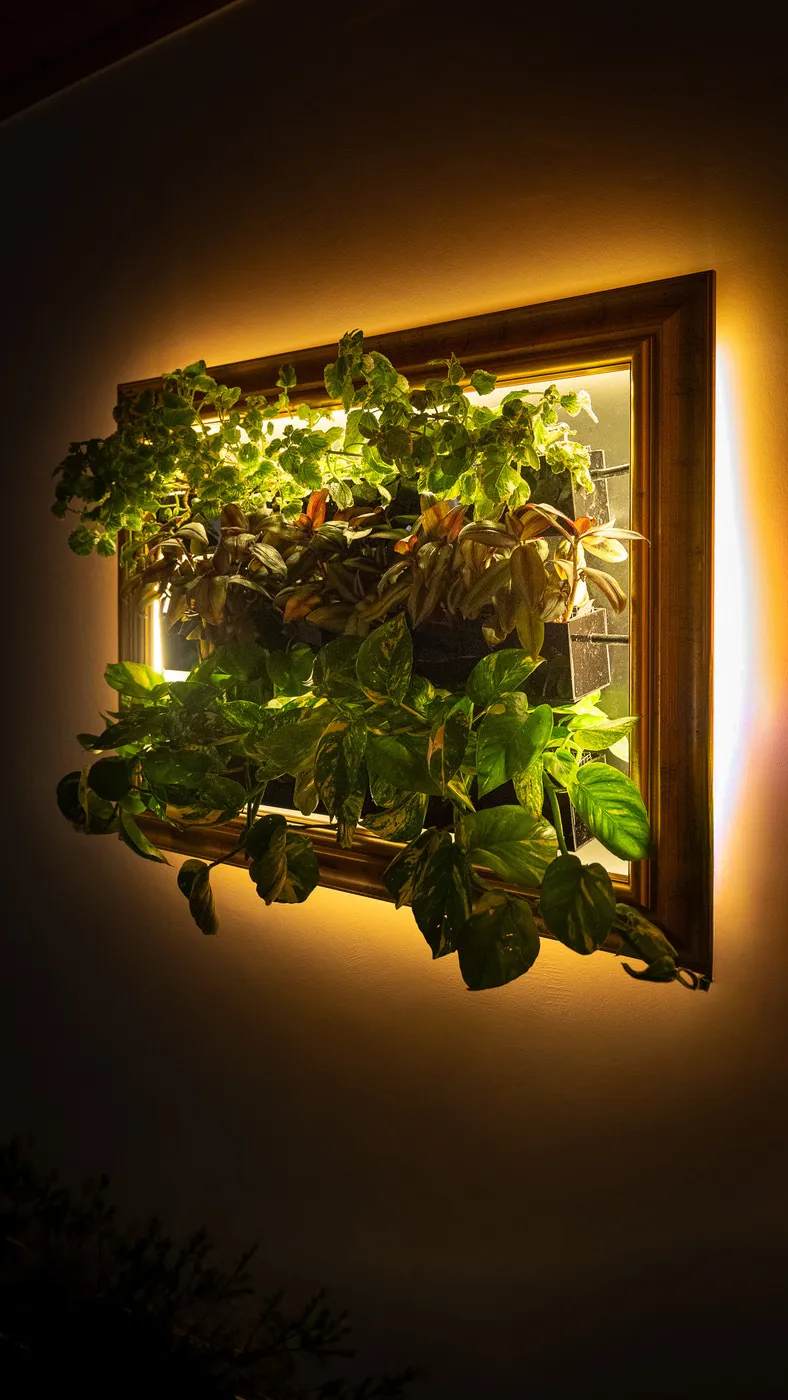
A week after the move, the plants had settled in.
How it works
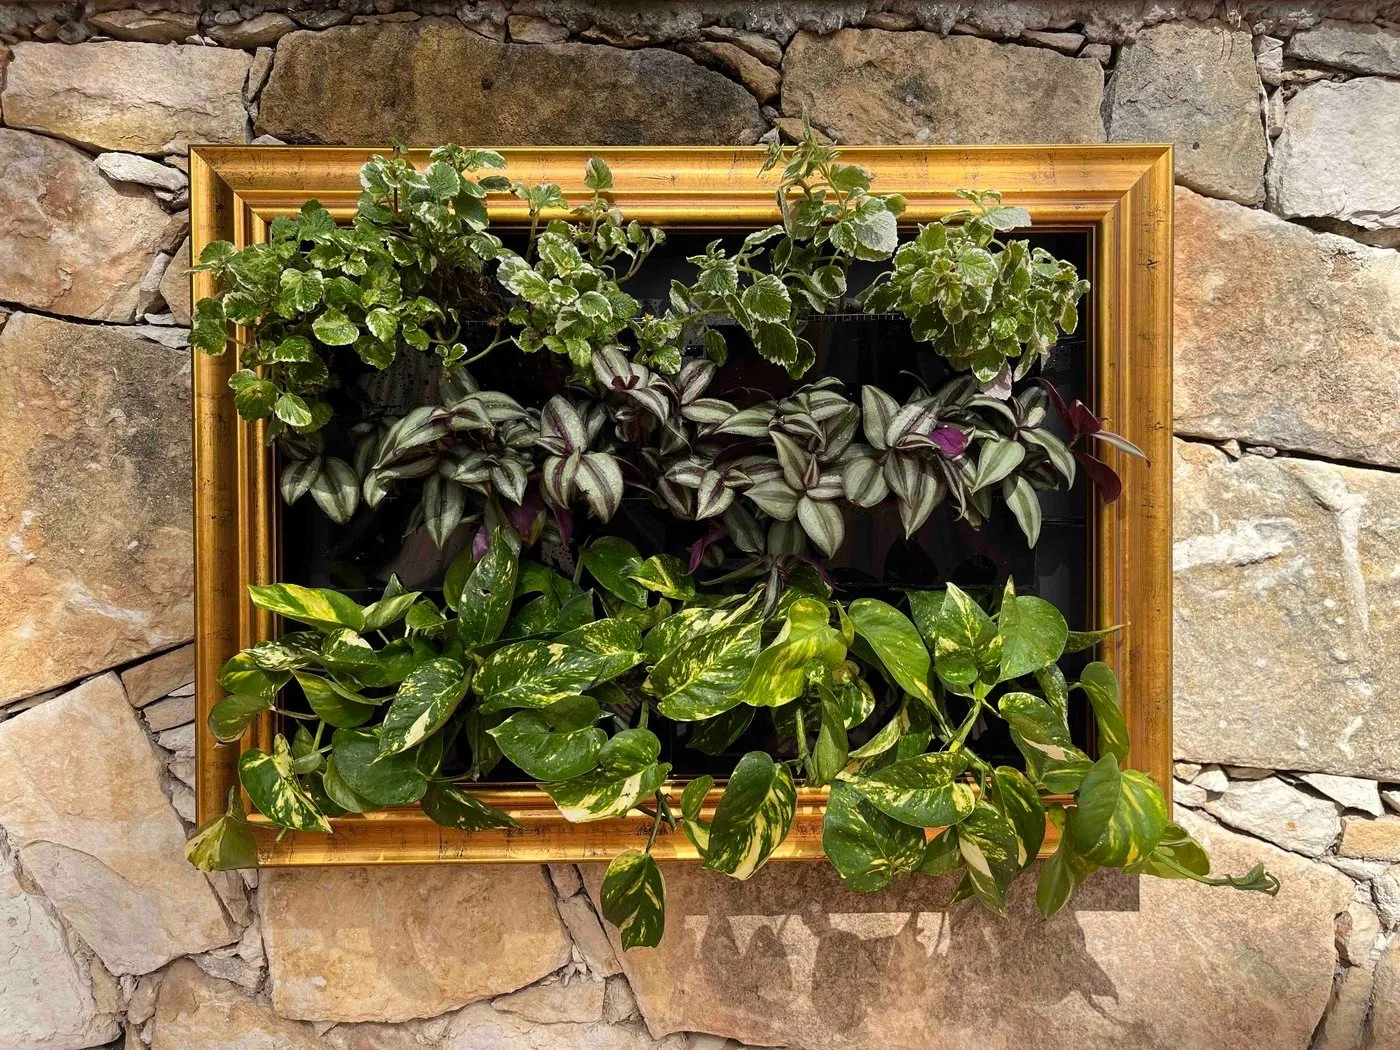
From the front, Sam is a framed picture with six planters in it, in two columns and three rows. The spacing is the same as Frankie’s and the same as the planned product, so the plants have to cover the planter below them as well as their own. The pothos in the bottom row did it on planting day.
The water is meant to move the way it does on Frankie: a pump lifts it to the top row, each row overflows into the one beneath, and the bottom row drains back. None of that is running yet, which is why every blue line below is dashed.
Today Sam is watered and fed by hand. How much a planter loses to the air on its own, before a plant drinks any, is measured here. The loop above is half there. The tubing is partly installed, and the reservoir and pump aren’t fitted yet. In What went wrong we explain why.
Behind it all, there’s one more layer: a warm, decorative backlight. It’s there for looks, not for growing plants. In the evening it lights the wall around the frame and shines through the leaves.
Day 16: how Sam is doing
Sixteen days is far too early to judge the plants, so most of this scorecard is about the build. Read it as a first look, not a result.
| What it had to prove | What happened | Verdict |
|---|---|---|
| Look like living art | The professional photos are in. Indoors, by day and lit at night, Sam reads as a framed picture of plants, not a planter. | Met |
| The full 2 × 3 grid | Six planters at the product's spacing, with the bottom row already hiding its planters. | Met |
| Printed planters | Not this time. Acrylic again while printing catches up. | Missed |
| Water that looks after itself | Not yet. The tubes pinched, the drains need work, and Sam is watered by hand. | Missed |
| Water out of sight | The reservoir, about 4.5 L and hidden below the bottom row, isn't installed yet. | Open |
| A warm backlight | Installed. Warm light behind the frame in the evening, for looks only. | Met |
| The plants settle in | Sixteen days in, and a week indoors. The tradescantia is in a growth spurt and may need its first trim. The pothos trails well below the frame. Both top planters are full again, with a few curled leaves on the ivy to watch. The grow logs will tell it. | Partly |
The plants on Sam
We picked the plants from the species we already know take to semi-hydro, then chose among those by what the nursery had that day and by what would give the picture some variety. Every new plant on a Meadori wall is another plant we learn to grow, and we want a long list. One is an old friend from Frankie. Two are new.
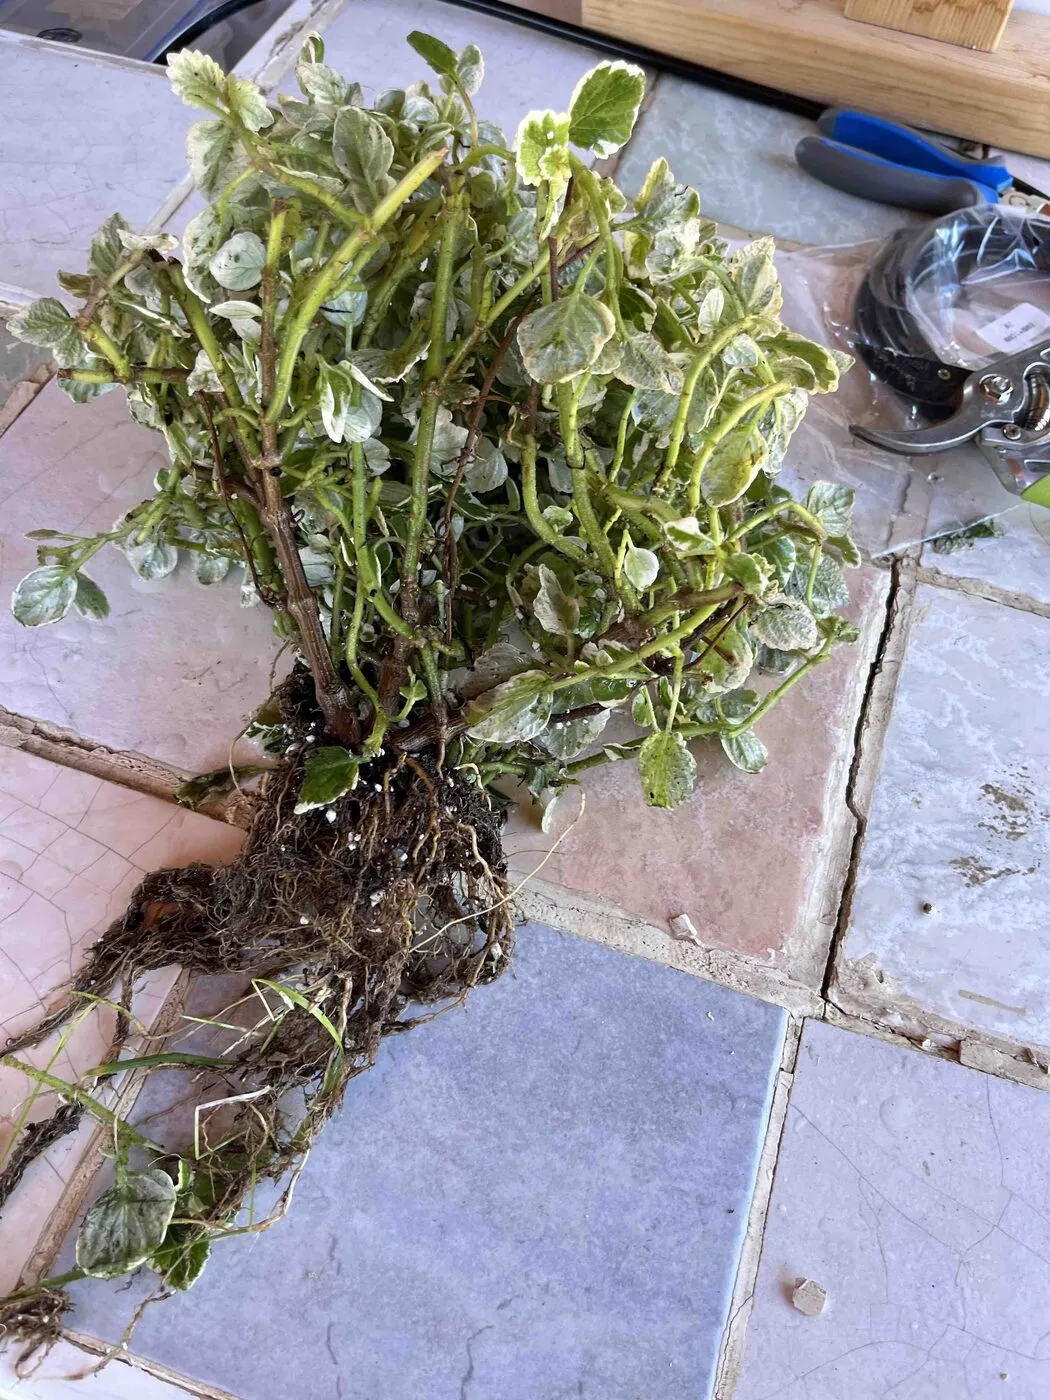
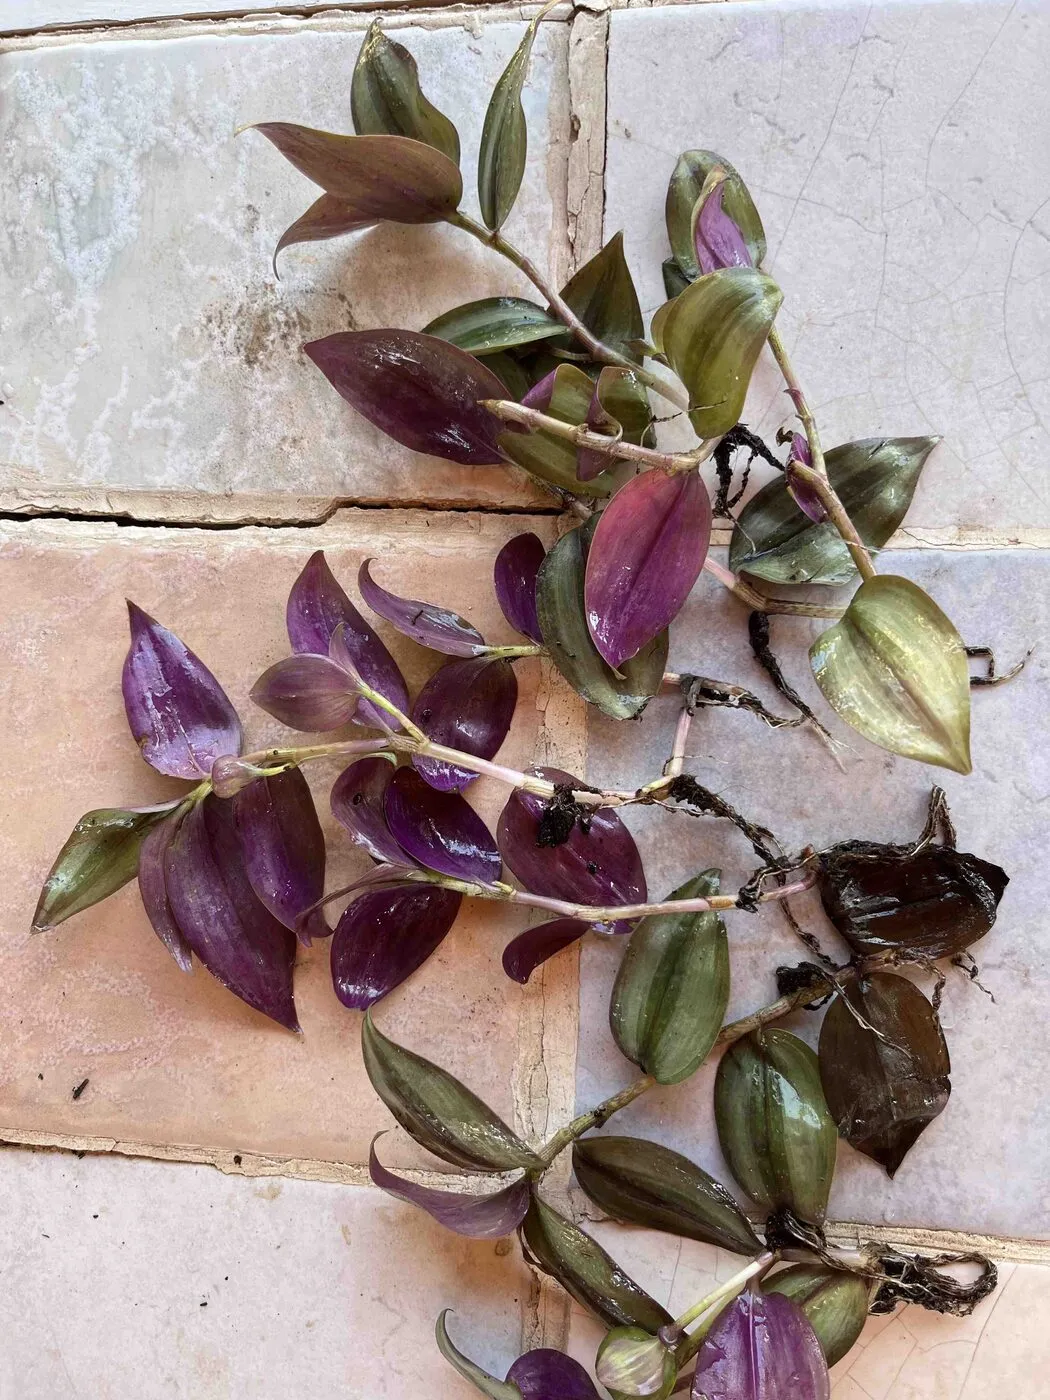
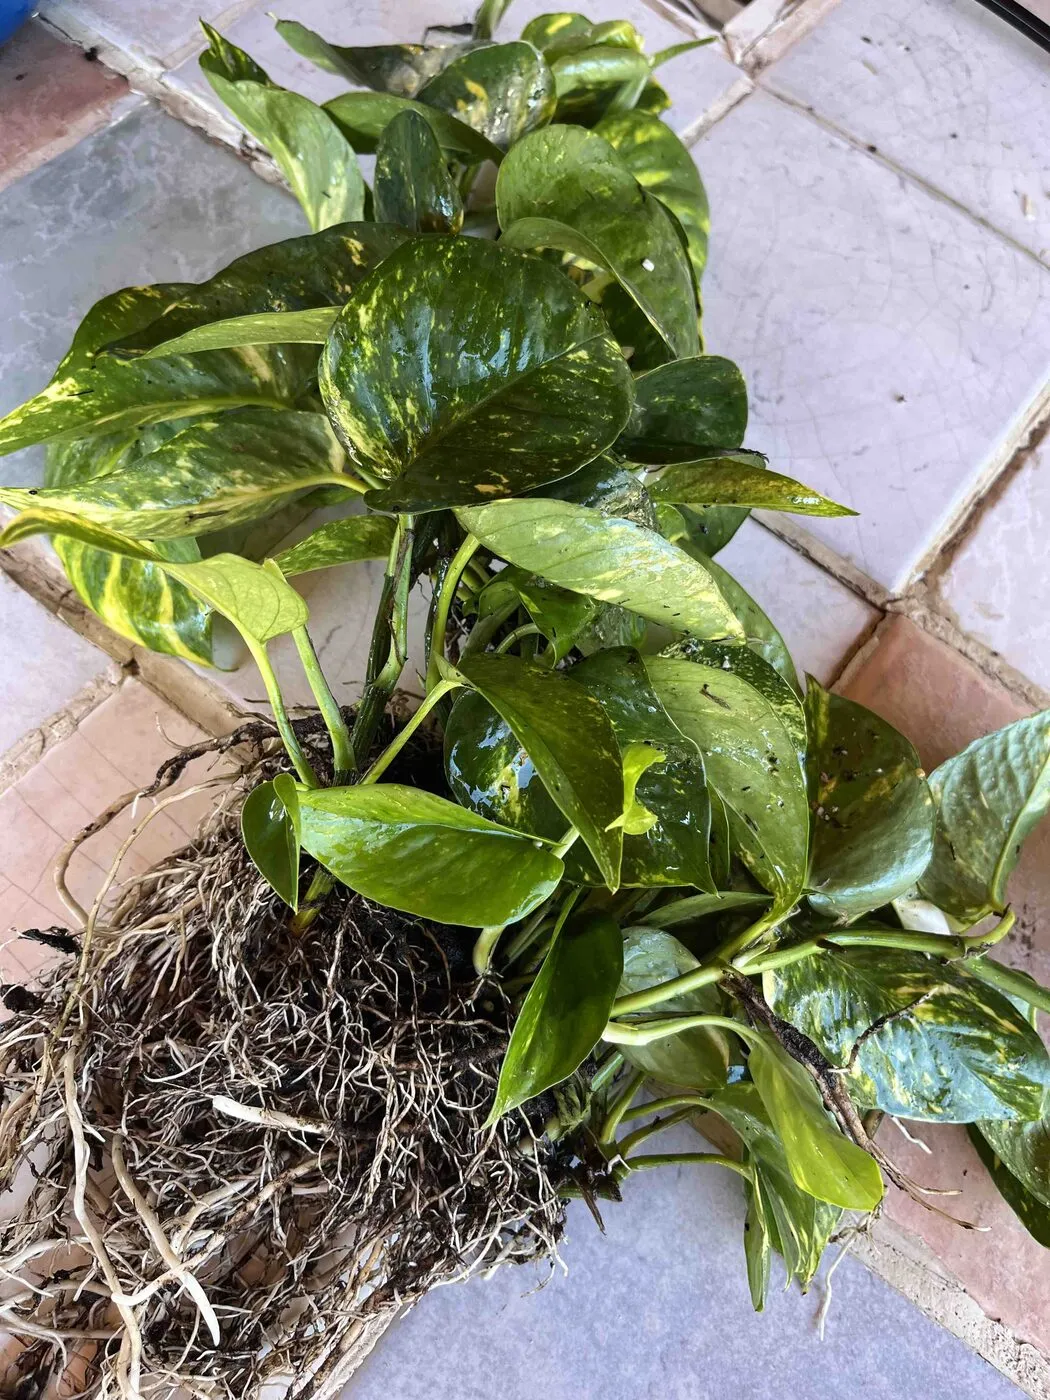
The plants cost about €65 in total. Every one went in the same way: out of the pot, soil washed off the roots, into a wire-mesh cup of LECA. Washing is where the surprises happen, because a pot that looks like one plant is often several.
Swedish ivy
Coleus forsteri 'Marginatus' · top row
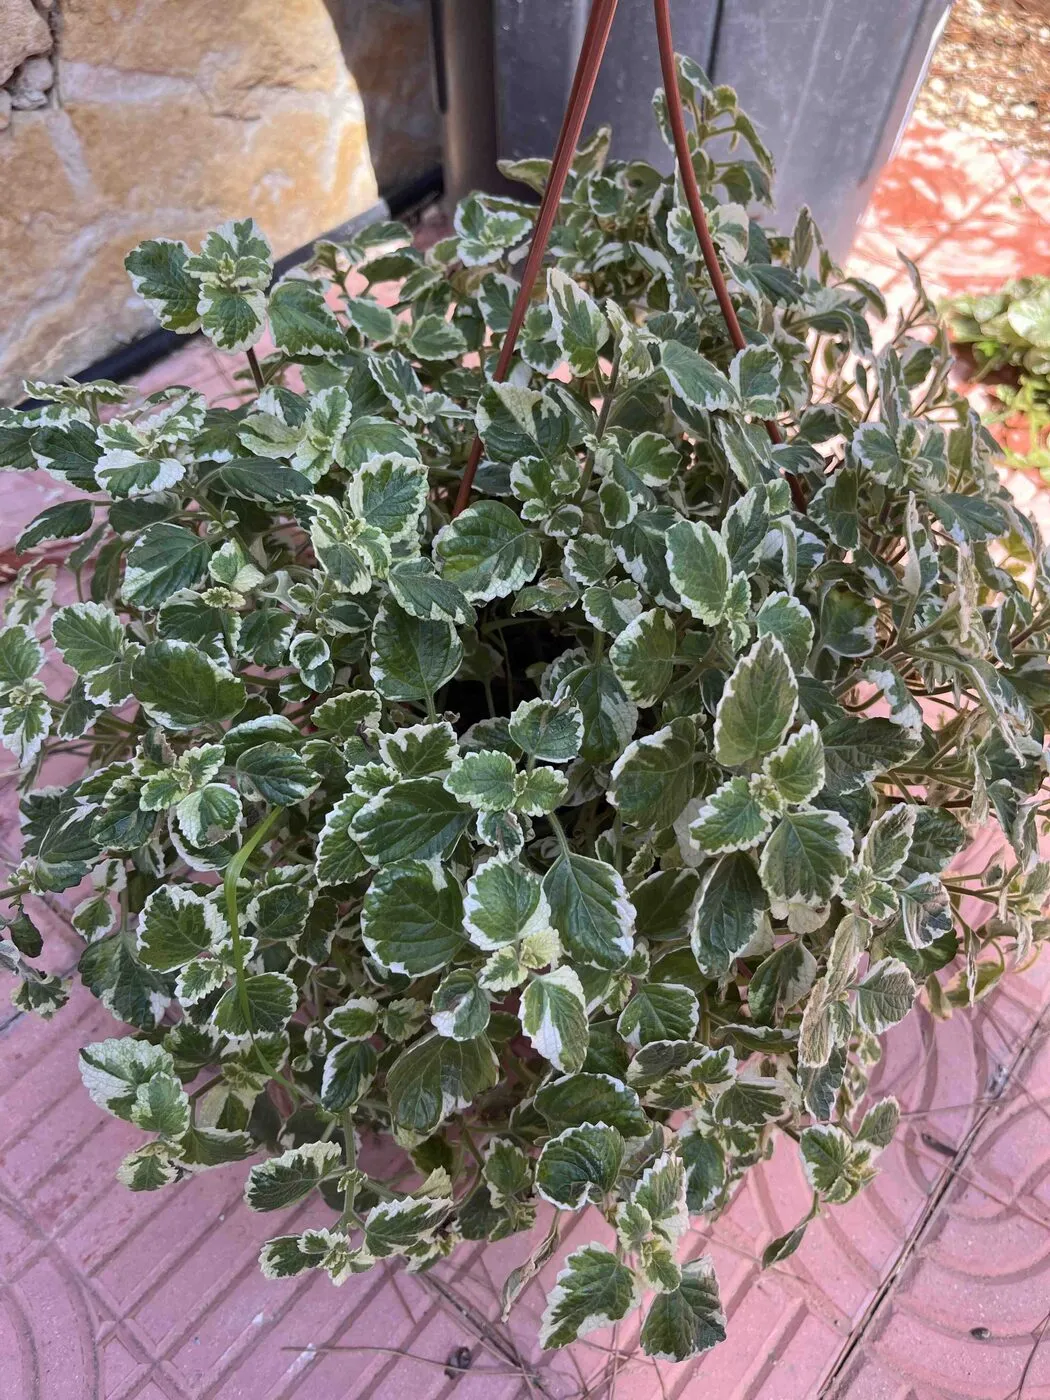
The same variegated Swedish ivy that grew on Frankie, back for a second round. We bought two large hanging-basket plants, one for each top planter. Once the soil was washed off, each came apart into two or three separate root balls.
One ivy didn’t take
By its ninth day on the wall, the ivy in the top-right planter was failing. Its leaves curled and browned, and whole stems dried out, while its twin in the top-left planter kept growing. Just before the move indoors, we lifted the cup out to see why.
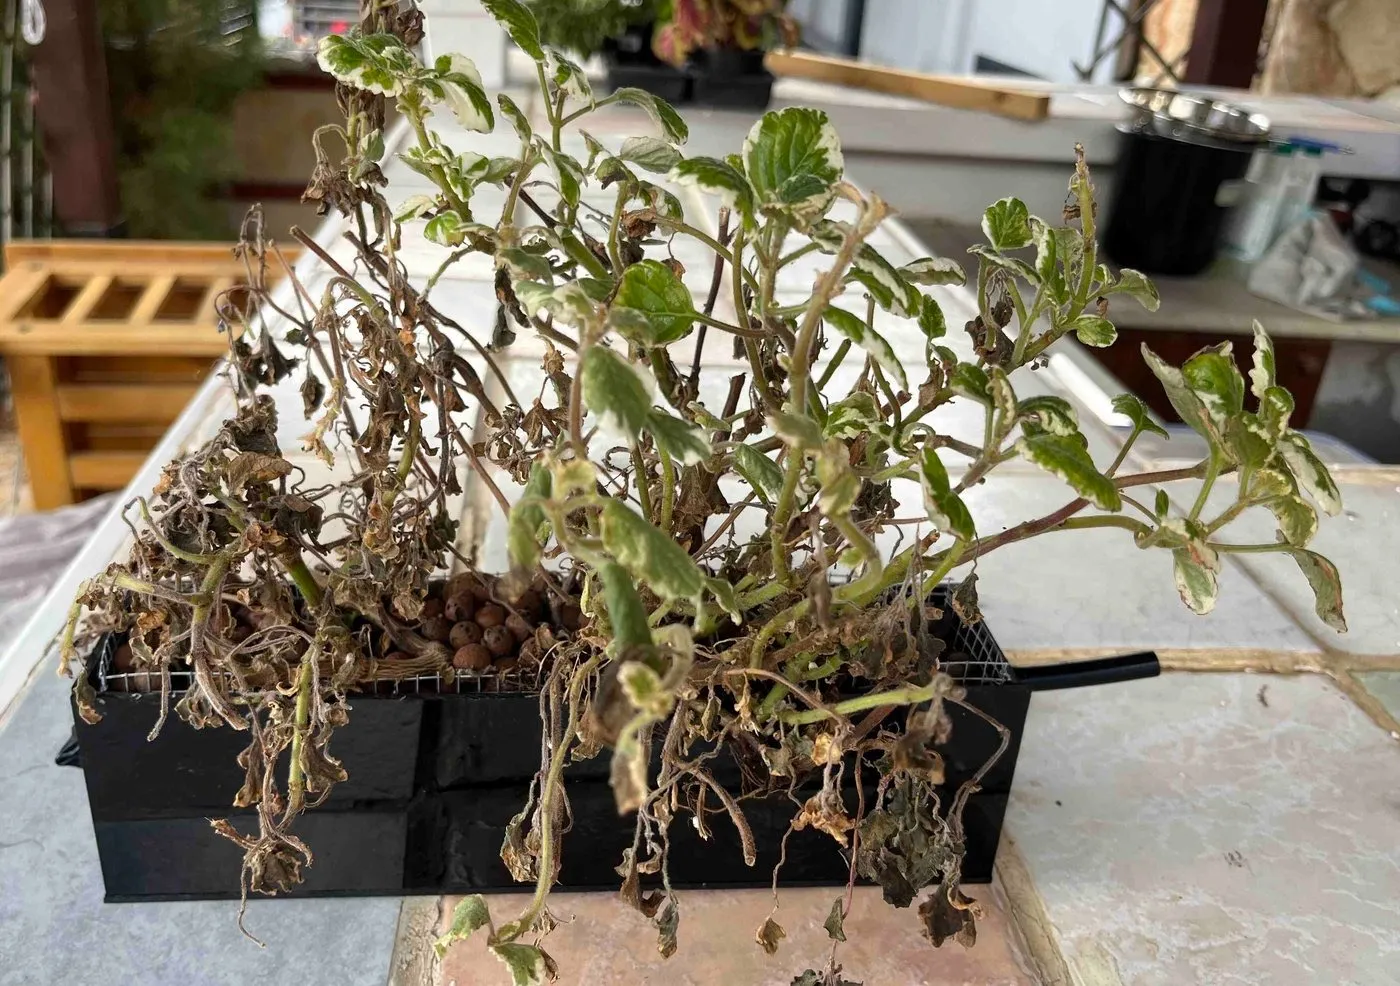
There wasn’t one cause but three.
- It was too big. This was the largest plant on the wall. Frankie taught us to plant two small plants rather than one big one, and this ivy is the reason why.
- It was hurt going in. Washing a root ball that size and fitting it into a narrow cup broke many of its branches.
- The washing missed the middle. At the center of the roots sat a dense core of nursery soil, still full of white perlite. Under the cup, the planter held a layer of silt: soil the water had been carrying out of that core.
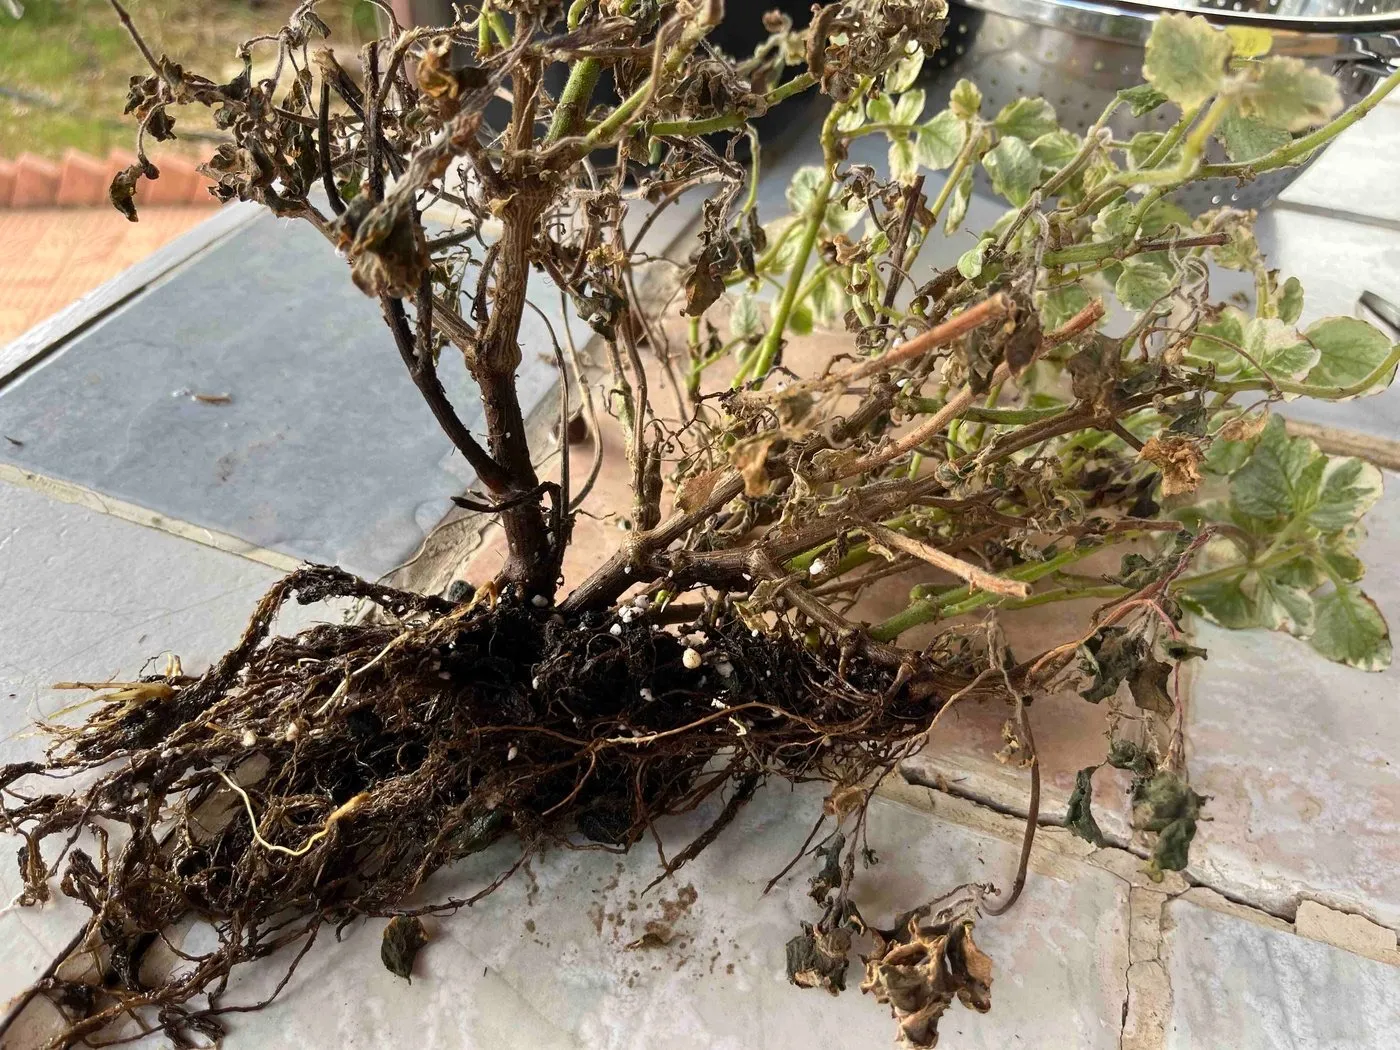
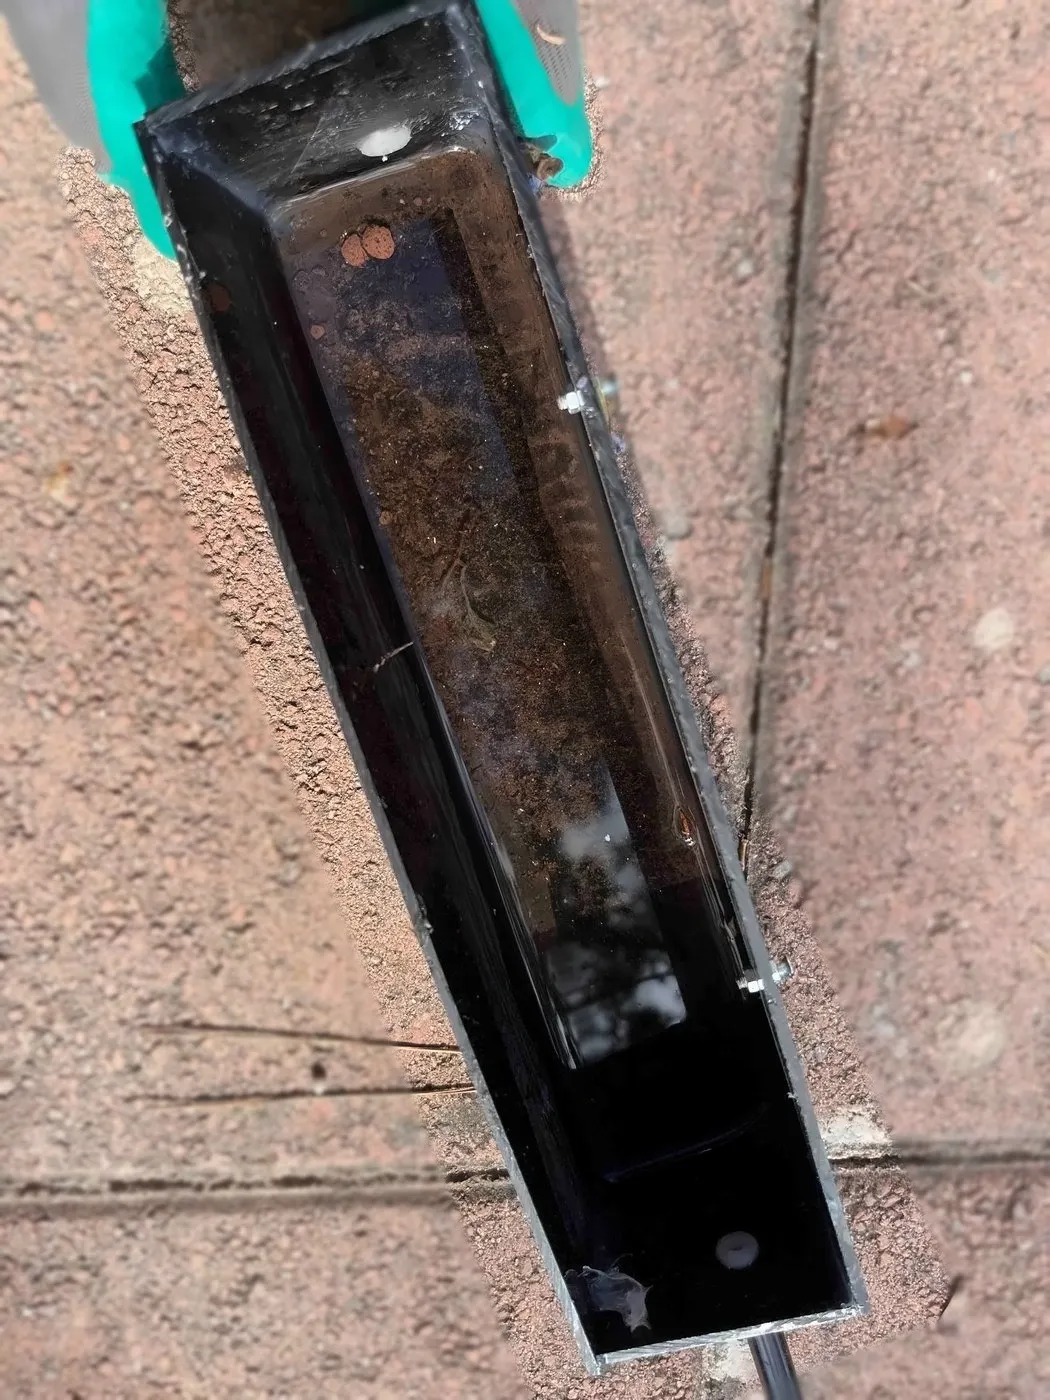
We emptied the planter, rinsed the cup and the LECA, and replanted it with a smaller Swedish ivy, a spare from Frankie’s batch.
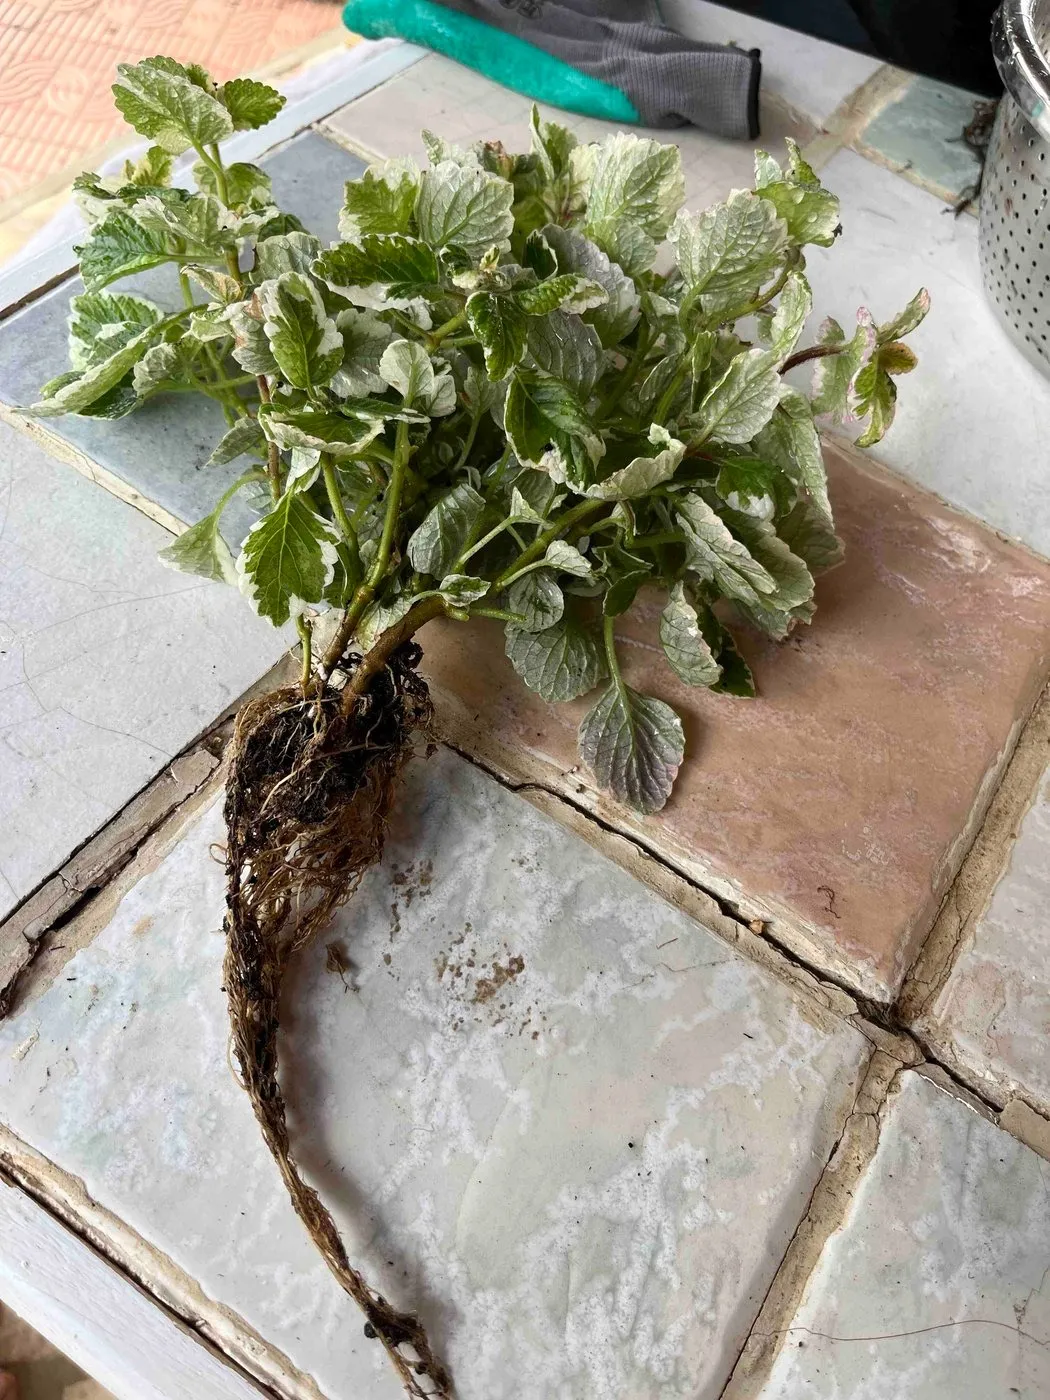
Returning from Frankie · trailing
Tradescantia
Tradescantia zebrina · middle row
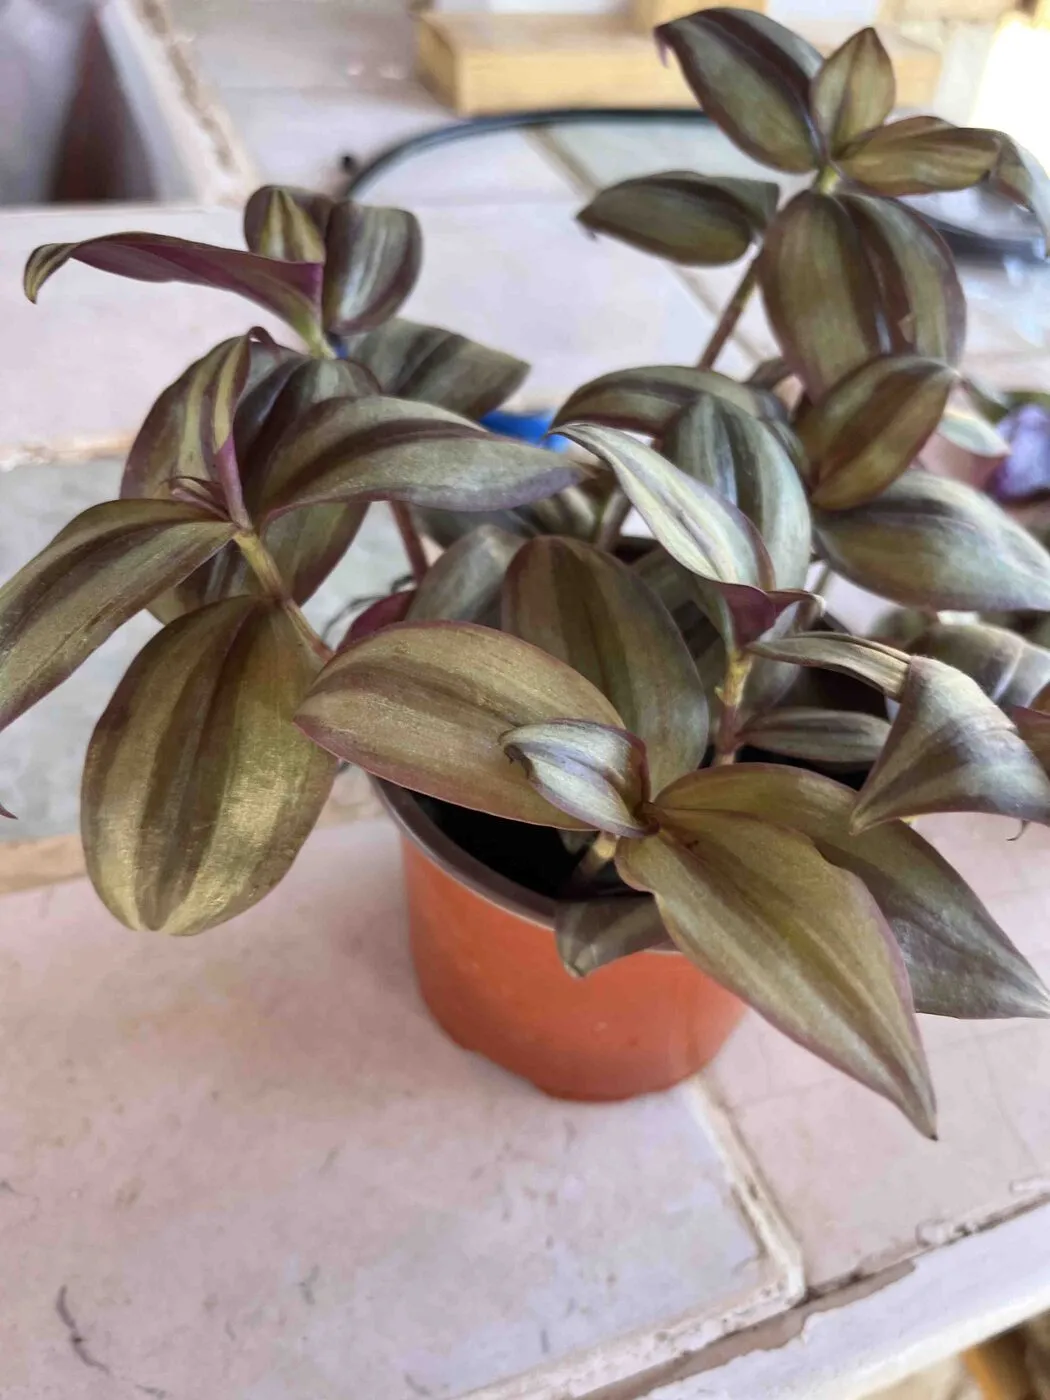
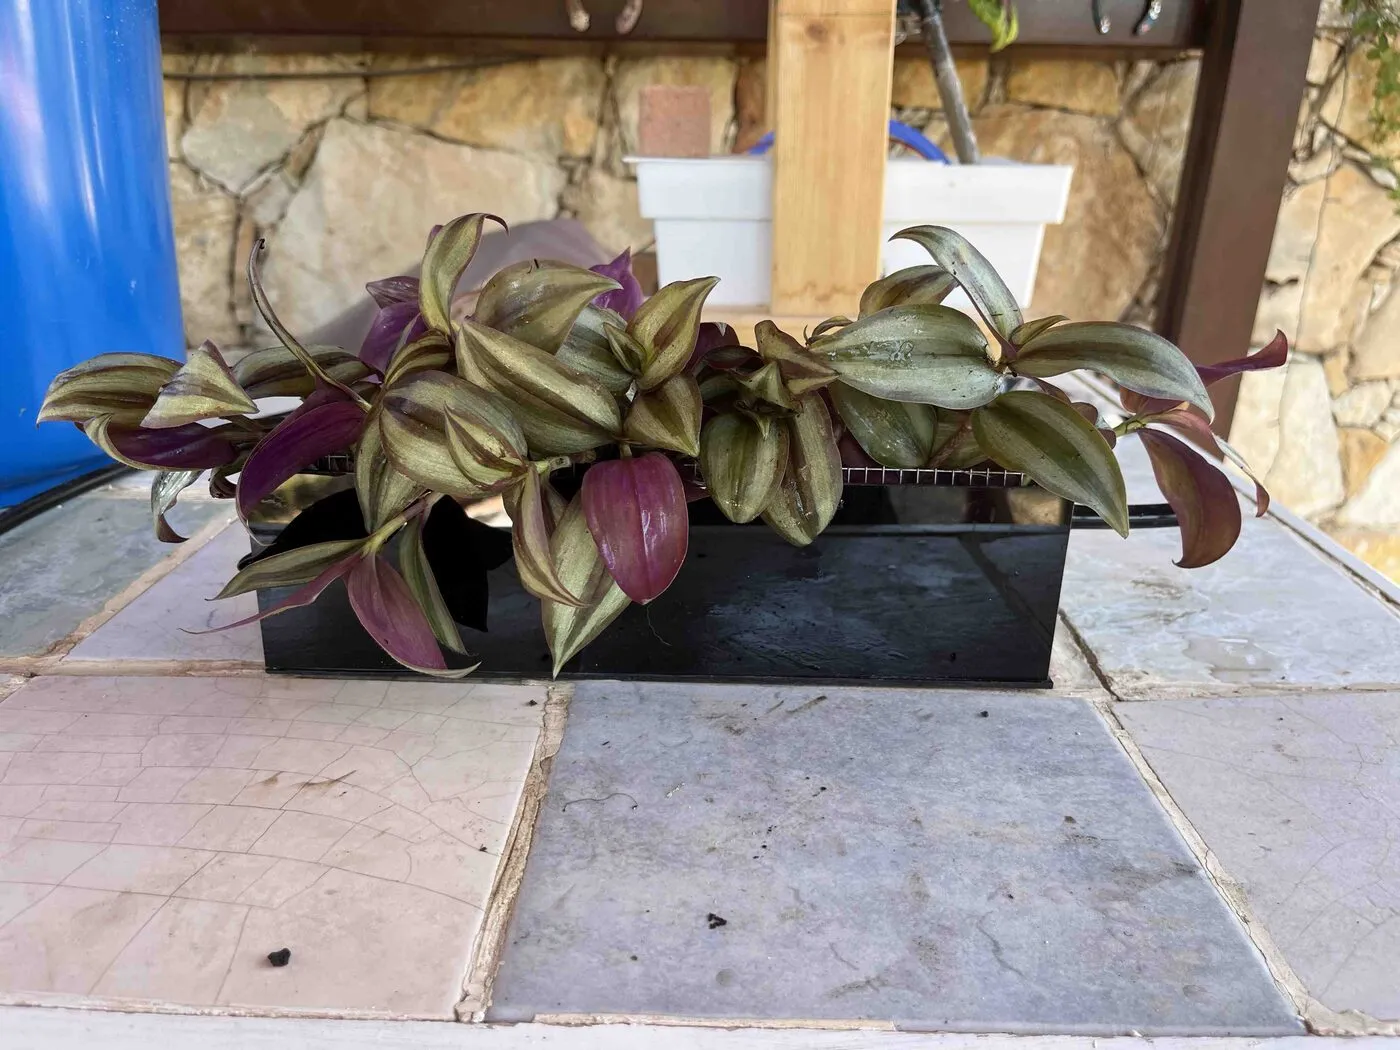
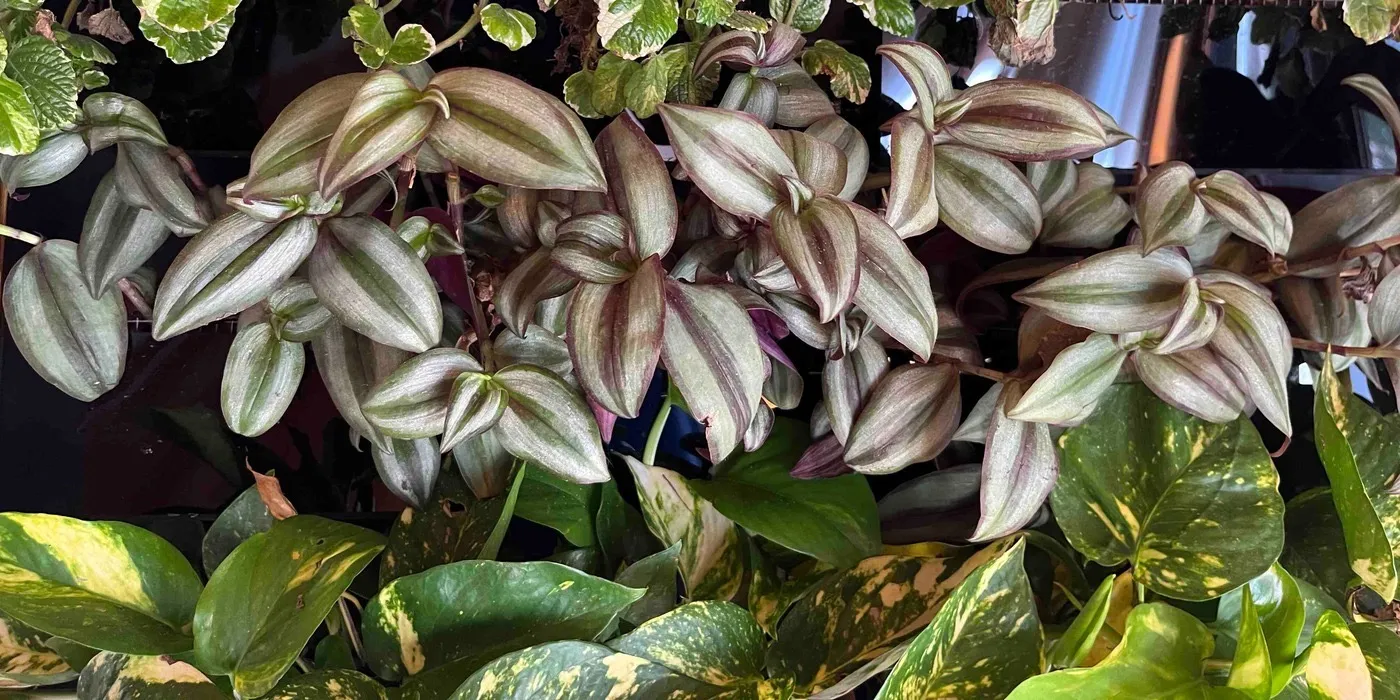
New to Meadori, and the color in the middle of the picture. The tops of the leaves looked bronze in the nursery and read silver and green on the wall. The undersides are deep purple. We bought two small plants for each planter. During planting they split further, into eight pieces, each with its own roots.
New on Sam · trailing
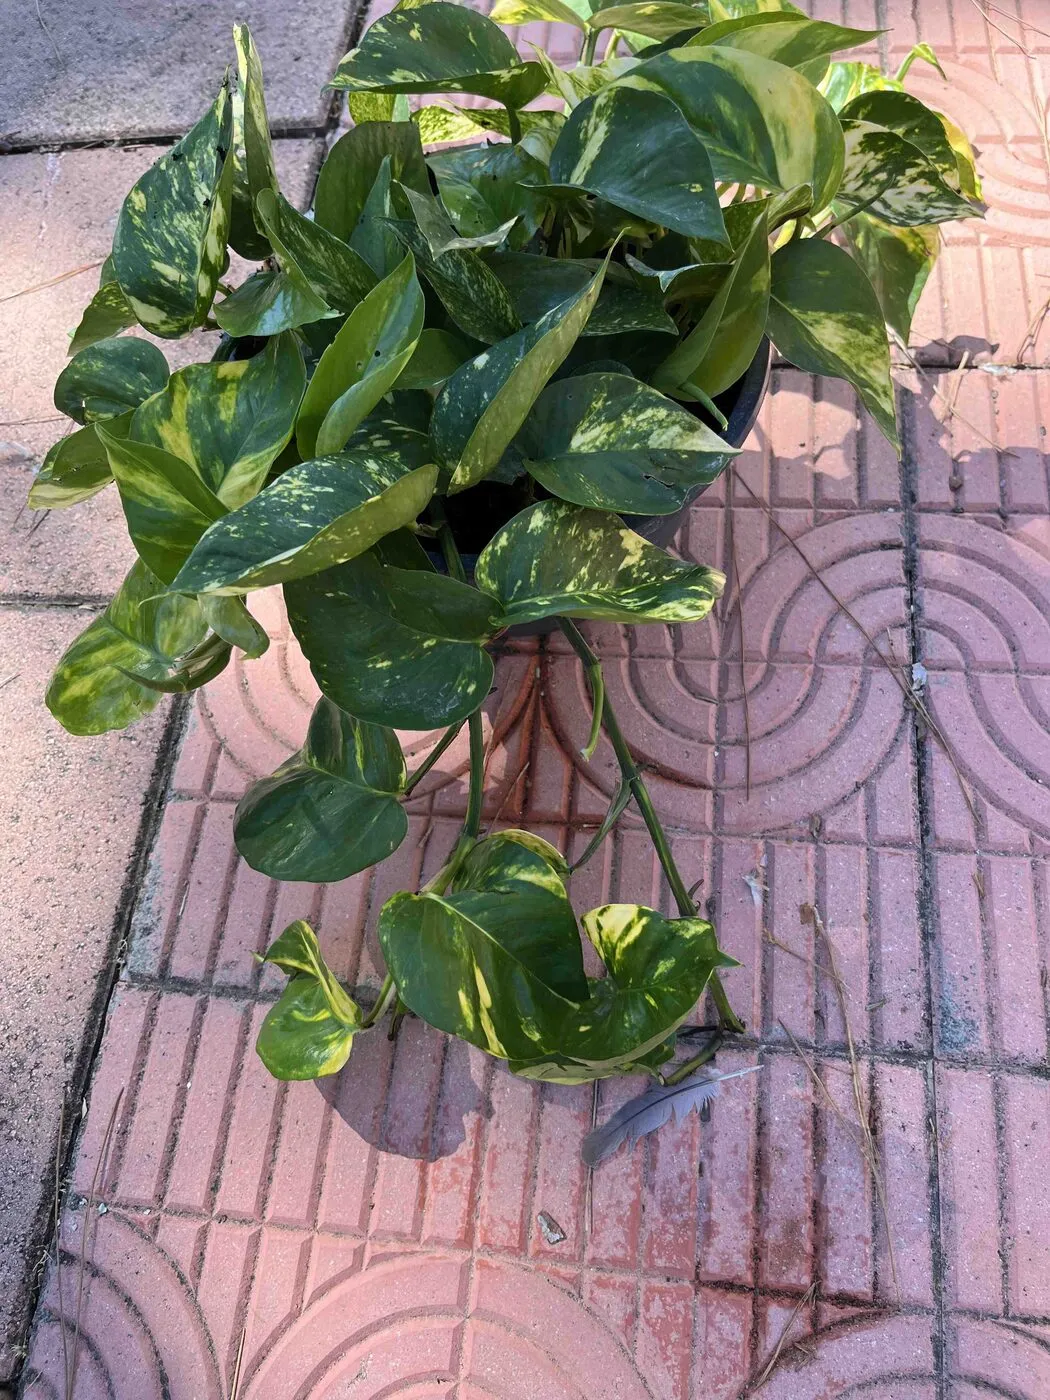
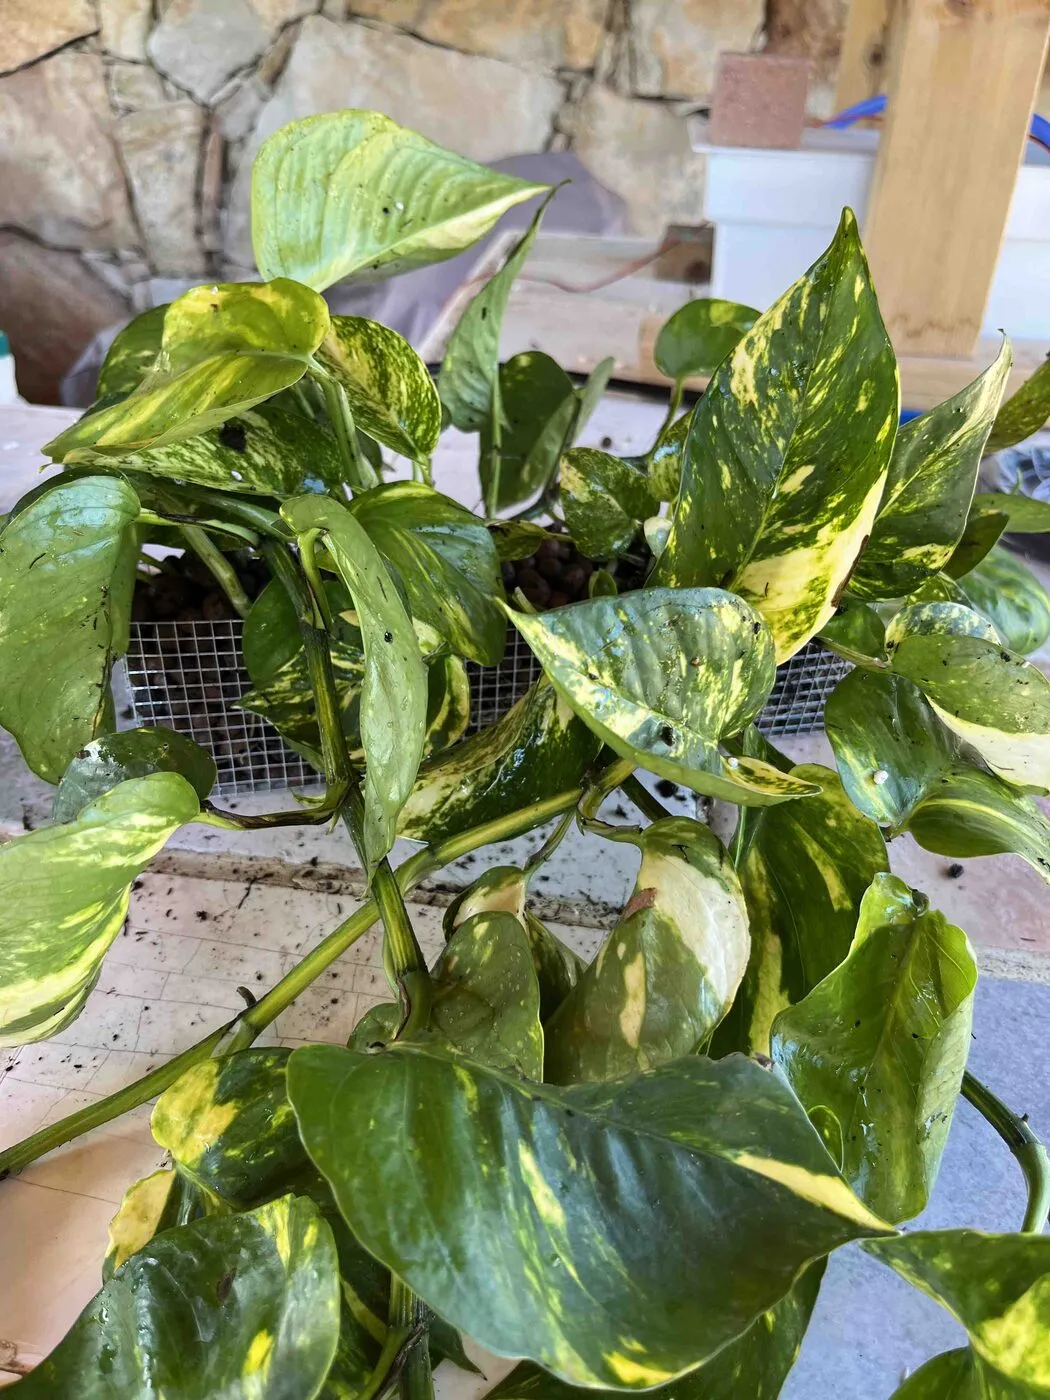
Golden pothos
Epipremnum aureum · bottom row
New to Meadori, and one of the most forgiving houseplants there is. The pothos broke our own rule: it went in as one big plant per planter rather than two small ones. We’ll see whether that matters. So far, it trails over the bottom of the frame exactly the way we hoped.
New on Sam · trailing
Care, feeding and every new leaf are in the plants’ own grow logs: the tradescantia and the golden pothos. The Swedish ivy’s log covers its first round, on Frankie.
Frankie and Sam, side by side
| Frankie · 01 | Sam · 02 | |
|---|---|---|
| Job | Prove the plants and the water work | Show what Meadori looks like |
| Planters | 3 hand-made acrylic planters in one column | 6 hand-made acrylic planters in a 2 × 3 grid |
| Structure | Free-standing pine 2×4 stand | Light aluminum structure and a PVC back panel, hung on a wall |
| Frame | None | A real picture frame, removable |
| Water path | Recirculating: about 10 seconds of pumping every hour, each planter overflowing into the next | By hand for now. The loop is partly installed. |
| Reservoir | About 7 L, a white box at the base | About 4.5 L, out of sight below the bottom row. Not installed yet. |
| Light | Daylight | Indoor daylight, plus a warm decorative backlight in the evening. |
| Plants | 3, one per planter | 3 kinds across 6 planters, several plants per planter |
| First feed | Day 51 | Day 1 |
| Build time | 4 days | 8 days |
What went wrong, and what it changed
Sam looks finished from the front. Behind the frame it is not, and that is the half that taught us something. Frankie told us what to change; Sam told us what it will take.
| Tubes that pinch shut | Some of the silicone tubing was too thin, and where it bent to reach a planter it folded flat and closed itself off. We paused the loop and water Sam by hand. No more tubes. The water should run in channels molded into the parts, so there is nothing to kink and nothing to hide. |
|---|---|
| The drains are a mess | The drain system is not fully assembled, and what is assembled does not work the way we want. Frankie taught us that every separate fitting is another joint and another leak; Sam is teaching it again, six planters at a time. This is the main reason the recirculation is off. |
| One ivy didn’t take | The top-right Swedish ivy was failing by day 9. It was the biggest plant on the wall, many of its branches broke during washing and planting, and its root ball still held a core of nursery soil. We replanted it with a smaller spare from Frankie’s batch, just before Sam moved indoors. Smaller plants, gentler handling, and roots washed all the way through. |
| A mount that is still a sketch | The frame comes off and goes back on, which is what we wanted to show, but the way it attaches was made to work on this one frame. Mold the connections in. The planters and the back panel should carry their own connectors. |
| No printed planters, yet | We planned printed planters for Sam and the printing work was not ready in time, so it is hand-cut acrylic again. It looks good behind the leaves and it does not repeat. Printing is still the next step — and the PVC back panel gets molded with it. |
| The frame makes the picture | Not a fault, and the most useful thing Sam showed: a real picture frame turns a grid of planters into a picture. That makes the frame something people choose, not a fixed part. |
What’s next
Finish the water side: new tubing, working drains, the hidden reservoir and the pump. Sam is already where it belongs, in a real living room, with its backlight on in the evenings, and the professional photos are on this page. Next for the plants: a first trim for the tradescantia, which its grow log will follow.
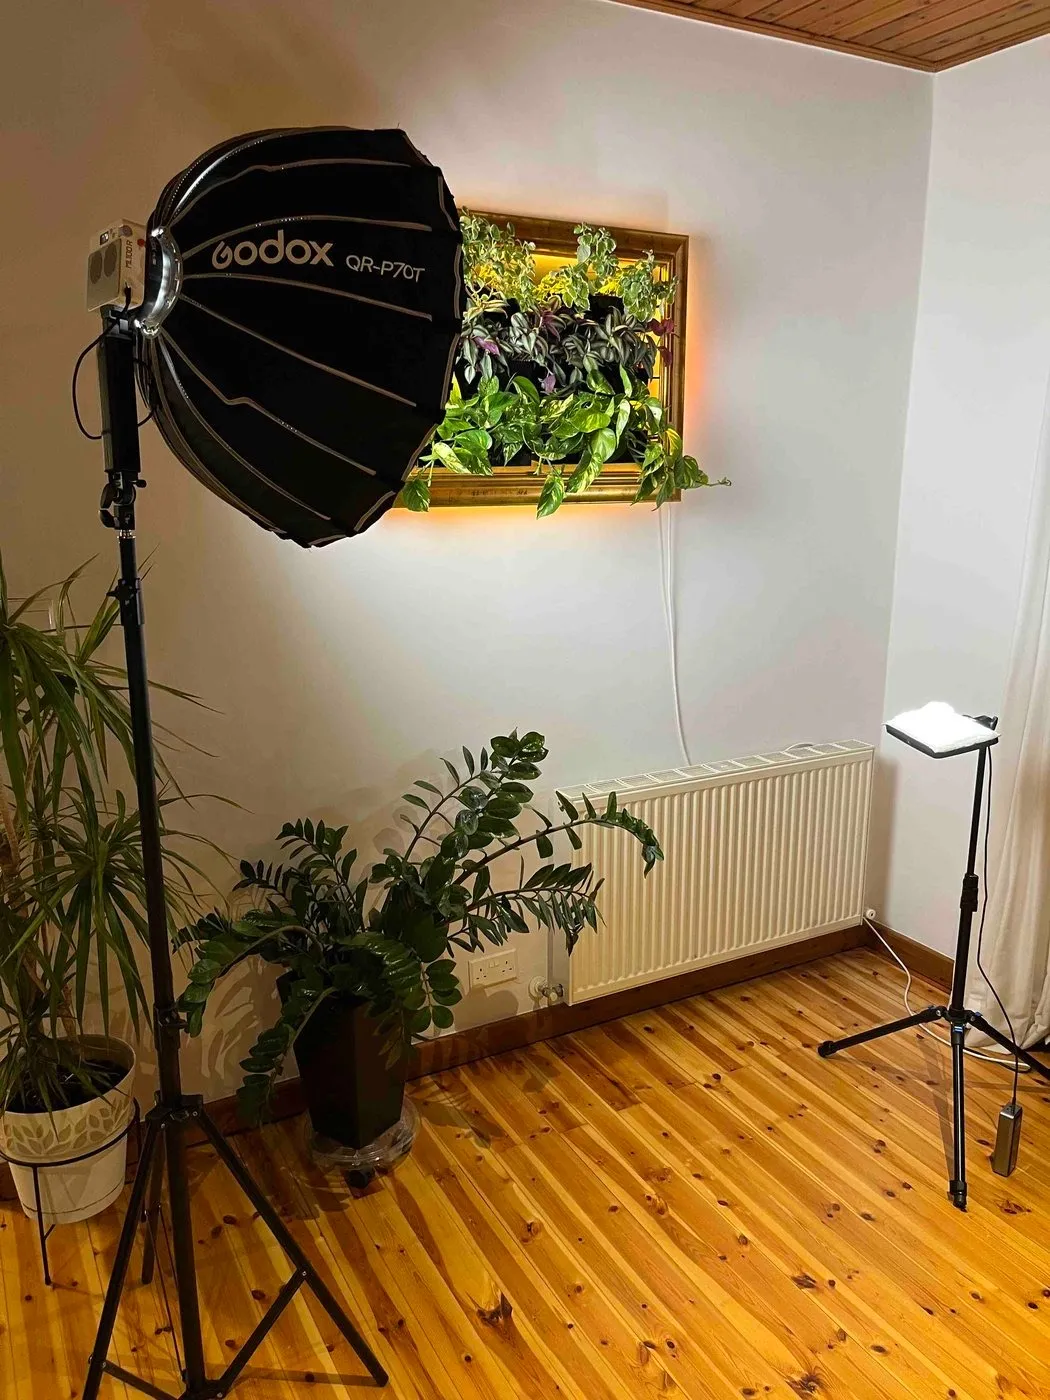
Meanwhile, work on the printed planters continues.
Frankie, Sam’s older sibling, keeps growing on its stand. Its story is here.