

Why we call it Frankie
A nod to Frankenstein’s creature: assembled from whatever parts were at hand, then brought to life.
Frankie started as lumber, hand-cut acrylic, mismatched plumbing fittings and a breadboard full of wires. Add water and plants, and suddenly we had something alive. Not beautiful. Our kind of monster.
The F also stands for first. Its successor is Sam, for second.
What Frankie was built to answer
We had a design on paper: shallow planters of LECA, a thin layer of standing water, and a pump moving it through the system often. But would it work with real plants?
- Can plants grow in about 15 mm of standing water? That is less than a fifth of an 8 cm LECA bed, below the usual advice of a quarter to a third.
- Will the water keep circulating on its own? Pumped to the top, through three planters, back to the reservoir.
- What is it like to look after? Planting, trimming, topping up, and watching how the plants respond.
- Can we build it quickly? Simple materials, no CAD and no 3D printing. We wanted answers in days, not weeks.
Success would mean healthy plants, a loop that ran unattended, and a clearer idea of what to build next.
How we built it
Four days from lumber to running water, and more trips to the DIY store than we had planned.
Before day 1 · On paper
Built around the plants, not the frame
The frame had exactly one job: hold the planters at the same vertical spacing as the planned product. Each planter is 8 cm tall, with another 8 cm of space before the next row — so the foliage has roughly 16 cm to cover if the planters are to disappear behind the leaves. The prototype had to reproduce that spacing exactly. Everything else could wait.

Before anything was cut, we mocked up the dimensions and layout in foam board. It is quick to cut and glue, which makes it the cheapest way to find out that a measurement is wrong. It is also not watertight, so it was never going to carry water: we used it for layout, and for a few evaporation and weighing tests sealed with silicone, which did not hold for long.


Day 1 · The frame
Two bricks, a jigsaw and very little carpentry experience
The frame is plain 2×4 pine from a local lumber store. A jigsaw and two bricks were the whole workshop, so every piece was cut that way. Some cuts came out less than straight. The finished frame was sturdy anyway, and that was all it needed to be.


It is heavy, rough, and nothing like the frame we intend to put on a wall. The one thing it shares with that frame is where the planters sit.
Day 2 · The planters
Three planters, cut and glued by hand
We built the three planters from black acrylic. It’s fast to work with and needs no 3D design or printing, which made sense for only three boxes. It’s also opaque, which matters more than it sounds. Light reaching wet LECA and roots feeds algae and other growth, and a dark wall keeps the inside of the planter dark.
Each panel was cut by scoring a line with a knife and snapping the sheet along it. That isn’t always precise, but it was good enough for a prototype. The panels were glued together and held with masking tape while they set.


Days 3–4 · Plumbing and the first wet runs
A working water loop, one fitting at a time
The plumbing is a collection of off-the-shelf parts: barbed straight, elbow and T connectors, and some tubing. Getting the last pieces took several trips to the DIY store. They are stand-ins, and the next design moves the drains into the planters themselves.
Then came the moment that mattered: water in, pump on, and the first time the loop ran through all three tiers.
How it works
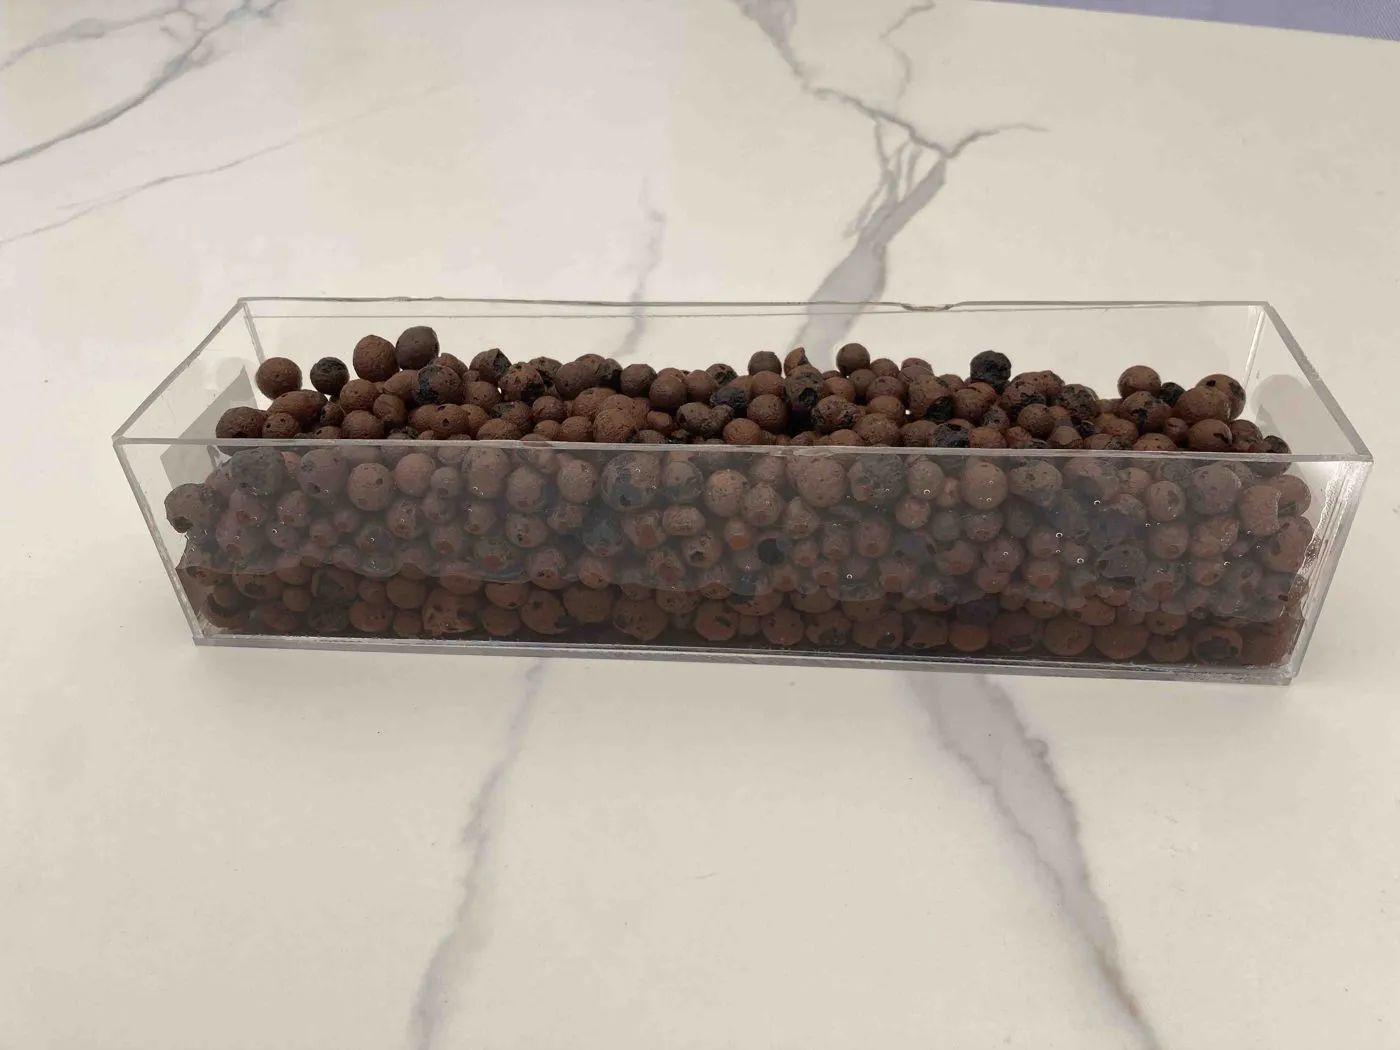
Each planter holds an 8 cm bed of LECA, the round clay pebbles used in semi-hydro growing. Here’s how shallow that is.
A thin layer of water, topped up often
The usual LECA advice is to keep a quarter to a third of the pot full of water. Frankie keeps much less: about 15 mm in an 8 cm bed. The height of each planter’s outlet sets that level, and anything above it overflows to the planter below.
What makes up for the shallow water is frequency. Once an hour the pump runs for about 10 seconds and trickles water onto the top of the LECA, and capillary action carries it down through the bed. The roots never sit in deep water, and in 54 days the surface has not dried out between runs.
The whole loop
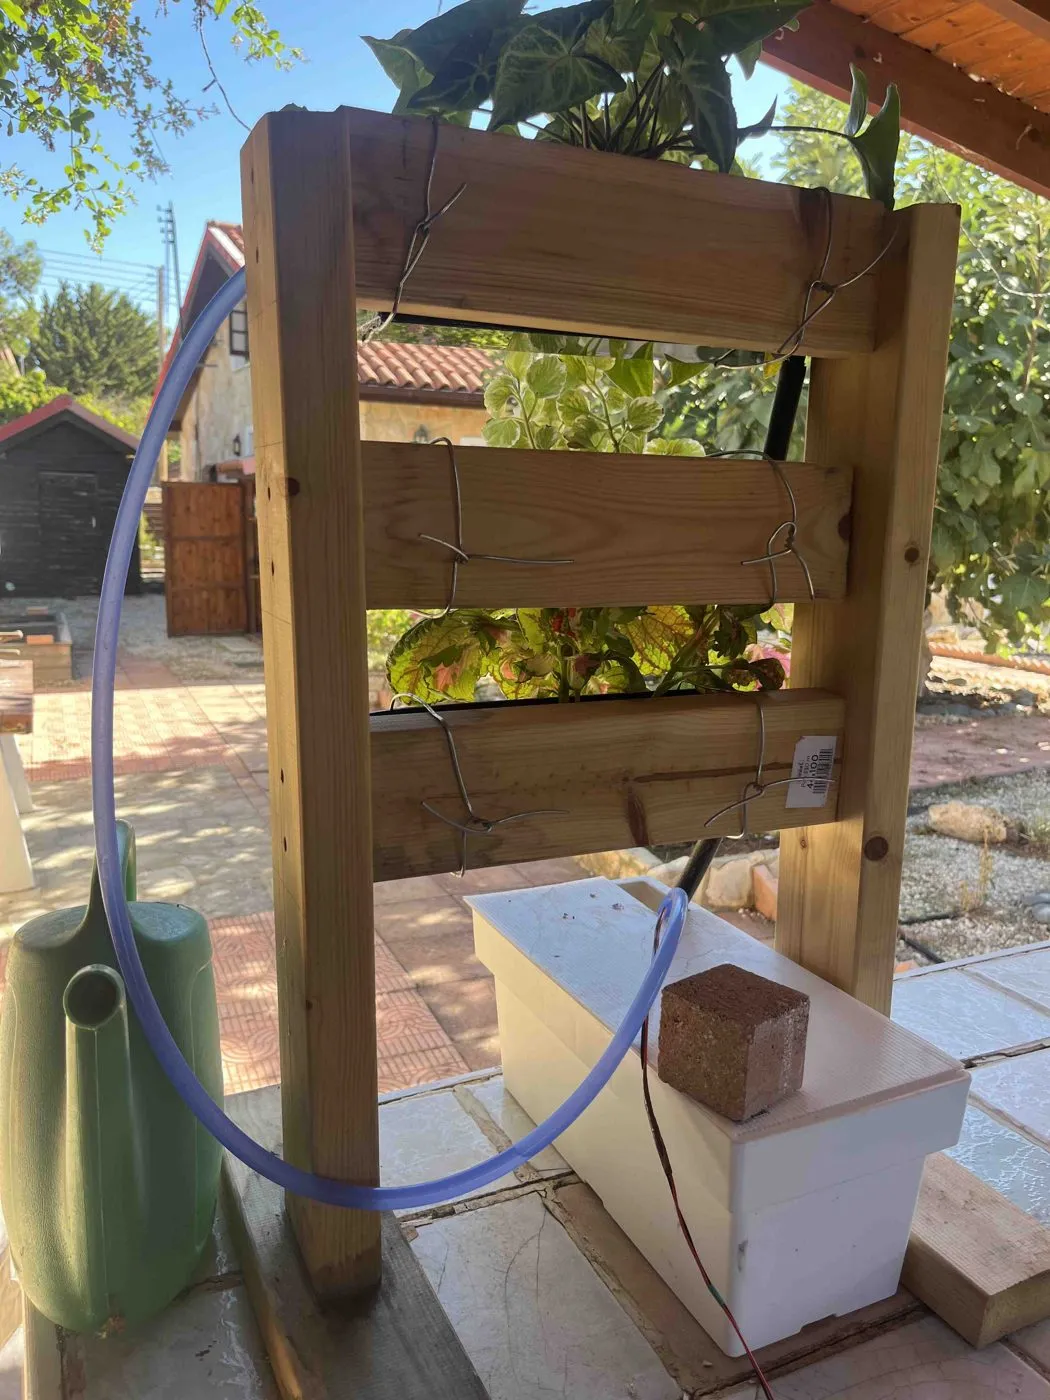
The water goes round in a circle. A reservoir of about 7 liters sits at the base. Once an hour the pump sends water up a silicone hose to the top planter. Each planter fills to its outlet and overflows into the one below, and the bottom planter drains back into the reservoir. The same water keeps cycling, so the only thing we top up is what the plants drink and the air takes.
Frankie didn’t start that way. For its first days it ran on a pipe set to a very slow drip into the top planter, and then moved to full recirculation.


66 days later: what we learned
Sixty-six days after planting, here is how Frankie did against the questions it was built to answer. This was one outdoor trial with three plants, so read it as a promising first result rather than a settled one.
| What it had to prove | What happened | Verdict |
|---|---|---|
| Plants survive on about 15 mm of water | Met in this trial: all three were alive on day 66, including a Syngonium that was really too big for its planter. | Met |
| Plants thrive, not just survive | All three grew to fill their planters and spill over them. Pale leaves and die-back along the way still need explaining. The plant logs have the details. | Mostly |
| Real product dimensions | The 8 cm bed and the 8 cm row spacing match the planned product, so what we saw is directly relevant to it. A pergola in Cyprus is not a living room, so it is not the same as an indoor result. | Met |
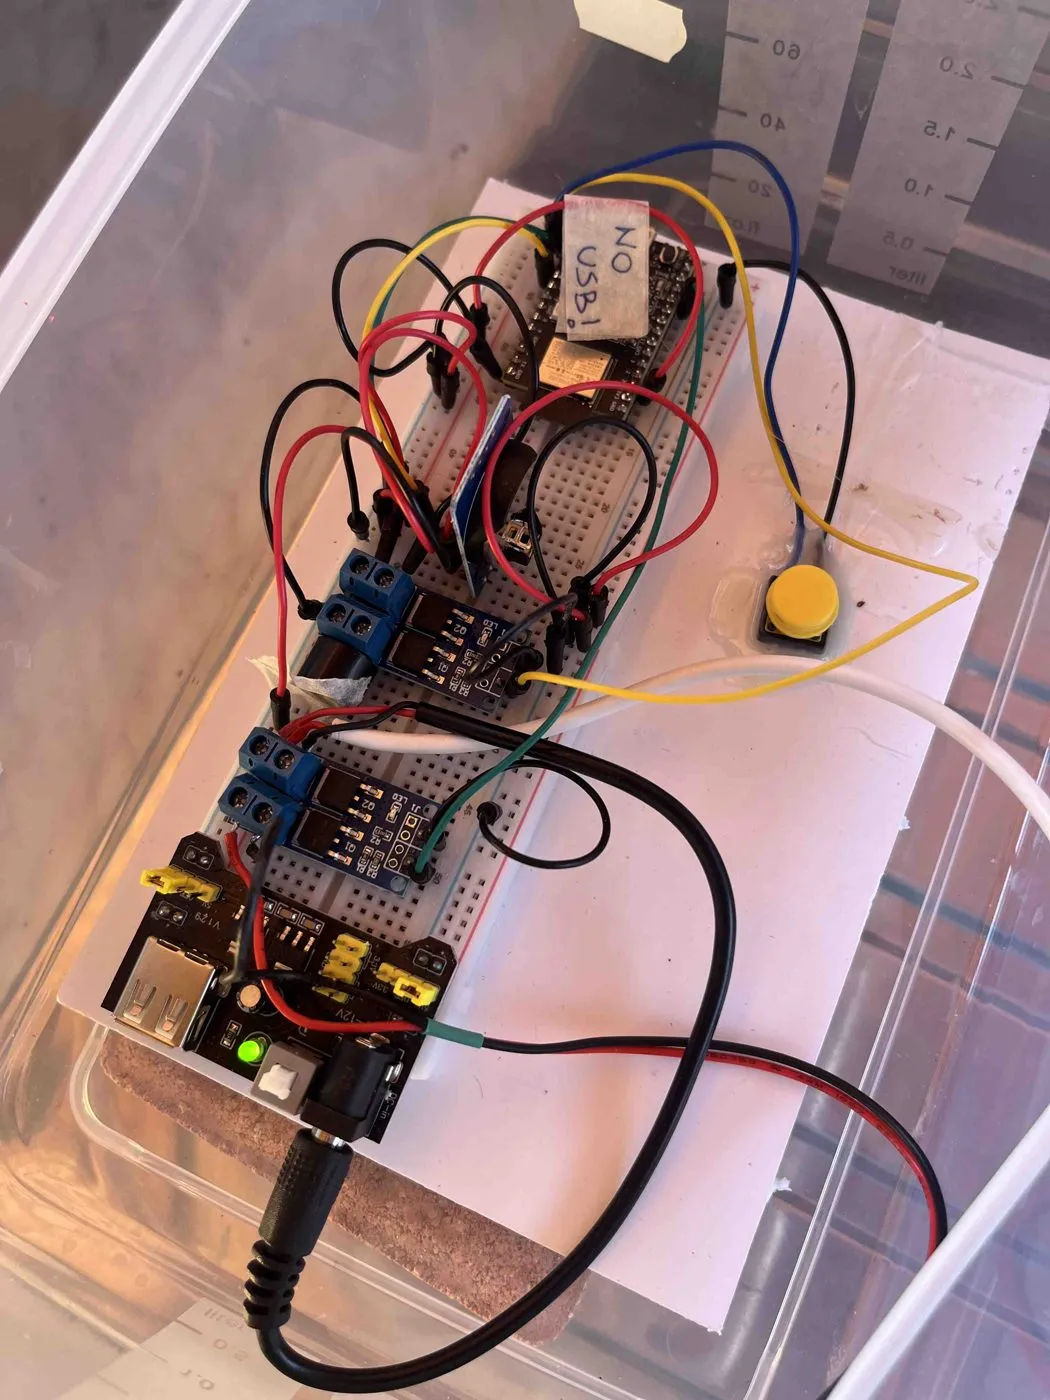
| Real electronics | Since full recirculation began, the controller has run the pump for about 10 seconds every hour, and it has worked well. | Met |
| Real nutrients | Not yet. We fed for the first time on day 51, far too late — new growth had been getting paler for weeks. We are watching the response. | Partly |
| Get a feel for the system | Planting it, trimming it, topping it up and simply living next to it showed us what to change. That list is below. | Met |
| Build it fast, without CAD | Four days from lumber to a running loop. | Met |
What Frankie has done since: the first plants
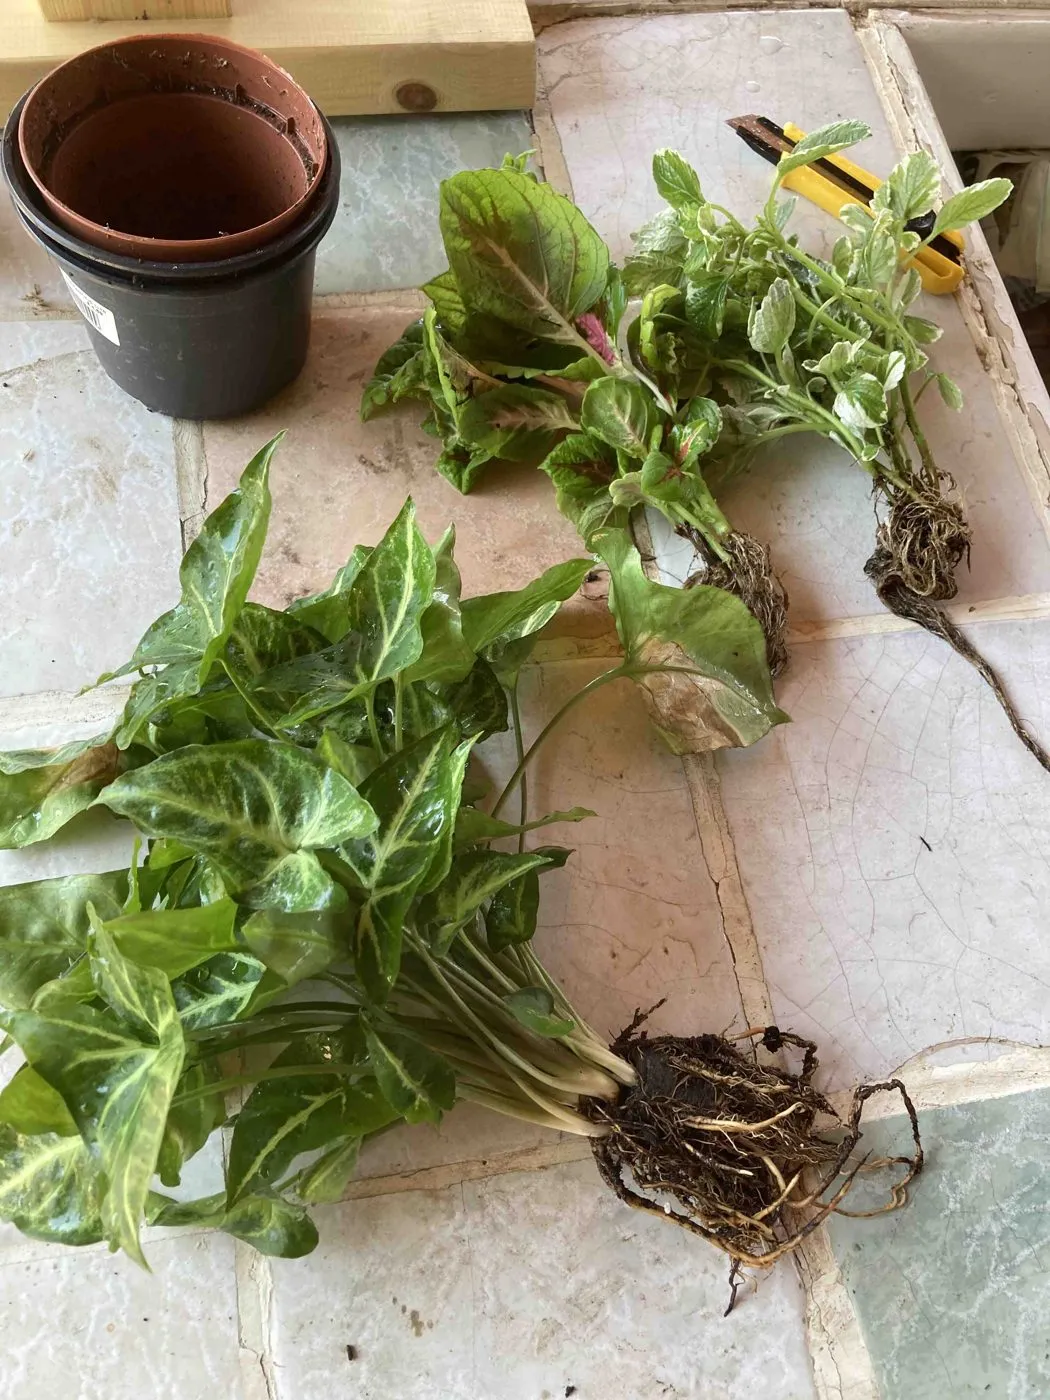
Once the loop ran, Frankie became our test bed for real plants. On Aug 16 we washed the soil off three of them and settled them into the LECA: an arrowhead plant (Syngonium) on top, a variegated Swedish ivy in the middle and a coleus at the bottom.


Care, feeding and every brown leaf are in each plant’s own grow log.
 Arrowhead plantSyngonium podophyllumWe put an arrowhead plant that was really too big into just 8 cm of LECA and watched what happened. It lost a few old leaves, grew plenty of new ones, and it's still going. Here's every step, including the parts that went wrong.Read the 66-day log
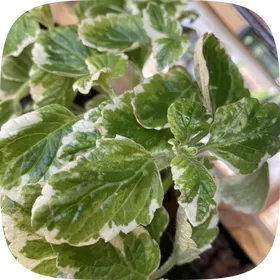 Swedish ivyColeus forsteri 'Marginatus'Part of our Swedish ivy on Frankie wilted and died in its first week. The rest grew into a dense, trailing mound and, by day 54, came into flower. Here's the whole story, with supervision from Luna, our cat.Read the 66-day log
 ColeusColeus scutellarioidesOur coleus drooped on arrival, flowered twice, and still grew into the biggest plant on the stand. Here's what 66 days in shallow LECA looked like, including both times we reached for the shears.Read the 66-day log
What went wrong, and what it changed
Frankie was not built to look good. It was built to tell us what to change, and nothing about it went perfectly — which is the part that was useful.
| Plumbing by trial and error | Straight, elbow and T connectors came from whatever the DIY store had, and the first assembly took several trips back for missing parts. Build the plumbing into the planter. Every separate fitting is another joint, another place to leak and more hardware to hide. |
|---|---|
| Imprecise acrylic | Scoring and snapping is quick, but the sheet doesn’t always break where you want it to, and glued seams do not repeat. Print the planters instead of cutting them. That work is in progress — Sam was acrylic too. They stay opaque, for the same reason as before. |
| A heavy frame | Solid 2×4 pine adds up quickly, and a white reservoir box sits at its base. Fine on a test stand. On a wall, the weight and the water both have to disappear. |
| Fed too late | LECA holds the roots and feeds them nothing. We waited 51 days and the plants had started to show it. Feed from the first week. That is the one mistake we will not repeat. |
| One plant per bed | A single large plant settles into a shallow bed badly. Start with two smaller ones. They root more easily and together they cover the planter just as well. |
Five lessons, and a much clearer brief for prototype number two.
What’s next: Sam
Frankie showed us that the watering can work. It was never meant to look like something you would hang in a living room. That is Sam’s job: our second prototype moves the planters into a gilded frame, and it is the first time Meadori starts to look like the living art we imagined.
Frankie, meanwhile, keeps growing. Its plants have been fed since day 51, and we are watching how they respond. The experiment is not finished, and neither is the story.